Nutrition Facts
Servings 8
- Amount Per Serving
- Calories 100kcal
- % Daily Value *
- Total Carbohydrate 20g7%
- Protein 4g8%
* Percent Daily Values are based on a 2,000 calorie diet. Your daily value may be higher or lower depending on your calorie needs.

When you're diving into the delightful world of banana popsicles, you’ll find plenty of companions that make your snack experience even better. Here are a few pairings that can enhance the popsicle enjoyment:
1. Fresh Fruits: Think juicy berries, pineapple, or even slices of kiwi. Their bright flavors complement the sweetness of banana popsicles perfectly.
2. Nut Butters: A dollop of almond or peanut butter creates a creamy contrast. It’s a great way to level up your snack with healthy fats and protein.
3. Yogurt: A side of Greek yogurt can provide a nice tang, perfectly balancing out the sweet popsicle. Plus, you can mix in honey or granola for added flavor and crunch.
Now that you have some insight into what pairs beautifully with banana popsicles, let’s jump into the recipe!

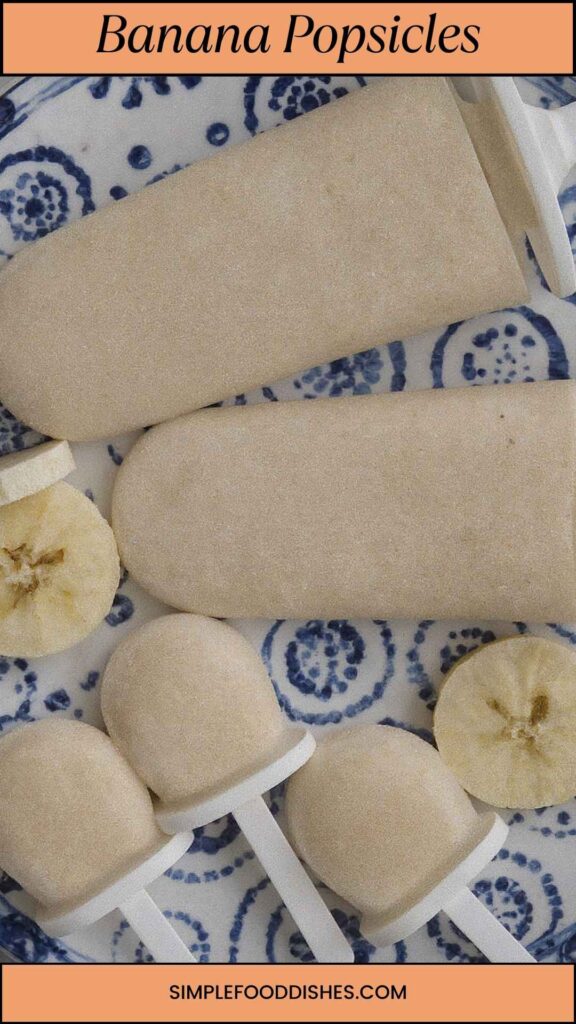
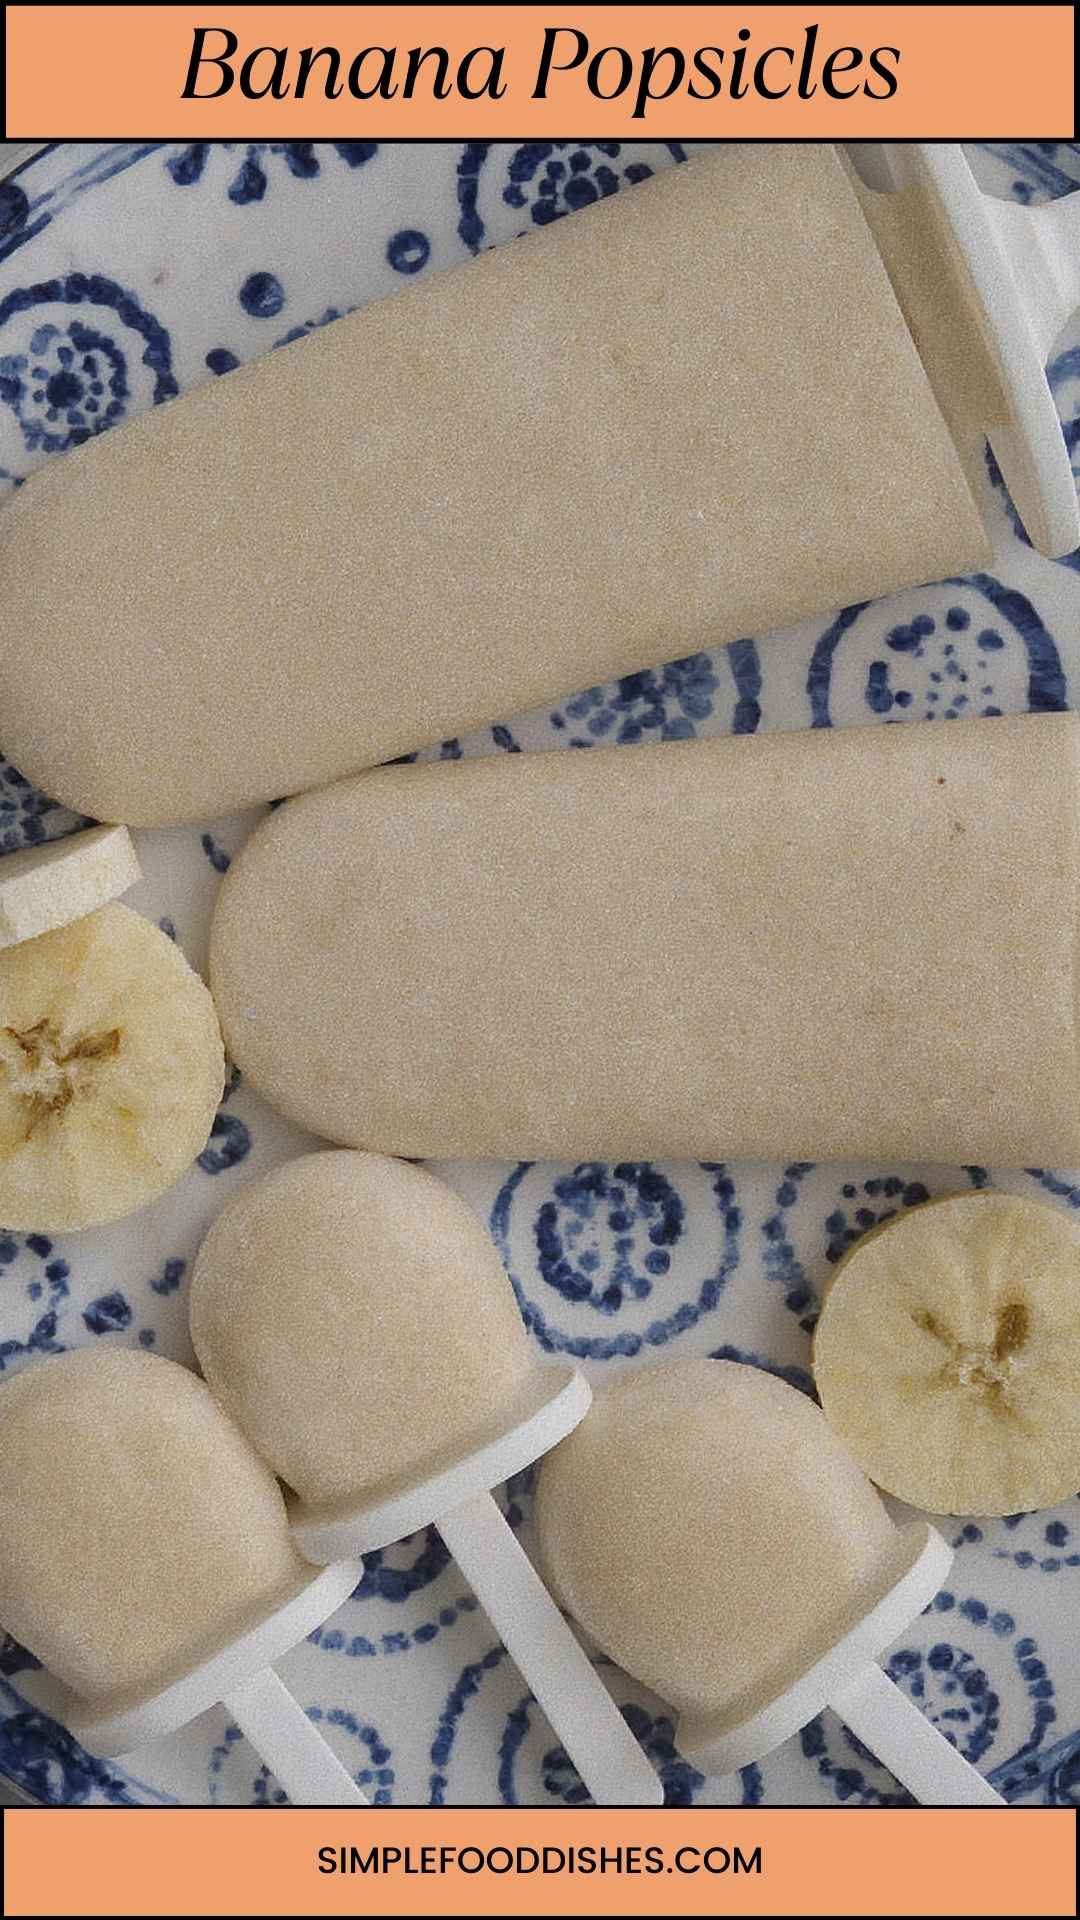
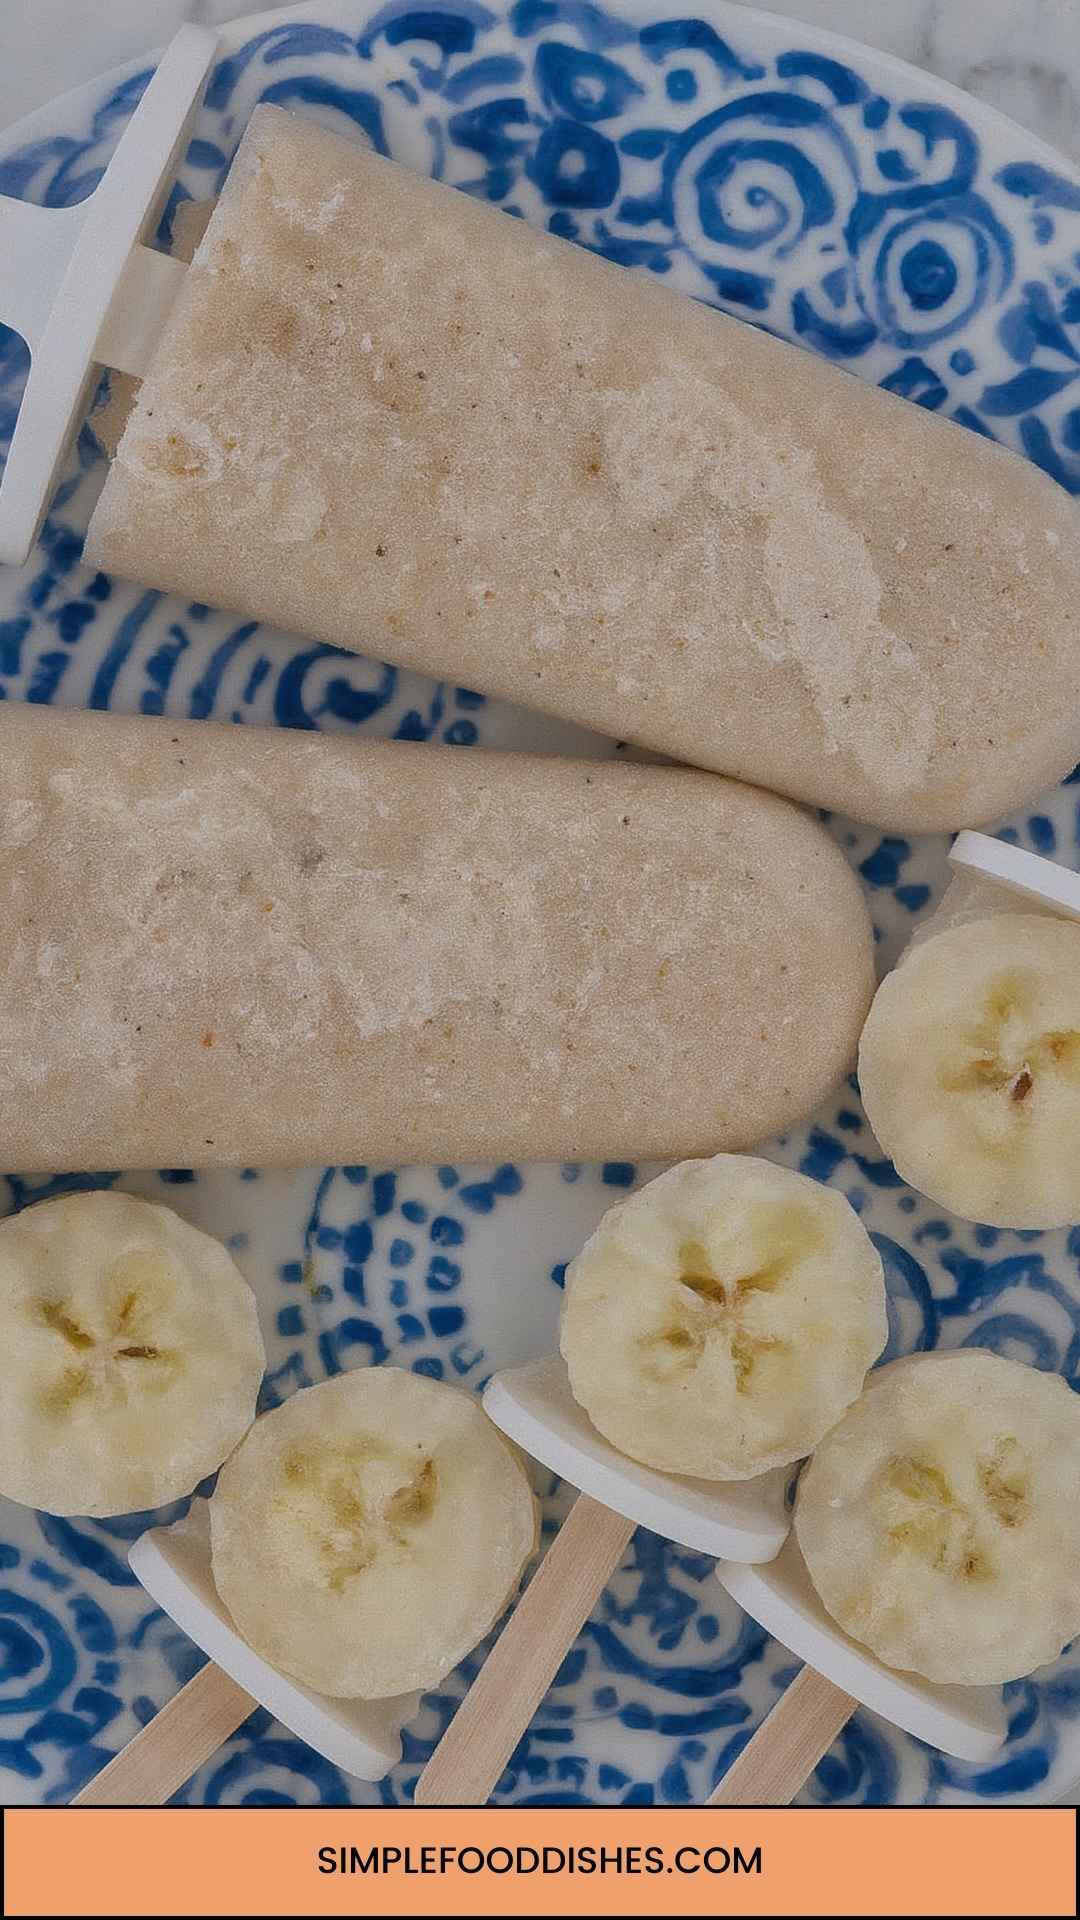
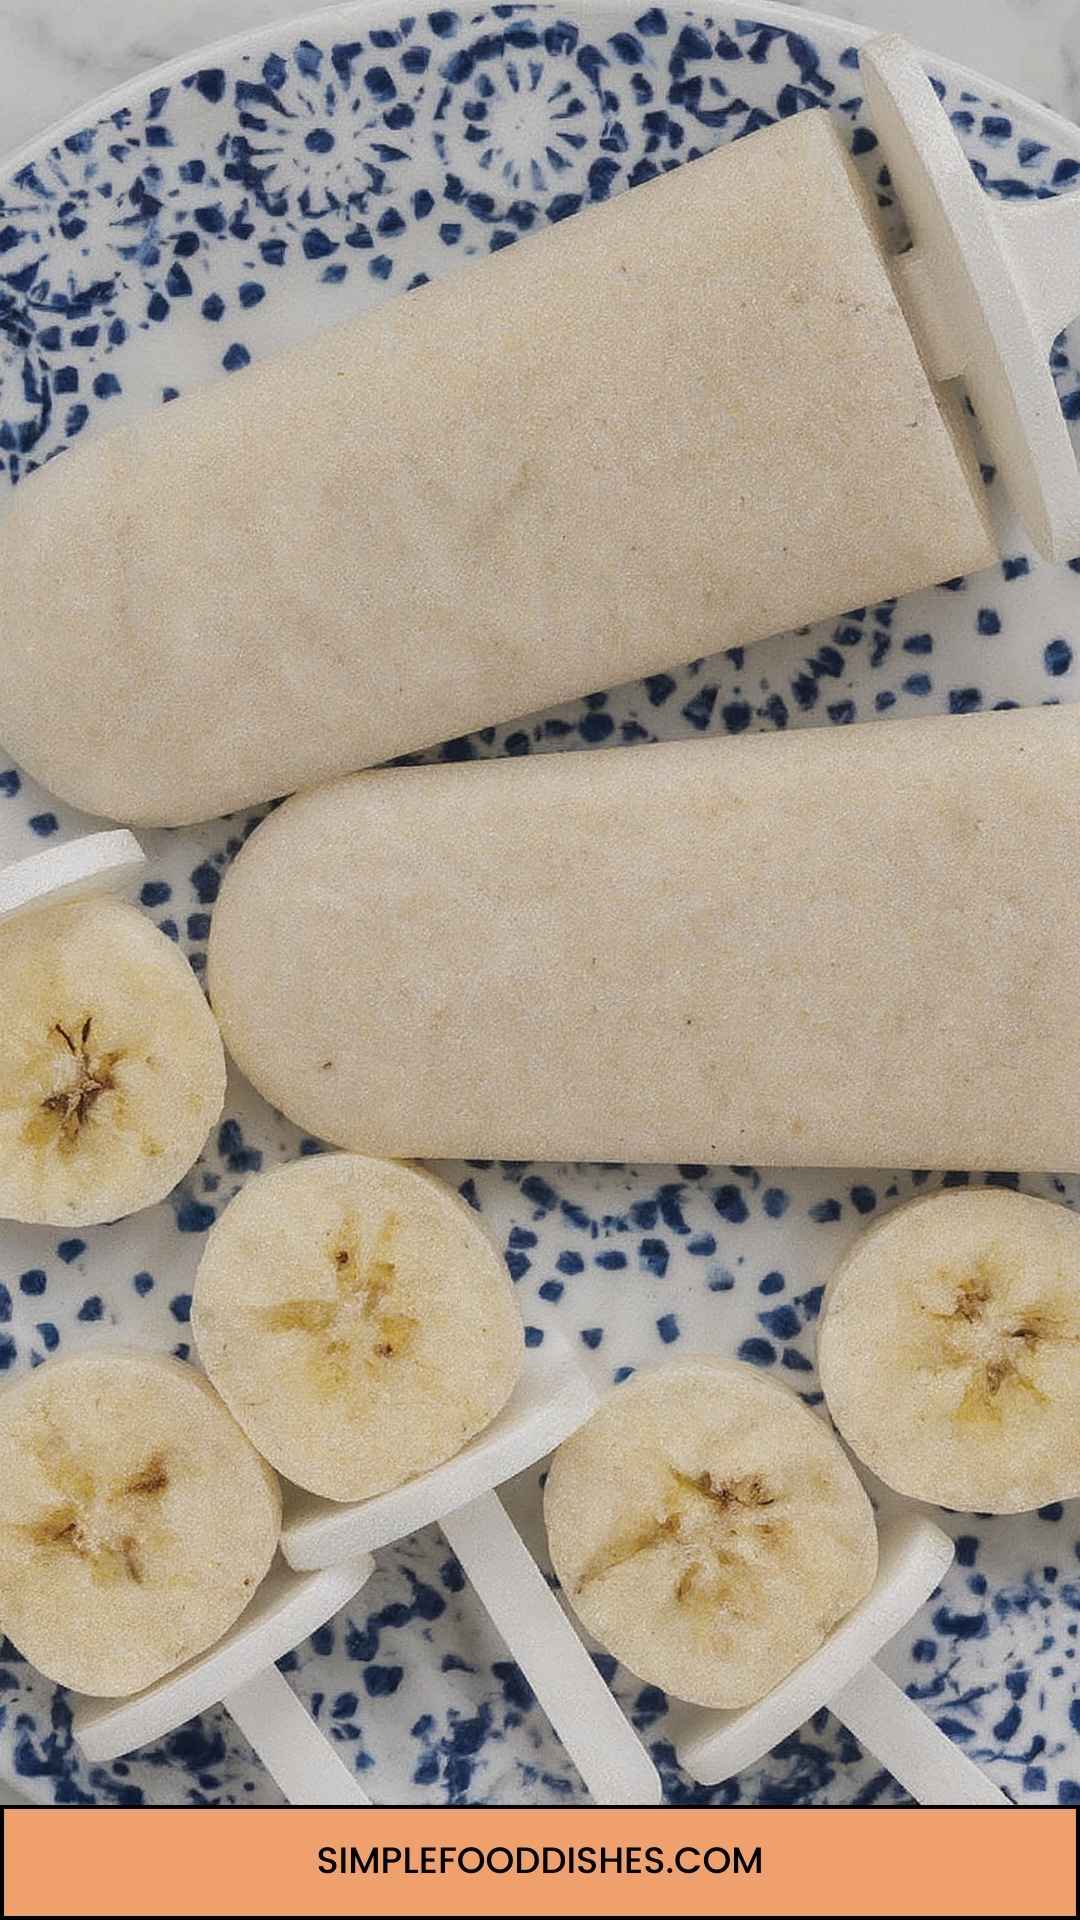
Banana popsicles are frozen treats made primarily from ripe bananas, and they often include yogurt, sweeteners, or other flavor boosters. Unlike many store-bought popsicles that are laden with artificial flavors and preservatives, these homemade gems are entirely customizable. Feel free to toss in peanut butter, cocoa, or even some greens for a healthy twist. Let’s face it, a popsicle that tastes good and is good for you? That’s a win-win!
Why should you trust this banana popsicle recipe? Here are four compelling reasons:
1. Fresh Ingredients: You control what goes into your popsicles. Just ripe bananas, a rich yogurt base, and minimal sweeteners add up to a healthy treat. The fresh ingredients bring delightful flavors.
2. Easy to Customize: Love chocolate? Add cocoa powder. Prefer a fruity twist? Toss in some strawberries. This recipe allows for creativity and personalization.
3. Nutrient-Rich: Using Greek yogurt not only adds creaminess but also boosts protein content. Bananas are rich in potassium, making this a functional snack as well as a fun one.
4. Kid-Friendly: These popsicles are great for kids. They’re simple to make and healthier than sugary store-bought varieties. Plus, kids love to help in the kitchen!
Ready to whip up these popsicles? Here’s what you’ll need:
Base Banana Popsicles:
For Peanut Butter Banana Popsicles:
For Cocoa Banana Popsicles:
For Cinnamon Banana Popsicles:
For Strawberry Banana Popsicles:
For Mango Banana Popsicles:
For Spinach Banana Popsicles:

Let’s dive into the step-by-step process of making these delicious banana popsicles.
Start by gathering your ripe bananas. The ripeness is key. Overripe bananas bring a natural sweetness that’s hard to beat. In a blender or food processor, combine the bananas, Greek yogurt, maple syrup (if using), and vanilla extract. Blend until the mixture is smooth and creamy.
Now comes the fun part—adding flavors!
Grab some popsicle molds (silicone molds work wonders for easy removal). Pour your mixture into the molds, leaving a bit of room at the top for expansion. Insert the popsicle sticks. Now it’s time for the freezer! Allow the popsicles to freeze for at least 4-6 hours or until completely solid.
Once they are frozen solid, gently run the molds under warm water for a few seconds to help release the popsicles. Enjoy your homemade banana popsicles on a hot day, or whenever you crave a delicious treat!
To up your banana popsicle game, consider these handy tips:
These popsicles are not just tasty; they’re also nutritious!
If you have leftovers (doubtful, but just in case), store them in an airtight container or a resealable bag in the freezer. They can last for up to two months, but I bet they’ll be gone long before that!
When you’re enjoying your homemade banana popsicles, consider these complementary sides:
1. Fresh Fruit Salad: A mix of fruits adds brightness and texture. Plus, it’s refreshing! Think oranges, berries, and melons.
2. Crunchy Granola: Serve a small bowl of granola on the side. The crunchiness pairs well with the creamy popsicles.
3. Nut Dips: Set out a small bowl of nut butter for dipping. It’s an unexpected twist that marries nicely with the sweetness.
Life happens, and you might not have everything on hand. Here are some substitutions:
1. Yogurt: If you don’t have Greek yogurt, any creamy yogurt (dairy or non-dairy) can work. Coconut yogurt offers a nice touch.
2. Bananas: Out of bananas? Consider using pureed apples or pears. They’ll yield a different flavor but still be delicious.
3. Maple Syrup: Honey can easily replace maple syrup, and you can also use agave nectar or stevia for a lower-calorie option.
4. Nut Butters: Don’t have peanut butter? Almond butter or sunflower seed butter can stand in nicely.

With their irresistible taste, simple ingredients, and quick preparation, banana popsicles have quickly become a family favorite in my home. Making these treats is not just about the process; it’s about savouring every moment of summer, enjoying healthy indulgence, and getting kids involved in the kitchen.
Whether enjoyed on a hot day or as a delightful treat, these popsicles deliver a hit of happiness with each freeze. So why wait? Gather your ingredients, roll up your sleeves, and start blending. You won’t regret it!
Picture this: It’s a sweltering summer day. You’re lounging in the backyard, heat rising from the pavement, and you crave something cool, sweet, and refreshing. Enter banana popsicles. Trust me, making your own can be a game changer. Not only are they easy to whip up, but they bring an irresistible flavor that store-bought versions can’t match.
Join me on this journey as we explore how to make a simple yet delightful banana popsicle recipe, complete with variations that cater to every taste. I’ve made these treats countless times for friends and family, and each time they vanish faster than you can say “banana split!”
Now comes the fun part—adding flavors!
Servings 8
* Percent Daily Values are based on a 2,000 calorie diet. Your daily value may be higher or lower depending on your calorie needs.