If you’re anything like me, you probably appreciate a quick meal that’s bursting with flavor. Enter simple kimchi fried rice—a dish that shows up, takes charge, and leaves you wondering why you didn’t make it sooner.
When I first tried this vibrant dish, I thought, “This is what my taste buds have been missing!” Not only is it easy to whip up, but the combination of flavors transports you straight to Korea in every bite.
Let’s unravel the layers of this delightful dish together!
What Is Simple Kimchi Fried Rice?
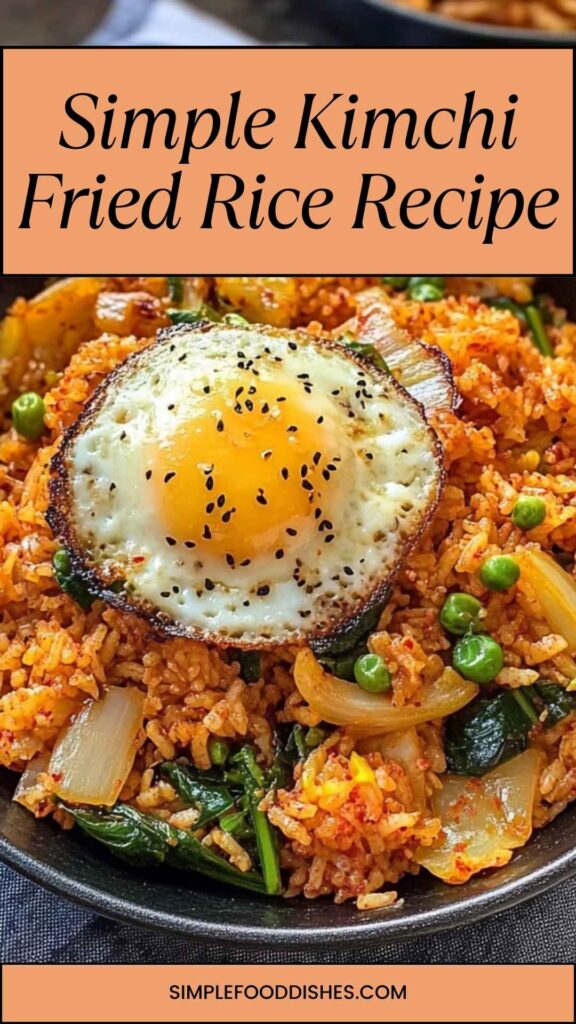
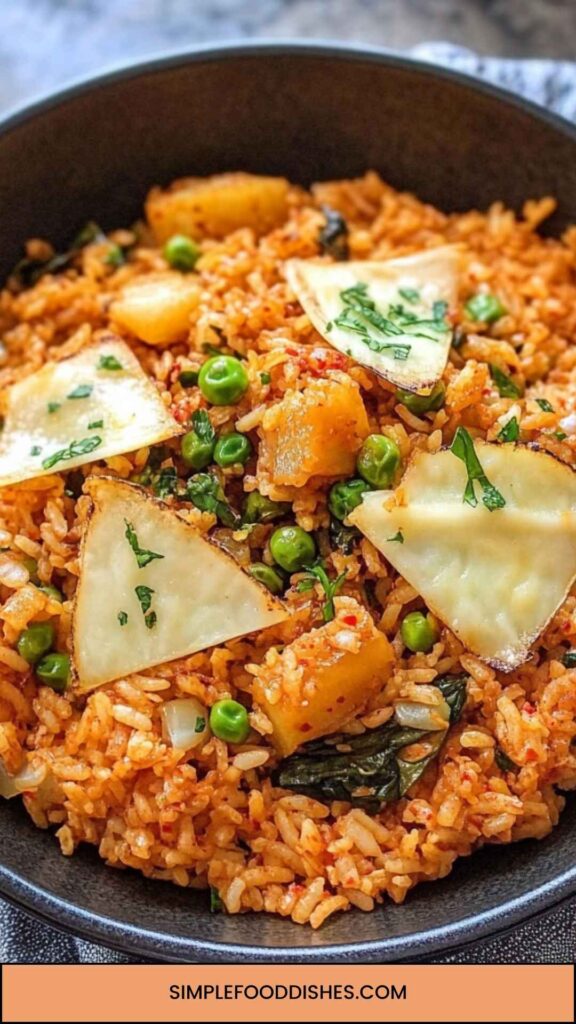
Simple kimchi fried rice, known as ‘kimchi bokkeumbap’ in Korean, is a dish made mainly with rice and kimchi, alongside various mix-ins like vegetables, proteins, and sauces. The magic happens when you stir-fry cooked rice with chopped kimchi and meat or veggies.
What’s more, this dish offers a great way to use leftover rice, making it an economical choice. Unique flavors meld into a satisfying harmony, perfect for a quick lunch or dinner.
What Makes This Recipe Different From Other Simple Kimchi Fried Rice?
This recipe has a twist. Aside from the traditional ingredients, I add bacon for a savory crunch and enoki mushrooms for an extra touch of umami. The inclusion of gochujang, a Korean chili paste, kicks it up a notch with flavor and warmth.
Each ingredient serves a purpose and contributes to a well-rounded bowl of rice. Trust me; this isn’t just any kimchi fried rice—it’s the best you can easily create in your own kitchen.
How Does It Taste Like?
Imagine sitting at a bustling Korean beachside eatery. The smell of sizzling rice and spicy kimchi fills the air. You take a bite; the flavors hit you like a bright melody.
The rice is fluffy. The fermented kimchi is tangy, and the bacon provides that much-needed depth.
It's a perfect dance of spice, saltiness, and a hint of sweetness, all tied together by a soft egg on top. Each mouthful is comforting yet invigorating—probably because it ticks all the boxes your taste buds crave!
Ingredients You'll Need To Make This Dish
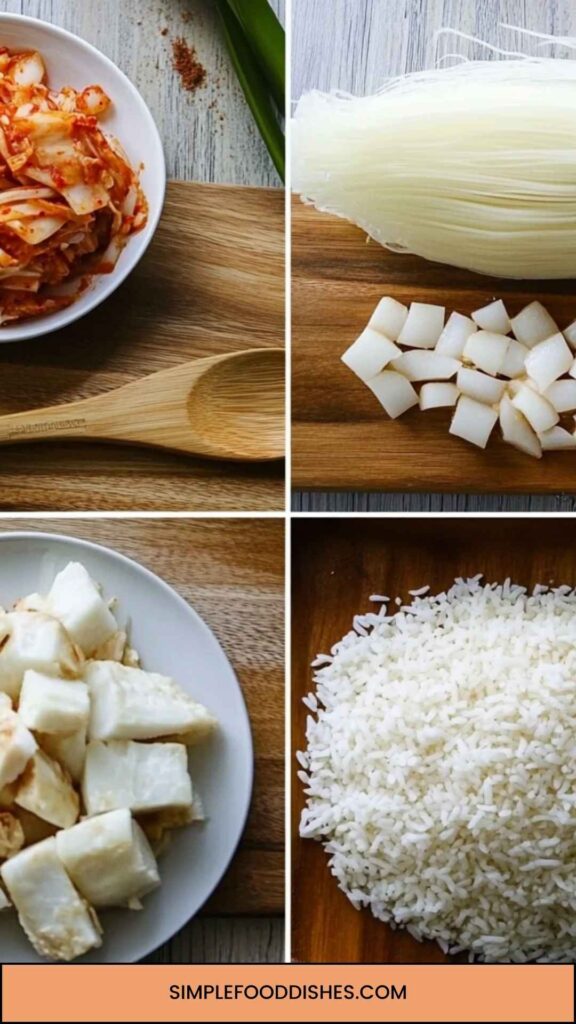
- 3 cups freshly cooked short grain rice (or medium grain rice); let it cool for 5-10 minutes before using
- 1 cup kimchi, chopped into small bite-sized pieces
- 150 g bacon (5.3 ounces), diced into small chunks
- 1 pack enoki mushrooms (200 g / 7 ounces), stems removed, rinsed, and patted dry (optional)
- 1/2 tsp finely minced garlic
- 1/4 cup kimchi brine
- 1 tsp gochujang (Korean chili paste), to add a bit of heat and richness
- 1 tsp soy sauce, for a subtle umami boost
- 1/2 tbsp toasted sesame oil
- 1 tbsp vegetable oil
- 4 large eggs, cooked sunny-side-up or your choice of doneness
- 1 tbsp sesame seeds, toasted for garnish
- 1/2 stalk green onion, finely sliced
- 1 sheet roasted nori, shredded
Step-by-Step Instructions for Simple Kimchi Fried Rice
Step 1: Prepare the Ingredients
Start by preparing all your ingredients. Chop the kimchi into small pieces and dice the bacon. If you’re using enoki mushrooms, rinse them gently and pat dry. This step is vital for flavor and texture later.
Step 2: Heat the Pan
Heat a large skillet or wok over medium-high heat. Once hot, add your vegetable oil. Let it heat for a minute until it glimmers. Proper heat is essential. A hot pan ensures that the rice fries nicely instead of steaming.
Step 3: Cook the Bacon
Add the diced bacon to the pan. Sauté for about 3-4 minutes until the bacon turns crispy. The rendered fat not only flavors the dish but also complements the rice.
Step 4: Add Garlic and Mushrooms
Throw in the minced garlic and enoki mushrooms (if using). Sauté for another 2 minutes until fragrant. The garlic should be lightly golden, and the mushrooms will start to wilt.
Step 5: Stir In the Kimchi
Now add the chopped kimchi. Stir it into the pan, letting it cook for around 2-3 minutes. This step allows the flavors of the kimchi to intensify and meld with the bacon.
Step 6: Toss in the Rice
Next, add the cooked rice to the pan. Use a spatula to break up any clumps. Pour in the kimchi brine. This will help hydrate the rice and infuse it with more flavor. Stir-fry everything together, ensuring the rice gets coated and heated through, for about 5 minutes.
Step 7: Season the Dish
In this step, add gochujang and soy sauce. Mix well, making sure it distributes evenly throughout the rice. Allow the dish to sauté for another couple of minutes. This step is crucial for that depth of flavor.
Step 8: Finish With Sesame Oil
Drizzle in the toasted sesame oil. It gives a beautiful nutty taste. Stir gently to combine everything—your dish should be glossy and fragrant at this point.
Step 9: Cook the Eggs
In another pan, cook your eggs to your liking. Sunny-side-up works wonderfully here. Place your fried eggs on top of the finished kimchi fried rice. The yolk adds a creamy richness to every bite.
Step 10: Garnish and Serve
Finally, sprinkle toasted sesame seeds, sliced green onions, and a bit of shredded nori on top for that extra flair. Serve immediately, and watch it disappear!
Tips & Tricks On Making Simple Kimchi Fried Rice
- Use Cold Rice: Day-old rice works best. It prevents clumping and frying too soggy.
- Experiment with Kimchi: Different kimchi types have unique flavors. Try ones with various spices or heat levels.
- Check the Heat: Keep an eye on the heat while cooking. If it’s too high, the rice might burn. If too low, it might steam instead of fry.
- Protein Add-ins: Feel free to add shrimp or tofu for a different protein option.
- Storage: This dish keeps well in the fridge for a couple of days, making leftovers even better the next day!
How Do I Store This Dish?
If you have leftovers (which is rare, but it happens!), let the dish cool first. Place it in an airtight container. It can last in the fridge for about 3-4 days. Reheat it in a pan or microwave until warmed through, and enjoy! The flavors meld even more after a day in the fridge.
What Other Substitutes Can You Use in Simple Kimchi Fried Rice?
If you want to customize or adapt this dish further, here are some suggestions:
- Cauliflower Rice: A low-carb substitute that also adds a crunch.
- Bulgur Wheat: For a nutty flavor, swap rice with cooked bulgur.
- Quinoa: A complete protein source, quinoa works great as a rice alternative.
- Sweet Potatoes: For sweetness and texture, chopped and sautéed sweet potatoes can be an excellent addition.
- Additional Veggies: You can throw in spinach, bell peppers, or any leftover veggies to bulk up the meal.
Conclusion
And there you have it! Simple kimchi fried rice is more than just a meal; it’s an experience. From the sizzling pan to the first bite, this dish pulls you in with its vibrant flavors.
Whether you enjoy it as a quick lunch or a hearty dinner, it never fails to satisfy.
So the next time you find yourself with leftover rice and a hankering for something extraordinary, remember this easy recipe. You’re just a few ingredients away from a flavorful adventure!
Enjoy cooking, and happy eating!
You’ll also like the following recipes!


