At family gatherings, one dish seems to steal the show every time—Filipino fried rice. It pairs exquisitely with so many meals. Last weekend, my cousin served it alongside chicken adobo, and the combination was heavenly.
That savory, garlicky fried rice complemented the tender, soy-simmered chicken so well, I went back for thirds. I thought to myself, “This is the kind of dish that brings people together.”
Let me share my journey and passion for making Filipino fried rice. Grab a seat and a bowl. We’re diving into a culinary adventure.
What is Filipino Fried Rice?
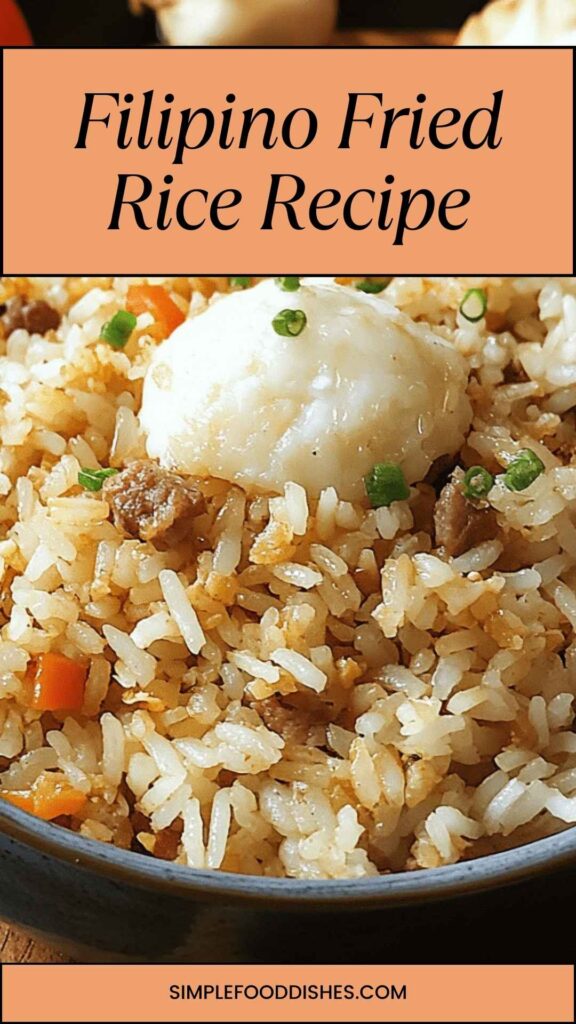
Filipino fried rice, or “sinangag,” is a beloved staple in many Filipino households. Unlike ordinary fried rice, this dish celebrates leftover rice, usually flavored with garlic and a hint of salt. It’s comforting yet has the ability to elevate any meal. Common at breakfast, it serves as a vehicle for a feast of flavors and textures.
It’s crispy yet fluffy. It’s simple yet exquisite. If you’re looking for something to satiate your cravings, this is it.
The Ingredients
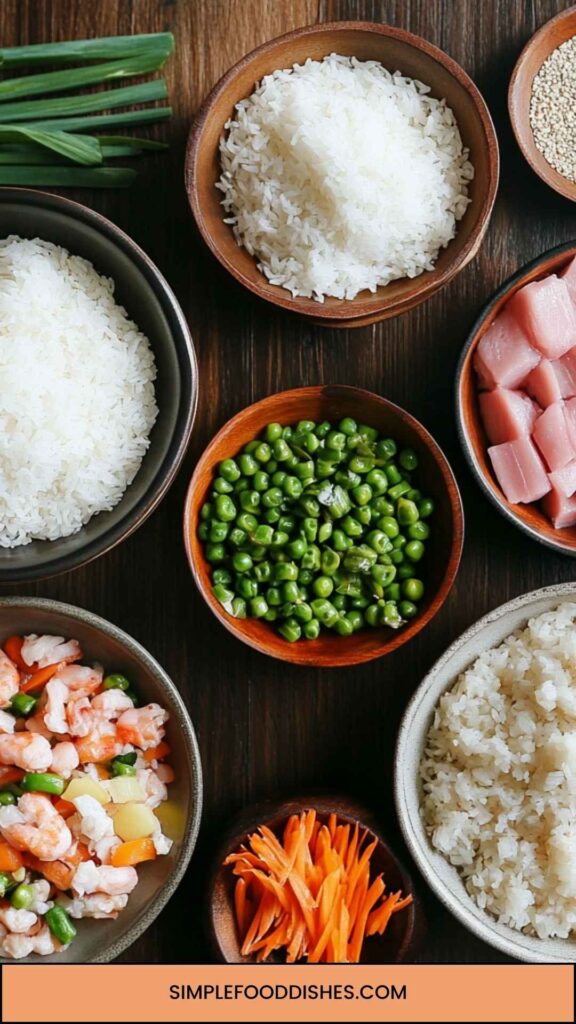
To craft the perfect Filipino fried rice, you don’t need a ton of fancy ingredients. Simplicity is key. Here’s a list of what you’ll need:
– 2 cups cooked rice, cooled (leftover rice works best)
– 10 garlic cloves, minced
– 1/2 teaspoon salt (or more to taste, if preferred)
– 2 tablespoons neutral cooking oil
– 1/4 teaspoon freshly cracked black pepper (optional, for added flavor depth)
– 1 tablespoon soy sauce (optional, for a savory boost)
These ingredients come together beautifully, creating a delightful dish that can be served any time of the day.
How to Make Filipino Fried Rice?
Let’s get to the best part: cooking! Trust me, this is a straightforward process that can produce extraordinary results. Initialize your cooking brain because we’re diving into step-by-step directions.
Step 1: Gather and Prep
Before you hit the stove, make sure you have everything ready. Chop the garlic, measure out your rice, and have your oil at the ready. If you’re using leftover rice, it might be slightly clumpy. That’s okay! Just break it up with your hands or a fork.
Step 2: Heat the Oil
In a large sauté pan or wok, add those two tablespoons of neutral cooking oil. Turn the heat to medium-high. You want it hot but not smoking. As the oil warms, I usually take a moment for a deep breath. The anticipation is part of the fun!
Step 3: Sauté the Garlic
Once the oil is hot, toss in your minced garlic. Listen for that sizzle! Fry it for about 2-3 minutes. Keep an eye on it, stirring continuously to prevent burning. The goal is to achieve a lovely golden color and fragrant aroma that fills your kitchen. Trust me, you’ll want to invite friends over just to get a whiff.
Step 4: Add the Rice
Now comes the star of the show—put in your cooked rice! Stir well to mix the garlic and rice. Break apart any clumps. Let the rice soak up that garlicky goodness.
Step 5: Season It Up
Sprinkle in the salt and optional black pepper. If you’re feeling adventurous, drizzle in a tablespoon of soy sauce. This adds a delightful umami kick. Continue to stir-fry everything together for an additional 5-7 minutes. You want those grains of rice to get a slight crispy texture.
Step 6: Taste and Adjust
Here’s an excuse to taste your fried rice. Check for seasoning. Isn’t it amazing how just a pinch of salt can truly transform flavors? If it needs more kick, now is the time to adjust.
Step 7: Serve Hot!
Once everything is cooked through and deliciously fragrant, it’s time to serve. You can garnish with chopped green onions or fresh herbs if desired. But honestly, it’s perfect just as it is.
Notes
Here are some additional tips to elevate your Filipino fried rice game:
– Use cold rice: Freshly cooked rice can become mushy. Cold, day-old rice gives a better texture.
– Experiment with garlic: If you’re a garlic lover, don’t hold back! The more, the merrier.
– Fry later additions: If you’re adding proteins or veggies, fry them separately first. Then add them to the rice mix for best results.
– Cooking oil matters: A neutral cooking oil like canola or avocado is best for frying at high heat.
– Keep it simple: This dish thrives on simplicity. Don’t overcomplicate it with too many additional ingredients.
Storage Tips
If, by some miracle, you have leftovers, here’s how to store your Filipino fried rice:
– Refrigerate: Place in an airtight container and store in the fridge for 3-4 days.
– Freeze: If you want to keep it longer, freeze portions. Just make sure it’s completely cooled before freezing.
– Reheat properly: When reheating, add a splash of water and cover to steam it back to life. This helps restore some moisture.
Nutrition Information
Here’s a quick breakdown of what you’re eating with Filipino fried rice (per serving):
– Calories: Approximately 200
– Protein: 4g
– Fat: 7g
– Carbohydrates: 32g
– Fiber: 1g
This dish is a great energy booster, especially when paired with protein-rich sides.
Serving Suggestions
Here are five delightful ways to serve Filipino fried rice that I highly recommend:
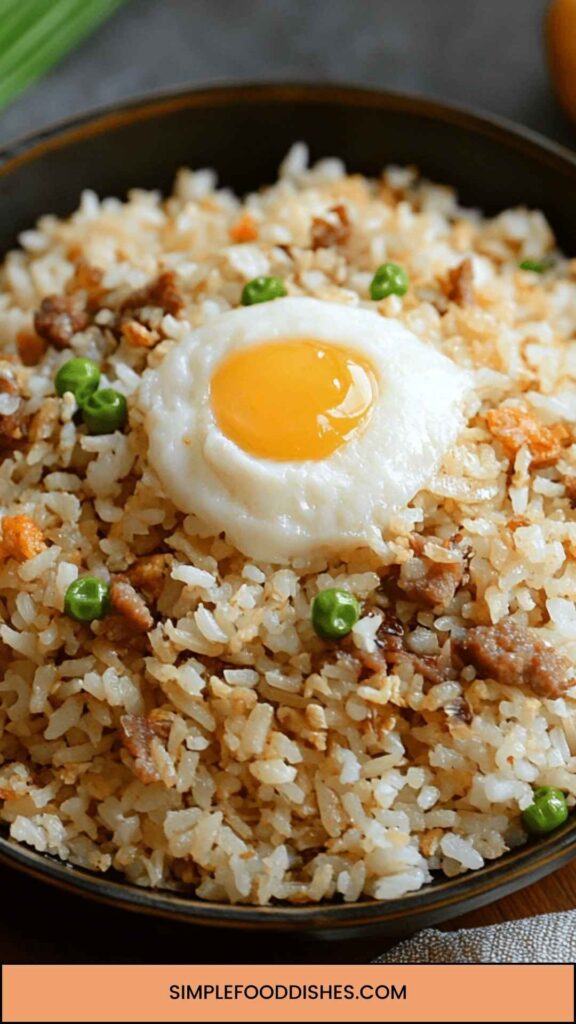
1. With Sunny-Side Up Eggs: Nothing compares to the richness of a yolk bursting over warm fried rice. The creamy texture complements the rice perfectly.
2. Pair with Tofu Stir-Fry: For a vegetarian option, serve alongside a colorful veggie tofu stir-fry. It adds a crunchy dimension.
3. Accompany Grilled Shrimp: The charred flavor of grilled shrimp amplifies the taste of garlic rice. It’s as if the ocean meets the rice field.
4. Serve with Pork Longganisa: This sweet and savory sausage is a classic breakfast dish in the Philippines. Its flavor contrasts beautifully with the rice.
5. Topping with Adobo Chicken: Lastly, serve Filipino fried rice with chicken adobo, marinated in soy sauce and vinegar. The savory notes will have you swooning.
What Other Substitutes Can I Use in Filipino Fried Rice?
If you want to mix things up, here are five substitutes you can try in your Filipino fried rice:
– Quinoa: Want something a bit healthier? Substitute quinoa for rice. It adds a different texture and packs more protein.
– Brown Rice: For a nutty flavor that’s also healthier, try brown rice. It has more fiber and complements all the garlic beautifully.
– Cauliflower Rice: If you’re going keto or low-carb, use cauliflower rice. This will lighten the dish while keeping the flavor intact.
– Jasmine Rice: For a more fragrant dish, switch to jasmine rice. The aroma enhances the experience.
– Soy Sauce Alternative: If you need a gluten-free option, use tamari instead of regular soy sauce. It provides the same savory kick without the gluten.
Conclusion
Filipino fried rice is more than just a side dish; it’s a canvas where flavors blend and memories are made. Through my culinary journey, I’ve found joy in the simple art of cooking this dish. Whether shared with family or enjoyed solo, every bite is a nod to Filipino culture.
Give it a try, and I guarantee you’ll be smitten. So, grab your ingredients and start cooking; a delicious meal is just a few steps away!
Happy cooking, and let me know how you enjoyed it!
You’ll also like the following recipes!

Filipino Fried Rice Recipe – Simple Food Dishes
Description
At family gatherings, one dish seems to steal the show every time—Filipino fried rice. It pairs exquisitely with so many meals. Last weekend, my cousin served it alongside chicken adobo, and the combination was heavenly.
That savory, garlicky fried rice complemented the tender, soy-simmered chicken so well, I went back for thirds. I thought to myself, “This is the kind of dish that brings people together.”
Let me share my journey and passion for making Filipino fried rice. Grab a seat and a bowl. We’re diving into a culinary adventure.
Ingredients
Instructions
Step 1: Gather and Prep
-
Before you hit the stove, make sure you have everything ready. Chop the garlic, measure out your rice, and have your oil at the ready. If you’re using leftover rice, it might be slightly clumpy. That’s okay! Just break it up with your hands or a fork.
Step 2: Heat the Oil
-
In a large sauté pan or wok, add those two tablespoons of neutral cooking oil. Turn the heat to medium-high. You want it hot but not smoking. As the oil warms, I usually take a moment for a deep breath. The anticipation is part of the fun!
Step 3: Sauté the Garlic
-
Once the oil is hot, toss in your minced garlic. Listen for that sizzle! Fry it for about 2-3 minutes. Keep an eye on it, stirring continuously to prevent burning. The goal is to achieve a lovely golden color and fragrant aroma that fills your kitchen. Trust me, you’ll want to invite friends over just to get a whiff.
Step 4: Add the Rice
-
Now comes the star of the show—put in your cooked rice! Stir well to mix the garlic and rice. Break apart any clumps. Let the rice soak up that garlicky goodness.
Step 5: Season It Up
-
Sprinkle in the salt and optional black pepper. If you’re feeling adventurous, drizzle in a tablespoon of soy sauce. This adds a delightful umami kick. Continue to stir-fry everything together for an additional 5-7 minutes. You want those grains of rice to get a slight crispy texture.
Step 6: Taste and Adjust
-
Here’s an excuse to taste your fried rice. Check for seasoning. Isn’t it amazing how just a pinch of salt can truly transform flavors? If it needs more kick, now is the time to adjust.
Step 7: Serve Hot!
-
Once everything is cooked through and deliciously fragrant, it’s time to serve. You can garnish with chopped green onions or fresh herbs if desired. But honestly, it’s perfect just as it is.
Nutrition Facts
Servings 2
- Amount Per Serving
- Calories 200kcal
- % Daily Value *
- Total Fat 7g11%
- Total Carbohydrate 32g11%
- Dietary Fiber 1g4%
- Protein 4g8%
* Percent Daily Values are based on a 2,000 calorie diet. Your daily value may be higher or lower depending on your calorie needs.
Note
- - Use cold rice: Freshly cooked rice can become mushy. Cold, day-old rice gives a better texture.
- - Experiment with garlic: If you're a garlic lover, don’t hold back! The more, the merrier.
- - Fry later additions: If you’re adding proteins or veggies, fry them separately first. Then add them to the rice mix for best results.
- - Cooking oil matters: A neutral cooking oil like canola or avocado is best for frying at high heat.
- - Keep it simple: This dish thrives on simplicity. Don’t overcomplicate it with too many additional ingredients.


