As I sat in my kitchen, the aroma of ripe bananas wafting through the air, I couldn’t help but think of the countless times I’d enjoyed a slice of warm banana nut bread with a cup of steaming coffee.
There’s something soulful about this treat, a comfort that comes from its nostalgia. Pair it with a dollop of whipped cream or a scoop of vanilla ice cream. You won’t regret it; trust me on that!

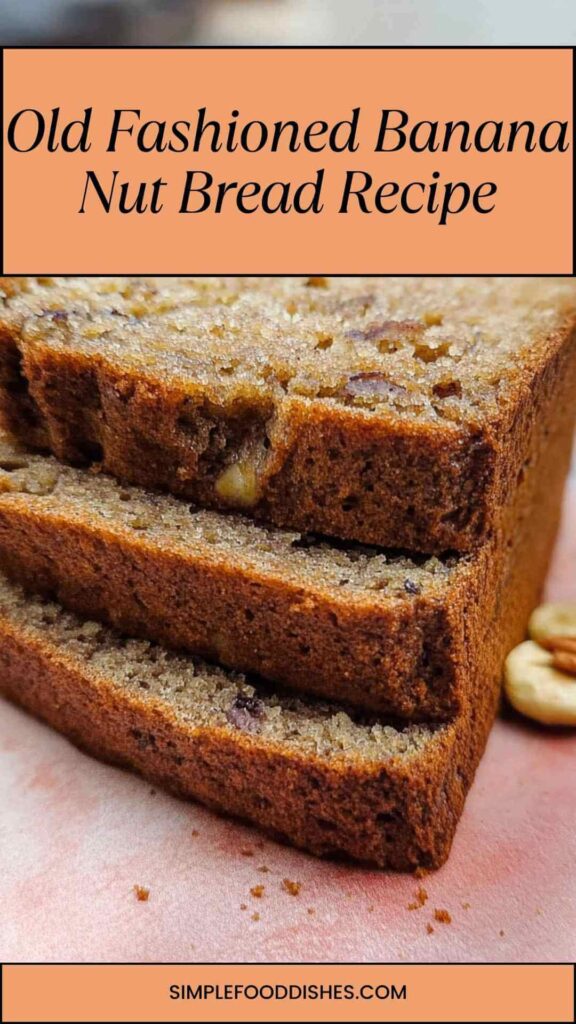
What is Old-Fashioned Banana Nut Bread?
Old-fashioned banana nut bread is a moist quick bread made primarily from mashed bananas and nuts, typically walnuts. Unlike traditional yeast bread, this dish relies on baking soda as a leavening agent, which gives it a tender crumb and a quick, hassle-free preparation. The beauty of this recipe lies in its simplicity and the rich, satisfying taste it delivers.
When you slice into a loaf, echoes of family gatherings and friendly feasts come alive. Each bite is a testament to the comfort and joy good food brings to our lives. It’s more than just a recipe; it’s an experience passed down through generations.
What is the Flavor Profile of This Dish?
Imagine taking a bite of soft, slightly sweet bread. As your teeth sink in, the texture is slightly crumbly, yet it holds together beautifully. The lush taste of ripe bananas sings harmoniously with crunchy walnuts, delivering a delightful contrast.
Adding a hint of cinnamon can elevate the flavor, giving it a warm, slightly spicy warmth that embraces the bread. Each mouthful offers both nostalgia and comfort—a true testament to the best of home baking.
Why You’ll Love This?
You’ll love this banana nut bread for its versatility. It’s the perfect blend of healthy and indulgent. If you have kids, this bread makes an excellent nourishing snack. It’s easy to prepare, making it a favorite for busy mornings or last-minute desserts.
Plus, there’s an undeniable joy that comes from sharing homemade baked goods. Every loaf baked is an invitation to connect, to share, and to create lasting memories.
Ingredients
To whip up this delightful old-fashioned banana nut bread, gather these essentials:
- 2 large eggs
- 1 cup (198g) granulated sugar
- 1 teaspoon pure vanilla extract
- 4 medium ripe bananas, mashed (about 1⅓ cups or 303g)
- ½ cup (99g) vegetable oil
- 1 tablespoon sour cream (for added moisture and tenderness)
- 1 cup (240g) all-purpose flour
- 1½ teaspoons baking soda
- Pinch of fine salt
- ½ teaspoon ground cinnamon (optional, but recommended for depth)
- 1 cup (113g) coarsely chopped walnuts

Step-by-Step Instructions
Here’s the detailed breakdown of how to create this classic treat; let’s get our aprons on!
Step 1: Preheat Your Oven
Preheat your oven to 350°F (175°C). This initial step is crucial; an adequately heated oven helps create the perfect texture for the bread.
Step 2: Prepare Your Baking Pan
Grease a 9×5-inch loaf pan with cooking spray or butter, ensuring it’s well-coated. Alternatively, you could line the bottom with parchment paper. This little act of preparation can save you from a sticky situation later!
Step 3: Mix the Wet Ingredients
In a large mixing bowl, beat the eggs until fluffy. Then, add the granulated sugar and mix well. Stir in the vanilla extract, mashed bananas, vegetable oil, and sour cream until everything is well combined.
Step 4: Combine the Dry Ingredients
In another bowl, whisk together the all-purpose flour, baking soda, salt, and ground cinnamon (if using). This step ensures the baking soda is evenly distributed throughout the flour, which is key for even rising.
Step 5: Combine Wet and Dry Mixtures
Gently fold the dry ingredients into the wet ingredients. Be careful not to overmix; you want to combine them just until the flour is no longer visible. A few lumps are perfectly okay.
Step 6: Add the Chopped Walnuts
Next, fold in the coarsely chopped walnuts gently. Their crunch adds a delightful texture that contrasts beautifully with the soft bread.
Step 7: Pour Into the Pan
Transfer the batter into the prepared loaf pan. Smooth the top lightly with a spatula to ensure it bakes evenly.
Step 8: Bake
Place the loaf pan in your preheated oven. Bake for 55 to 60 minutes or until a toothpick inserted in the center comes out clean. If you notice the top getting too dark, tent it with aluminum foil halfway through baking.
Step 9: Cool and Enjoy
Once done, remove the bread from the oven and let it cool in the pan for about 10 minutes. Then, transfer it to a wire rack to cool completely. Slice, serve, and enjoy a taste of home!
Tips & Tricks
Here are a few insider tips to make your banana nut bread even better:
- Use Overripe Bananas: The riper the bananas, the sweeter and more flavorful your bread will be.
- Add Chocolate Chips: For a decadent twist, try folding in some chocolate chips alongside the walnuts.
- Experiment with Nuts: Pecans or even macadamia nuts can be great alternatives to walnuts if you’re feeling adventurous.
- Store Properly: To keep your bread moist, wrap it in plastic wrap and store it in an airtight container.
- Freeze for Later: This bread freezes beautifully. Wrap cooled loaves tightly in plastic wrap and keep them in the freezer for up to three months.
Nutrition Information
Each slice of old-fashioned banana nut bread (based on 12 slices per loaf) contains approximately:
- Calories: 200
- Protein: 3g
- Fat: 8g
- Carbohydrates: 32g
- Fiber: 1g
- Sugar: 10g
This is a treat but also a source of energy, thanks to natural sugars from bananas.
How Can You Store This Old-Fashioned Banana Nut Bread?
Proper storage can prolong the life of your banana nut bread. Here’s how to keep it fresh:
- At Room Temperature: Keep it in an airtight container for up to three days.
- In the Refrigerator: If you live in a humid environment, refrigerate it for up to a week to prevent mold.
- Freezing: For longer storage, wrap it tightly and freeze. It stays delicious for three months. Just thaw it at room temperature before serving.
Alternative Ingredient Suggestions
What if you’re missing a few ingredients? No worries! Here are alternatives to consider:
- Eggs: If you’re out of eggs, try using unsweetened applesauce. For every egg, substitute ¼ cup of applesauce. This adds moisture and aids in binding.
- Sugar: Honey or maple syrup can replace granulated sugar. Use ¾ cup of honey or syrup for every cup of sugar, but reduce other liquids slightly.
- Sour Cream: Greek yogurt works splendidly as a substitute. It will contribute to the moisture just like sour cream does.

Conclusion
Old-fashioned banana nut bread is more than just a recipe; it represents comfort and connection. Each loaf tells a story, from childhood memories to modern-day gatherings. It’s easy, satisfying, and a staple in many homes.
So next time life hands you some overripe bananas, don’t just toss them; reach for your mixing bowl and create something extraordinary. Whether it’s enjoyed fresh from the oven or as a snack later, this classic dish serves more than vanilla sweetness and crunchy walnuts; it brings a slice of nostalgia with every bite.
Let the aroma fill your kitchen and the taste bring you joy. Happy baking!
You’ll also like the following recipes!

Old Fashioned Banana Nut Bread Recipe – Simple Food Dishes
Description
Banana nut bread has always held a special place in my heart. It reminds me of lazy Sunday mornings spent with family, where the only dilemma was whether to have it for breakfast or dessert. This timeless recipe is simple yet satisfying, and it’s perfect for using up those overripe bananas that often threaten to take over my fruit bowl.
Let’s take a deep dive into the process of making this classic dish, understanding its delicious flavor profile, and exploring how to make it your own.
Ingredients
Instructions
Step 1: Preheat Your Oven
-
Preheat your oven to 350°F (175°C). This initial step is crucial; an adequately heated oven helps create the perfect texture for the bread.
Step 2: Prepare Your Baking Pan
-
Grease a 9x5-inch loaf pan with cooking spray or butter, ensuring it’s well-coated. Alternatively, you could line the bottom with parchment paper. This little act of preparation can save you from a sticky situation later!
Step 3: Mix the Wet Ingredients
-
In a large mixing bowl, beat the eggs until fluffy. Then, add the granulated sugar and mix well. Stir in the vanilla extract, mashed bananas, vegetable oil, and sour cream until everything is well combined.
Step 4: Combine the Dry Ingredients
-
In another bowl, whisk together the all-purpose flour, baking soda, salt, and ground cinnamon (if using). This step ensures the baking soda is evenly distributed throughout the flour, which is key for even rising.
Step 5: Combine Wet and Dry Mixtures
-
Gently fold the dry ingredients into the wet ingredients. Be careful not to overmix; you want to combine them just until the flour is no longer visible. A few lumps are perfectly okay.
Step 6: Add the Chopped Walnuts
-
Next, fold in the coarsely chopped walnuts gently. Their crunch adds a delightful texture that contrasts beautifully with the soft bread.
Step 7: Pour Into the Pan
-
Transfer the batter into the prepared loaf pan. Smooth the top lightly with a spatula to ensure it bakes evenly.
Step 8: Bake
-
Place the loaf pan in your preheated oven. Bake for 55 to 60 minutes or until a toothpick inserted in the center comes out clean. If you notice the top getting too dark, tent it with aluminum foil halfway through baking.
Step 9: Cool and Enjoy
-
Once done, remove the bread from the oven and let it cool in the pan for about 10 minutes. Then, transfer it to a wire rack to cool completely. Slice, serve, and enjoy a taste of home!
Nutrition Facts
Servings 12
- Amount Per Serving
- Calories 200kcal
- % Daily Value *
- Total Fat 8g13%
- Total Carbohydrate 32g11%
- Dietary Fiber 1g4%
- Sugars 10g
- Protein 3g6%
* Percent Daily Values are based on a 2,000 calorie diet. Your daily value may be higher or lower depending on your calorie needs.
Note
- Use Overripe Bananas: The riper the bananas, the sweeter and more flavorful your bread will be.
- Add Chocolate Chips: For a decadent twist, try folding in some chocolate chips alongside the walnuts.
- Experiment with Nuts: Pecans or even macadamia nuts can be great alternatives to walnuts if you're feeling adventurous.
- Store Properly: To keep your bread moist, wrap it in plastic wrap and store it in an airtight container.
- Freeze for Later: This bread freezes beautifully. Wrap cooled loaves tightly in plastic wrap and keep them in the freezer for up to three months.