When it comes to breakfast, few things can beat a warm, fluffy waffle topped with your favorite flavors. Buttermilk waffles, in particular, hold a special place in my heart. They are rich and tender, boasting a delightful flavor that can elevate your morning routine.
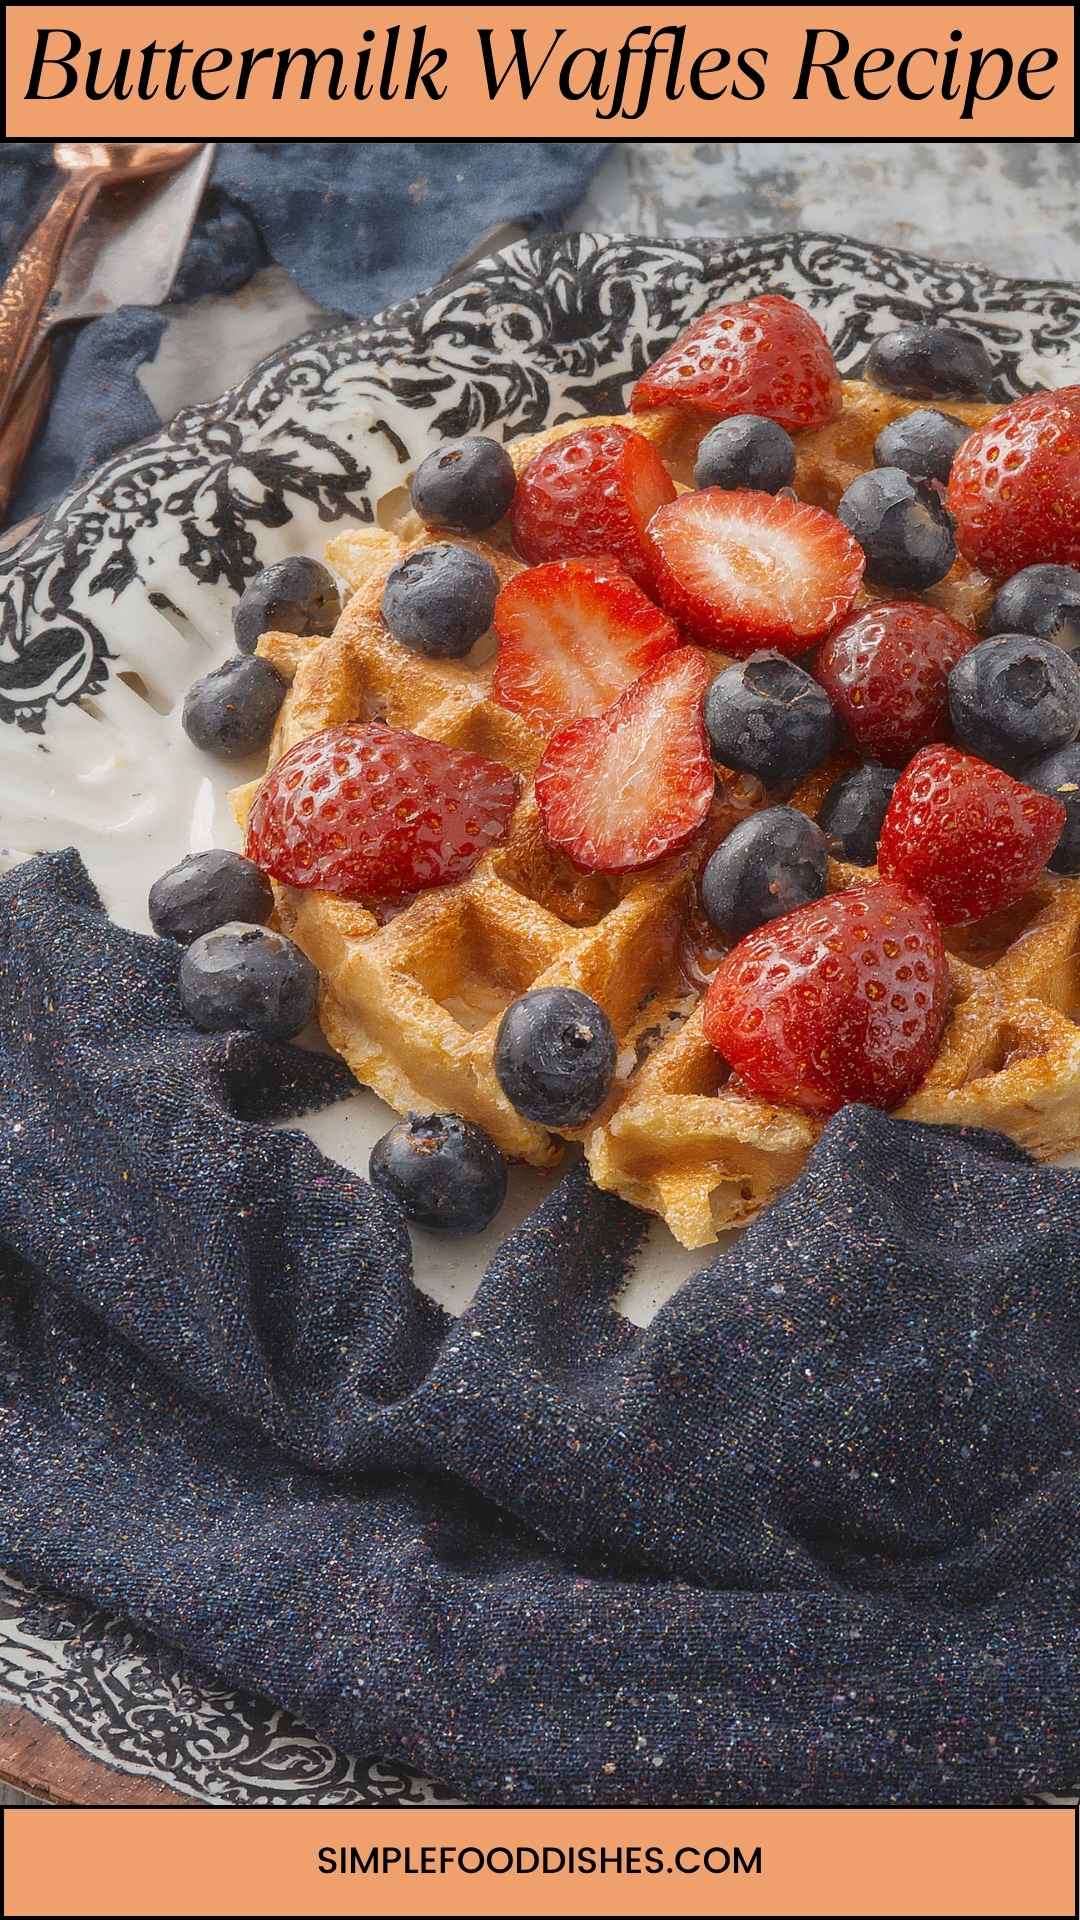
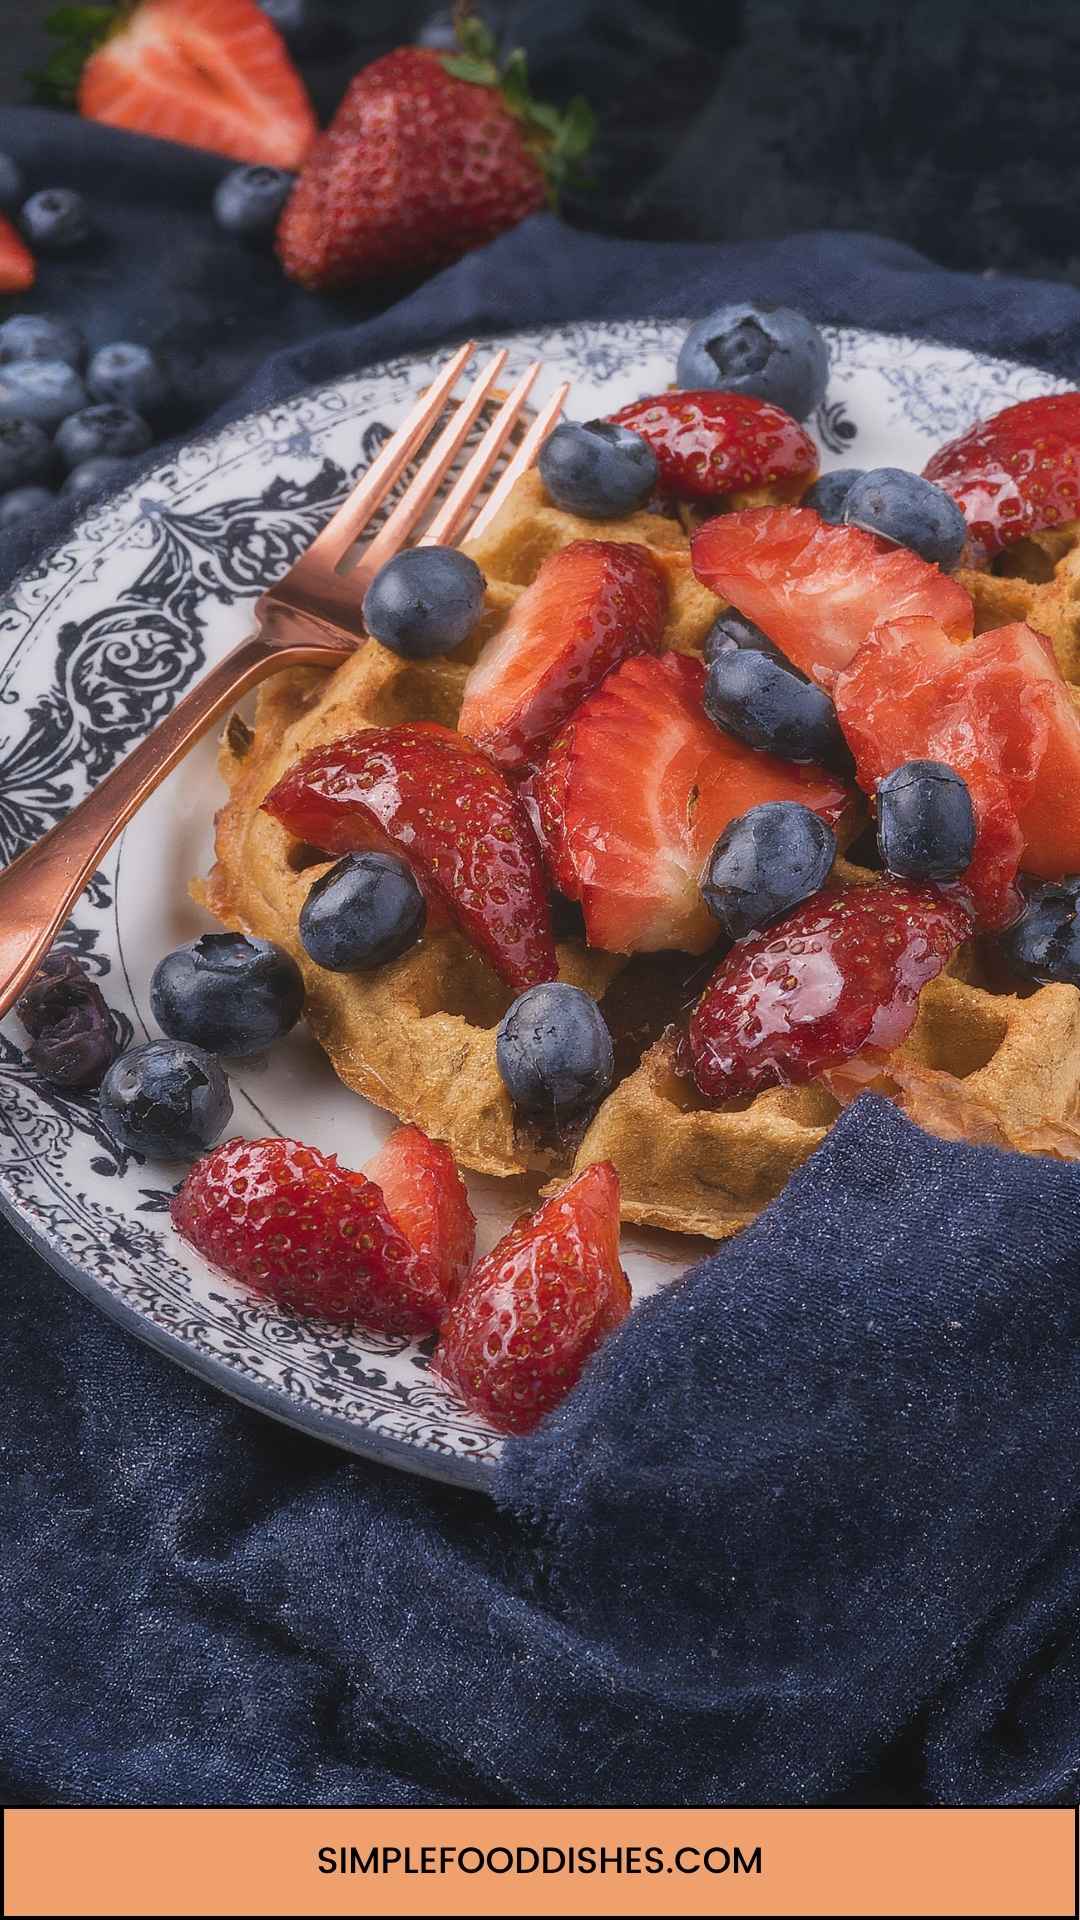
Now, let’s talk about what you can pair with these heavenly waffles. Fresh berries, whipped cream, maple syrup, or a dusting of powdered sugar can turn a simple breakfast into a feast. For the adventurous eater, consider a dollop of yogurt and a sprinkle of granola for added texture. Or go savory with crispy bacon or fried chicken for a Southern twist that’s sure to please.
What Is the Buttermilk Waffles Recipe?
Buttermilk waffles are a variation of traditional Belgian waffles, made using buttermilk, all-purpose flour, and a few basic ingredients. They tend to be lighter and fluffier than regular waffles, thanks to the acid in the buttermilk that activates the baking soda. This recipe is not only simple but also forgiving, allowing even inexperienced cooks to whip up a delicious batch with ease.
What Makes This Recipe Different from Other Buttermilk Waffle Recipes?
You might wonder, “What distinguishes this recipe from countless others out there?” Let me tell you—it’s all in the details. This recipe uses a combination of baking powder and baking soda, which helps achieve an airy texture and a golden exterior.
The melted butter adds a rich flavor while also contributing to that coveted crispy edge many of us seek. Plus, the addition of vanilla extract and a hint of cinnamon enhances the flavor profile without overwhelming the classic waffle taste. In this way, the recipe strikes a beautiful balance.
How Does It Taste?
You can expect a delightful blend of crispiness on the outside and pillowy softness on the inside. The buttermilk lends a subtle tang, setting it apart from standard waffles. The flavor is enriched further with notes of vanilla and a whisper of cinnamon. Every bite feels indulgent yet comforting—perfect for a cozy weekend breakfast or brunch gathering.
Ingredients You’ll Need to Make This Dish
Grab a pen and paper because we’re diving into the essentials! Here’s what you’ll need:
- 2 large farm-fresh eggs
- ½ teaspoon ground cinnamon (optional, for warmth)
- 2 cups cultured buttermilk, chilled
- ¼ teaspoon lemon zest (optional, for a bright hint)
- 2 teaspoons aluminum-free baking powder
- 1 teaspoon baking soda for lightness
- 1 teaspoon pure vanilla extract
- 2 tablespoons fine cane sugar
- 2 cups unbleached all-purpose flour
- ⅓ cup unsalted butter, melted and slightly cooled
- ½ teaspoon fine sea salt
These ingredients will yield about eight individual waffles, depending on your waffle iron size.
Step-by-Step Instructions
Let’s get cooking! Below is your roadmap to waffle perfection.
Step 1: Preheat Your Waffle Iron
First things first, plug in your waffle iron and preheat it according to the manufacturer’s instructions. This is crucial as a hot iron is key to achieving that crispy exterior.
Step 2: Mix the Wet Ingredients
In a large mixing bowl, combine the eggs, buttermilk, melted butter, vanilla extract, and lemon zest (if using). Whisk these together until well blended. The goal is to create a luscious base that will support the dry ingredients.
Step 3: Combine the Dry Ingredients
In a separate bowl, whisk together the flour, sugar, baking powder, baking soda, salt, and cinnamon. Make sure to mix them thoroughly to ensure an even distribution of the leavening agents.
Step 4: Incorporate Dry Into Wet
Slowly add the dry mixture to the wet ingredients, stirring gently until just combined. Avoid over-mixing; some lumps are fine. This mixture should feel thick and slightly lumpy.
Step 5: Cook the Waffles
Now that your batter is ready, it’s time to pour it onto the preheated waffle iron. Use a ladle to add enough batter to cover the iron’s surface slightly without overflowing. Close the lid and let the waffles cook according to your waffle iron’s instructions (usually around 5 minutes). You’ll know they’re done when they’re golden brown and your kitchen smells heavenly.
Step 6: Serve and Enjoy
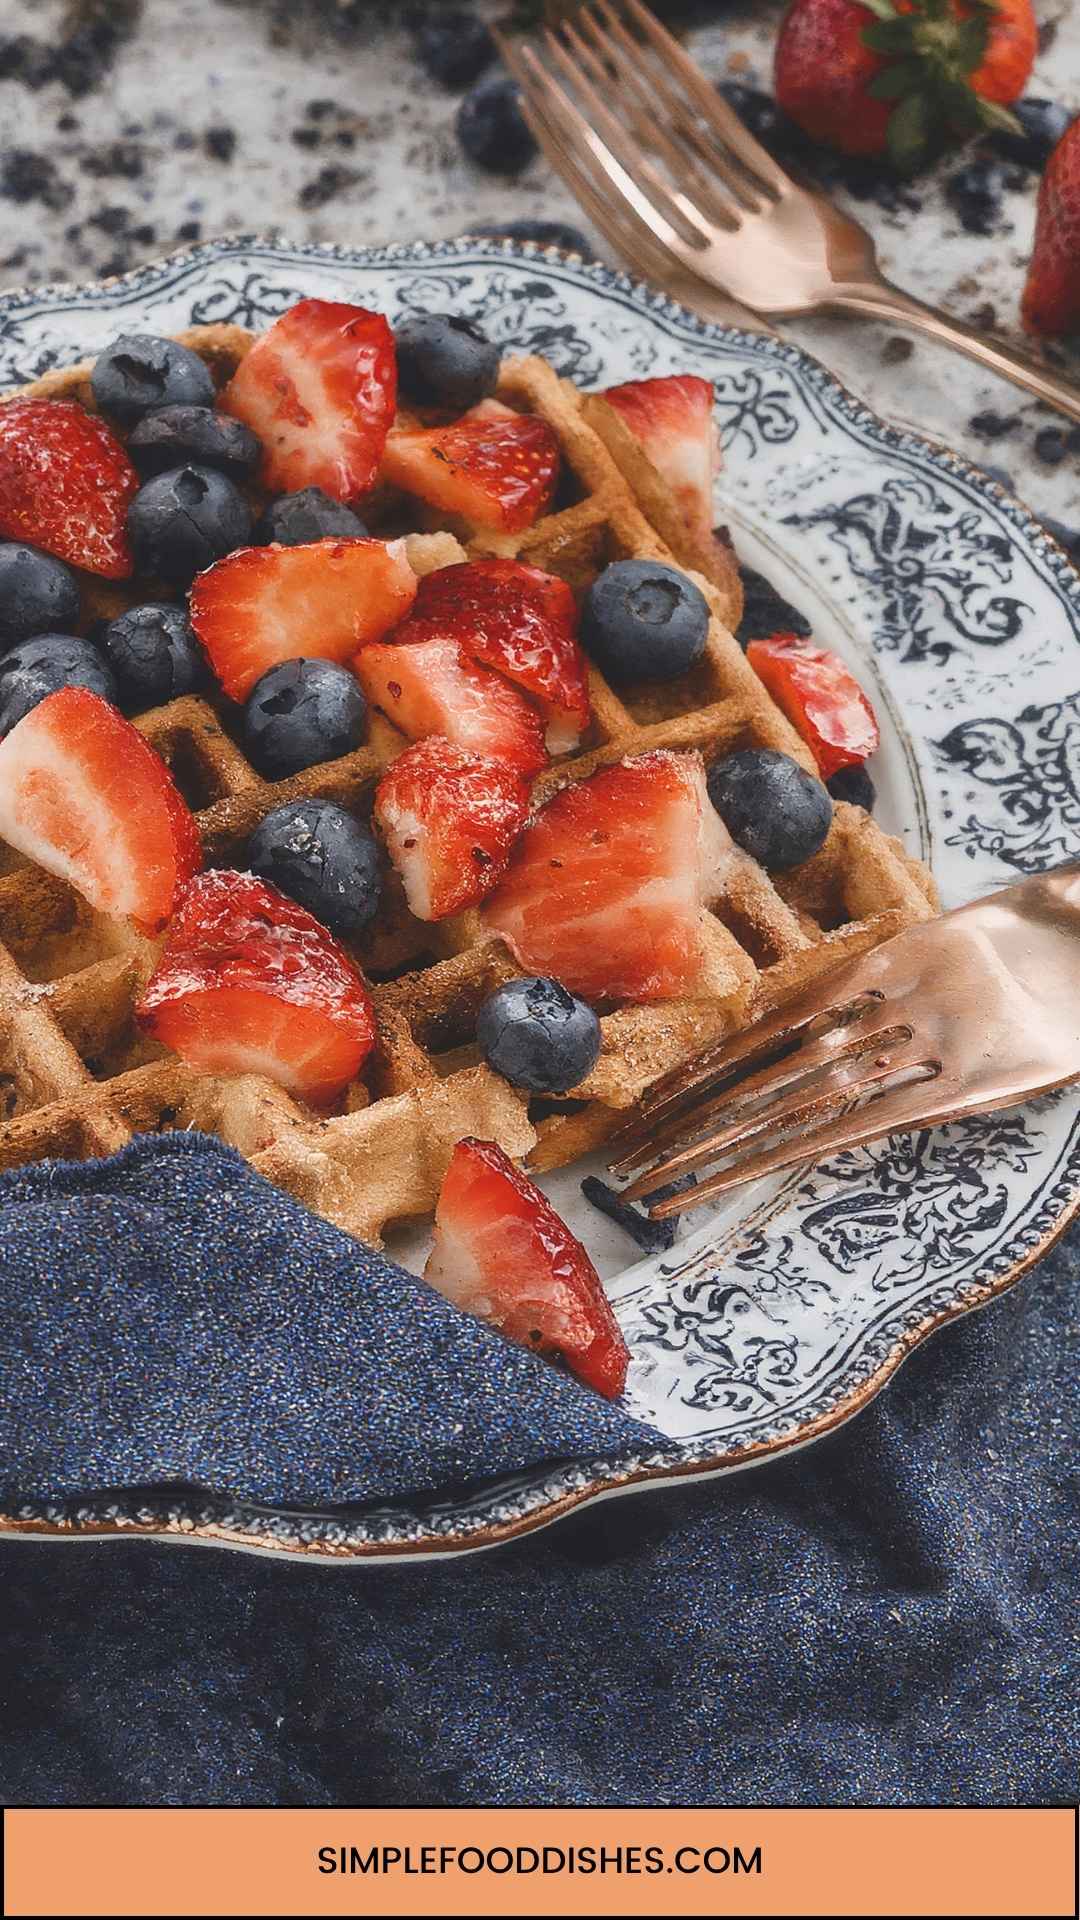
Carefully remove the waffles using a fork or tongs. Serve them warm, topped with your favorite toppings. I recommend a generous drizzle of maple syrup and a handful of fresh berries.
Tips & Tricks on Making Buttermilk Waffles
Here are some expert tips to elevate your waffle-making game:
- Don’t Rush the Batter: Let it rest for 5 minutes before cooking. This allows the leavening agents to start working, giving you fluffier waffles.
- Temperature Control: If your waffles are cooking too quickly, lower the temperature of your iron slightly. A lower and slower cook often yields more evenly cooked waffles.
- Add Extra Flavor: Play with spices. Nutmeg or cardamom can add an unexpected twist to your waffles if you’re feeling adventurous.
- Use Fresh Ingredients: Test your baking powder and baking soda for freshness. Old leavening agents may lead to flat waffles.
- Keep Them Warm: Haven’t finished all the waffles? Keep them warm in an oven set at low temperature (about 200°F) while you finish cooking the rest.
Nutrition Information
For those who are health-conscious, here’s a rough breakdown of the nutrition per serving (1 waffle):
- Calories: Approximately 220
- Protein: 5g
- Carbohydrates: 30g
- Fat: 10g
- Fiber: 1g
- Sugar: 2g
Note that these values may vary based on portion size and specific ingredients used.
How Do I Store This Dish?
If you have leftovers (which is often a hit or miss), you can store the cooked waffles in an airtight container in the fridge for up to 3 days. They can also be frozen for longer storage—just stack them with parchment paper in between to avoid sticking.
When you’re ready to enjoy, pop them in a toaster or oven until heated through and crispy again.
What Other Substitutes Can You Use in Buttermilk Waffles Recipe?
Getting creative in the kitchen can lead to some delicious discoveries. Here are some exciting substitutes you can make:
- Greek Yogurt: For those who want an alternative to buttermilk, mix plain Greek yogurt with an equal part of milk to mimic the texture and tang.
- Plant-Based Milk: Substitute buttermilk with almond milk or soy milk, just add a splash of vinegar or lemon juice for the tangy flavor.
- Gluten-Free Flour: You can swap regular flour with a 1-to-1 gluten-free flour blend. Make sure it contains xanthan gum for the best structure.
- Coconut Oil: Replace butter with melted coconut oil for a dairy-free option. This will add a subtle coconut flavor.
- Honey or Maple Sugar: Instead of cane sugar, consider sweetening your batter with honey or maple sugar for a unique taste profile.
Conclusion
Buttermilk waffles are a delightful blend of lightness, richness, and flavor, making them perfect for any breakfast table. With the incorporation of quality ingredients and a bit of care in preparation, your waffles will shine. Armed with this recipe and the insights provided, you can create a breakfast that not only fills bellies but warms hearts. So, fire up that waffle iron and let the deliciousness unfold!
You’ll also like the following recipes!

Buttermilk Waffles Recipe – Simple Food Dishes
Description
Waffles can often be a family favorite. Buttermilk waffles, for instance, offer that extra depth of flavor and tenderness that can make breakfast feel special. I remember the first time I discovered this recipe. A friend made them for brunch, and the moment I bit into one, I was hooked. The richness from the buttermilk combined with the lightness from the baking soda created a magical balance that danced on my taste buds.
In this post, I'll guide you through a detailed buttermilk waffle recipe filled with culinary insights, handy tips, and everything you need to turn out perfect waffles every time.
Ingredients
Instructions
Step 1: Preheat Your Waffle Iron
-
First things first, plug in your waffle iron and preheat it according to the manufacturer's instructions. This is crucial as a hot iron is key to achieving that crispy exterior.
Step 2: Mix the Wet Ingredients
-
In a large mixing bowl, combine the eggs, buttermilk, melted butter, vanilla extract, and lemon zest (if using). Whisk these together until well blended. The goal is to create a luscious base that will support the dry ingredients.
Step 3: Combine the Dry Ingredients
-
In a separate bowl, whisk together the flour, sugar, baking powder, baking soda, salt, and cinnamon. Make sure to mix them thoroughly to ensure an even distribution of the leavening agents.
Step 4: Incorporate Dry Into Wet
-
Slowly add the dry mixture to the wet ingredients, stirring gently until just combined. Avoid over-mixing; some lumps are fine. This mixture should feel thick and slightly lumpy.
Step 5: Cook the Waffles
-
Now that your batter is ready, it’s time to pour it onto the preheated waffle iron. Use a ladle to add enough batter to cover the iron’s surface slightly without overflowing. Close the lid and let the waffles cook according to your waffle iron's instructions (usually around 5 minutes). You’ll know they’re done when they’re golden brown and your kitchen smells heavenly.
Step 6: Serve and Enjoy
-
Carefully remove the waffles using a fork or tongs. Serve them warm, topped with your favorite toppings. I recommend a generous drizzle of maple syrup and a handful of fresh berries.
Nutrition Facts
Servings 6
- Amount Per Serving
- Calories 220kcal
- % Daily Value *
- Total Fat 10g16%
- Total Carbohydrate 30g10%
- Dietary Fiber 1g4%
- Sugars 2g
- Protein 5g10%
* Percent Daily Values are based on a 2,000 calorie diet. Your daily value may be higher or lower depending on your calorie needs.
Note
- Don’t Rush the Batter: Let it rest for 5 minutes before cooking. This allows the leavening agents to start working, giving you fluffier waffles.
- Temperature Control: If your waffles are cooking too quickly, lower the temperature of your iron slightly. A lower and slower cook often yields more evenly cooked waffles.
- Add Extra Flavor: Play with spices. Nutmeg or cardamom can add an unexpected twist to your waffles if you're feeling adventurous.
- Use Fresh Ingredients: Test your baking powder and baking soda for freshness. Old leavening agents may lead to flat waffles.
- Keep Them Warm: Haven’t finished all the waffles? Keep them warm in an oven set at low temperature (about 200°F) while you finish cooking the rest.


