Let’s kick this off with some delicious ideas on how you can elevate your homemade vanilla pudding. Picture this: a creamy, dreamy dessert that can be the star of your table or the perfect sidekick to your afternoon snack.
1. Fresh Fruit Salad: Dive into sweetness with a colorful fruit salad. The vanilla pudding serves as a silky base, complementing fruits like strawberries, bananas, or peaches.
2. Chocolate Crust Pie: Spread that pudding into a chocolate crust for a quick and delightful chocolate vanilla pie. It’s a two-for-one treat that combines rich chocolate with soft vanilla, creating a dessert that will have everyone asking for seconds.
3. Pudding Parfaits: Layer your pudding with crumbled graham crackers and whipped cream for a simple yet elegant parfait. It’s not just a treat; it’s an experience.
4. Cookies or Cakes: Use it as a filling for cookies or cakes. The creamy texture adds moisture and flavor that elevates your baked goods from ordinary to extraordinary.

What is DIY Homemade Instant Vanilla Pudding Mix?
At its core, DIY homemade instant vanilla pudding mix is a blend of carefully selected ingredients that you can prepare in advance.
It’s a versatile dessert that, when mixed with milk, turns into a smooth and creamy pudding in just minutes. The beauty of this homemade mix lies in its freshness and the ability to control what goes into your dessert.
Why This Recipe Works?
Sometimes, we find ourselves reaching for convenience without realizing that homemade can be just as simple, if not simpler. Let’s dive into the reasons why this DIY vanilla pudding mix is a must-try.
1. Fresh Ingredients: With this recipe, you use ingredients like real vanilla beans, rather than artificial flavorings. This enhances the overall flavor and gives a delightful richness to the pudding.
2. Customizable: The beauty of opting for homemade is control. Whether you want to use almond extract for a nutty nuance or change the sweetness level to your taste, this recipe allows for adjustments that pre-packaged versions simply don’t.
3. No Additives: Store-bought pudding often contains preservatives and artificial colors. When making your own mix, you can rest easy knowing that you are enjoying clean, wholesome ingredients.
4. Cost-Effective: In the long run, homemade mixes can save you money. A simple comparison of cost will likely show that purchasing bulk items will allow you to create multiple batches at a fraction of the price of store-bought versions.
Ingredients You’ll Need To Make This DIY Homemade Instant Vanilla Pudding Mix
Seeds from 2 whole vanilla beans
1 cup fine granulated sugar
¾ cup cornstarch powder
1 tablespoon finely grated lemon zest
¾ cup powdered nonfat milk
½ teaspoon kosher salt
1 teaspoon pure almond extract

How to Make This DIY Homemade Instant Vanilla Pudding Mix?
Let’s get down to the nitty-gritty of making the mix itself. Follow these simple steps:
Step 1: Gather Your Ingredients
Start by laying out all the items you’ll need. This includes your bowls, measuring cups, and spoons. Having everything ready makes the process smooth sailing.
Step 2: Prepare the Vanilla Beans
Cut the vanilla beans lengthwise and scrape out the seeds. You should be left with little flecks of vanilla goodness. Set these aside.
Step 3: Mix the Dry Ingredients
In a large mixing bowl, combine the granulated sugar, cornstarch, powdered milk, lemon zest, and kosher salt. Whisk these dry components together until they’re evenly blended.
Step 4: Incorporate the Vanilla Seeds and Almond Extract
Add the scraped vanilla bean seeds and the almond extract to the dry mix. Incorporate them gently. This step is where the magic begins. The aroma will transform your kitchen into a sweet haven.
Step 5: Store the Mix
Transfer your pudding mix into an airtight container. Ensure it’s sealed tightly. This mix can stay fresh for months when kept in a cool, dry place.
Step 6: When You’re Ready to Enjoy
To make the pudding, just measure out the desired amount of mix and combine it with the appropriate amount of milk (generally, 2 cups of milk for every ½ cup of mix) in a saucepan. Cook over medium heat, stirring constantly until it thickens and bubbles.
Tips for Making the Best Pudding Mix
Before you get started, here are five tips to enhance your pudding-making experience:
– Personalize Your Flavors: Feel free to add cocoa powder for chocolate pudding or use different extracts like coconut for a tropical twist.
– Adjust Sweetness: Taste your mix and adjust the sugar according to your preference. Everyone’s sweet tooth is different!
– Experiment with Textures: If you prefer a thicker pudding, increase the cornstarch slightly, or if you like it creamier, add more powdered milk.
– Be Patient: When cooking the pudding on the stove, resist the urge to rush. Stir consistently until it reaches the perfect consistency for silky smooth pudding.
– Cool Down Smartly: After cooking, let the pudding cool at room temperature before refrigerating. This helps to prevent a skin from forming on the top.
How to Store the Leftovers?
If you happen to have any pudding left over (which is rare!), don’t worry. You can store it in an airtight container in the refrigerator for up to three days. To prevent a skin from forming, cover the pudding with plastic wrap directly on the surface.
What are some recommended side dishes for DIY Homemade Instant Vanilla Pudding Mix?
Pairing is always key to a successful dessert. Here are some delightful options:
1. Chocolate Hazelnut Spread: Slather your pudding with chocolate hazelnut spread for an indulgent bite. The rich chocolate and creamy pudding create layers of flavor.
2. Whipped Cream: A classic on top of any pudding. A dollop adds elegance and lightness, balancing the rich pudding.
3. Crushed Cookies: Sprinkle crushed cookies or graham cracker crust on top for a delightful crunch. The texture contrast is simply heavenly.
4. Nut Toppings: Chopped almonds or walnuts can add a nutritious crunch which balances the creamy consistency of the pudding.
If the items are not available in your pantry, what are some substitute options for the ingredients?
Life happens, and recipes need adjustments. Here are some suggestions:
1. Vanilla Beans: If you can’t find whole vanilla beans, use 1 tablespoon of pure vanilla extract instead. While it may alter the texture slightly, it will still give you that lovely vanilla flavor.
2. Cornstarch: All-purpose flour can serve as a substitute for cornstarch, although you will need to use about twice as much due to its thickening properties.
3. Nonfat Milk Powder: If you do not have powdered milk, you can use regular milk, but keep in mind that it may affect the whisking and outcome of the pudding.
4. Granulated Sugar: Coconut sugar or honey can be used in place of granulated sugar, bearing in mind they may slightly change the sweetness and flavor profile.

Conclusion
By now, you should be convinced that creating your own DIY homemade instant vanilla pudding mix is not just feasible but also immensely satisfying.
Not only do you gain a deliciously rich pudding at your fingertips, but you also cultivate a culinary skill that enriches your kitchen repertoire. Imagine your family savoring each spoonful, the love and care you’ve put into the dish resonating in every bite.
It’s not just pudding; it’s a comforting journey back to the simple pleasures of life. So, gather those ingredients and jump into the joy of making your own pudding mix. You’ve got this—and I assure you, your taste buds will thank you!
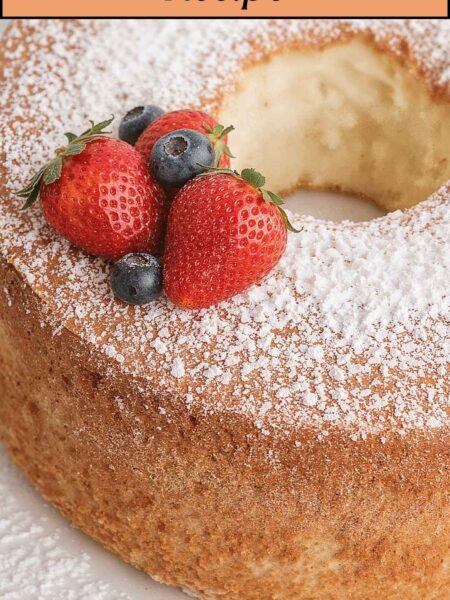
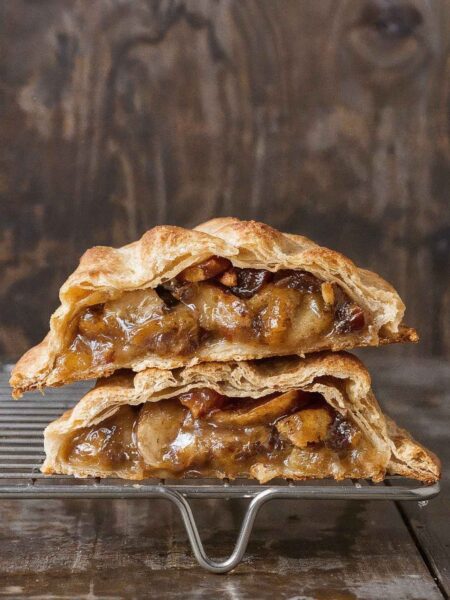
You’ll also like the following recipes!
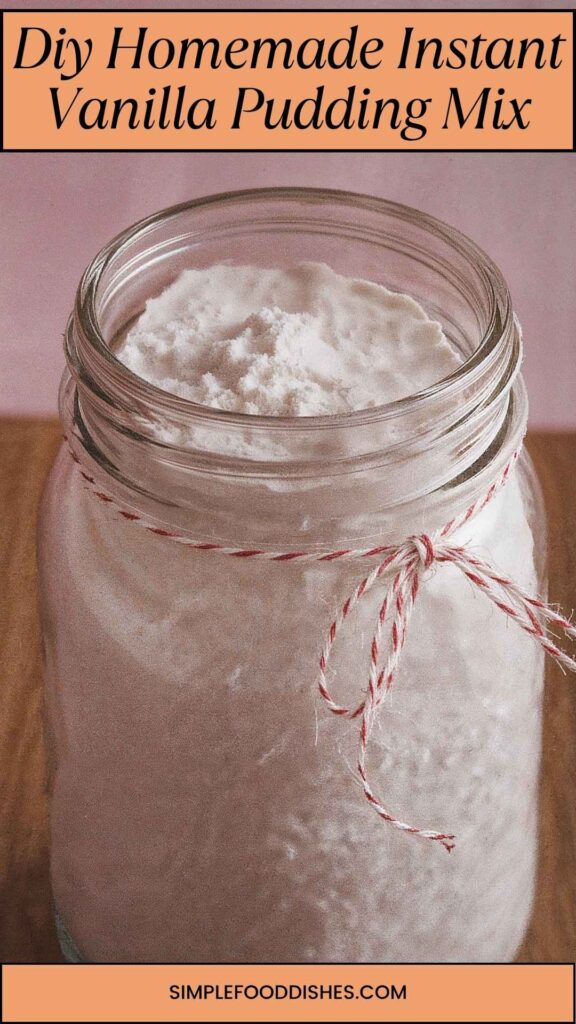

Diy Homemade Instant Vanilla Pudding Mix – Simple Food Dishes
Description
Have you ever found yourself staring at the store shelves, pondering whether to buy that pre-packaged instant vanilla pudding mix? What if I told you that making your own at home is not only easy but rewards you with superior taste and quality?
That’s right! In this article, I’ll guide you through a simple DIY process for creating homemade instant vanilla pudding mix. Trust me, after trying this recipe, you may never want to reach for those boxed mixes again.
Ingredients
Instructions
Step 1: Gather Your Ingredients
-
Start by laying out all the items you’ll need. This includes your bowls, measuring cups, and spoons. Having everything ready makes the process smooth sailing.
Step 2: Prepare the Vanilla Beans
-
Cut the vanilla beans lengthwise and scrape out the seeds. You should be left with little flecks of vanilla goodness. Set these aside.
Step 3: Mix the Dry Ingredients
-
In a large mixing bowl, combine the granulated sugar, cornstarch, powdered milk, lemon zest, and kosher salt. Whisk these dry components together until they’re evenly blended.
Step 4: Incorporate the Vanilla Seeds and Almond Extract
-
Add the scraped vanilla bean seeds and the almond extract to the dry mix. Incorporate them gently. This step is where the magic begins. The aroma will transform your kitchen into a sweet haven.
Step 5: Store the Mix
-
Transfer your pudding mix into an airtight container. Ensure it’s sealed tightly. This mix can stay fresh for months when kept in a cool, dry place.
Step 6: When You're Ready to Enjoy
-
To make the pudding, just measure out the desired amount of mix and combine it with the appropriate amount of milk (generally, 2 cups of milk for every ½ cup of mix) in a saucepan. Cook over medium heat, stirring constantly until it thickens and bubbles.
Nutrition Facts
Servings 22
- Amount Per Serving
- Calories 75kcal
- % Daily Value *
- Sodium 117mg5%
- Total Carbohydrate 19g7%
- Sugars 10g
* Percent Daily Values are based on a 2,000 calorie diet. Your daily value may be higher or lower depending on your calorie needs.
Note
- Personalize Your Flavors: Feel free to add cocoa powder for chocolate pudding or use different extracts like coconut for a tropical twist.
- Adjust Sweetness: Taste your mix and adjust the sugar according to your preference. Everyone’s sweet tooth is different!
- Experiment with Textures: If you prefer a thicker pudding, increase the cornstarch slightly, or if you like it creamier, add more powdered milk.
- Be Patient: When cooking the pudding on the stove, resist the urge to rush. Stir consistently until it reaches the perfect consistency for silky smooth pudding.
- Cool Down Smartly: After cooking, let the pudding cool at room temperature before refrigerating. This helps to prevent a skin from forming on the top.