Before diving into the magic of Jet Tila Fried Rice, let’s chat about pairing. Fried rice is a versatile dish that plays nicely with various sides. For a refreshing touch, consider a light cucumber salad dressed with rice vinegar and sesame oil. Do you enjoy a bit of heat? Spicy chili oil on the side can elevate the flavor profile significantly.
If you’re planning a feast, serving some crispy spring rolls can also be a great option. They provide a satisfying crunch and complement the soft texture of the fried rice. Alternatively, if you want to keep it simple, a side of miso soup adds depth to the meal without overpowering it. Think of this fried rice as a canvas—your choice of sides adds the finishing touches to a delightful culinary masterpiece.
How I’ve Used the Ingredients in This Recipe
In my journey of cooking, I’ve experimented with numerous ingredients that I now consider essential in my kitchen. The heart of fried rice is day-old rice; it’s a must. Freshly cooked rice? Not so much. Using leftover rice makes for a better texture. Plus, it’s a fantastic way to repurpose those extra grains. No one wants soggy fried rice!
As for the cooking oil, I lean towards a neutral-flavored oil like canola or vegetable oil. It allows the flavors to shine through. Garlic! Ah, garlic is my secret weapon. It adds a savory aroma and enhances the dish’s depth. For protein, thinly sliced chicken breast is my choice. You could also add shrimp or tofu, but I often have chicken on hand.
Soy sauce and oyster sauce work miracles for seasoning. Together with granulated sugar, they create a beautiful balance between salty and sweet. White pepper gives that distinctive kick, while green onions provide freshness and color.
Ingredients List with Measurements
Fried Rice:
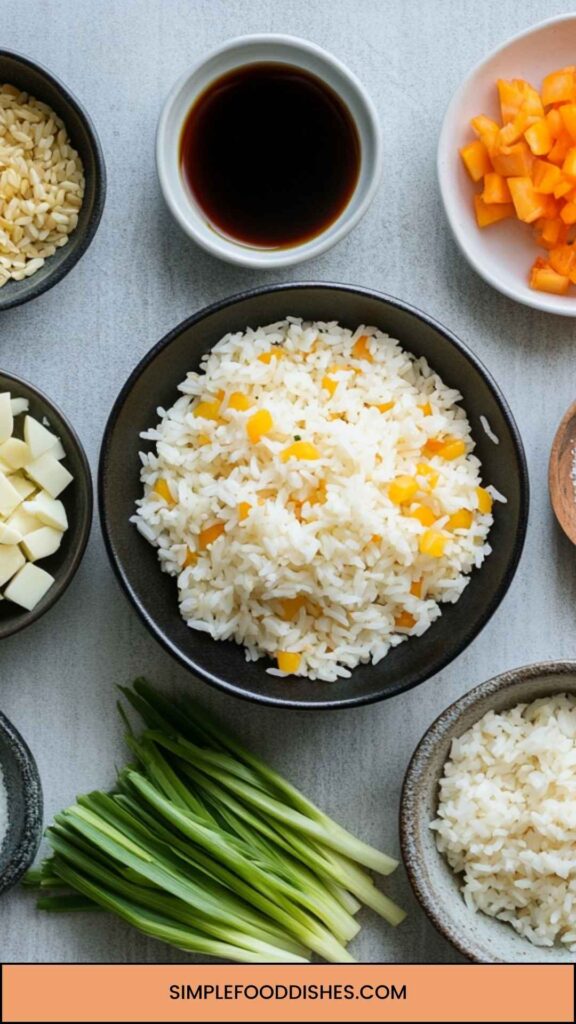
- 4 cups day-old rice (long grain or jasmine)
- 3 tablespoons cooking oil
- 4-6 garlic cloves, roughly chopped
- 2 large eggs, lightly beaten
- ½ teaspoon sea salt
- 1-2 tablespoons light soy sauce
- 1 tablespoon oyster sauce
- ½ tablespoon granulated sugar
- 2 teaspoons white pepper
- 2-3 green onions, chopped
Chicken & Marinade:
- 3-4 oz chicken breast, thinly sliced for stir-fry
- 1 teaspoon cornstarch
- 1 teaspoon baking soda
- 1 teaspoon vegetable oil
- Pinch of salt
- 1 teaspoon rice wine vinegar (optional, for subtle tang)
- ½ teaspoon sesame oil (optional, for aroma)
How to Make Jet Tila Fried Rice
Step 1: Prepare the Chicken Marinade
First, let’s take that chicken. I slice it into thin strips and toss it in a bowl with cornstarch, baking soda, a pinch of salt, and vegetable oil. Adding rice wine vinegar provides a touch of sophistication, and the sesame oil brings a delicious aroma. Let this sit for about 15 minutes. This helps tenderize the chicken, making it juicy and flavorful.
Step 2: Heat the Oil and Fry the Chicken
Next, in a large pan or wok, heat about a tablespoon of oil over high heat. Once it’s hot, add your marinated chicken in a single layer. This ensures it sears nicely. It only takes a couple of minutes until it’s cooked through and golden. Don’t overcrowd the pan; you want that sizzling sound. Once done, remove the chicken and set it aside.
Step 3: Sauté the Garlic
Now, in the same pan, toss in another tablespoon of oil if needed. Add your roughly chopped garlic. This is where the magic happens. Sauté it for about 30 seconds or until fragrant. Keep an eye on it; you don’t want it to burn!
Step 4: Scramble the Eggs
Here’s a fun little trick! Push the garlic to the side of the pan, making space in the center. Pour in your lightly beaten eggs. Let them sit for a few seconds before scrambling them. Once they start to set but are still slightly runny, mix them with the garlic.
Step 5: Add in the Rice and Sauces
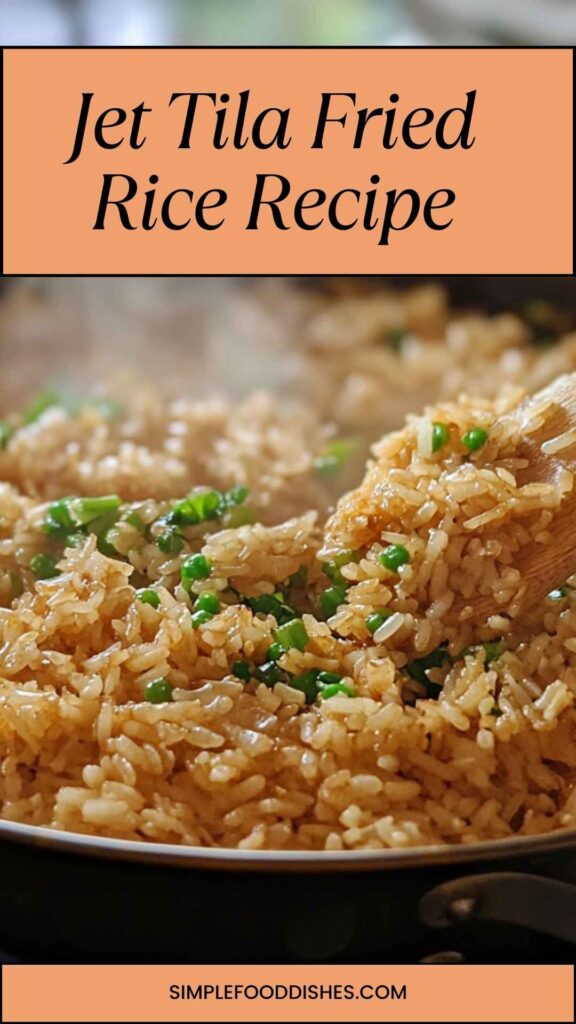
Now for the star of the show—the rice! Break up any clumps and add the day-old rice to the pan. Stir it around to combine with the eggs and garlic. Pour in the soy sauce and oyster sauce, then sprinkle the granulated sugar and white pepper. This is where the dish transforms into something phenomenal.
Step 6: Combine Everything
Finally, stir the cooked chicken back in. Toss everything together until fully combined, ensuring the rice is evenly coated in the sauces. Sprinkle chopped green onions over the top. Let it cook for an additional minute or so. This gives the rice a little more time to absorb all those incredible flavors.
Recipe Notes
- Day-Old Rice: Using rice that’s been cooked and cooled helps avoid clumping. Day-old rice has the right texture for fried rice.
- Cooking Oil: Any neutral oil works; I often use canola or vegetable oil. If you want an extra layer of flavor, consider using peanut oil.
- Soy Sauce: Light soy sauce is less salty than dark soy sauce. Adjust according to your taste preference.
- Oyster Sauce: This ingredient introduces sweetness and depth. However, if you’re vegetarian or vegan, feel free to use mushroom sauce.
- White Pepper versus Black Pepper: White pepper has a distinct taste, offering a subtle heat that’s commonly found in Asian cuisine.
- Green Onions: Their crispness adds freshness and a lovely color contrast to the dish. You could also garnish with sesame seeds for visual flair and taste.
Recipe Variations
Feeling playful? Here are some ways to switch things up:
- Vegetarian Version: Skip the chicken and load up on veggies like carrots, peas, bell peppers, and broccoli. Add tofu for protein.
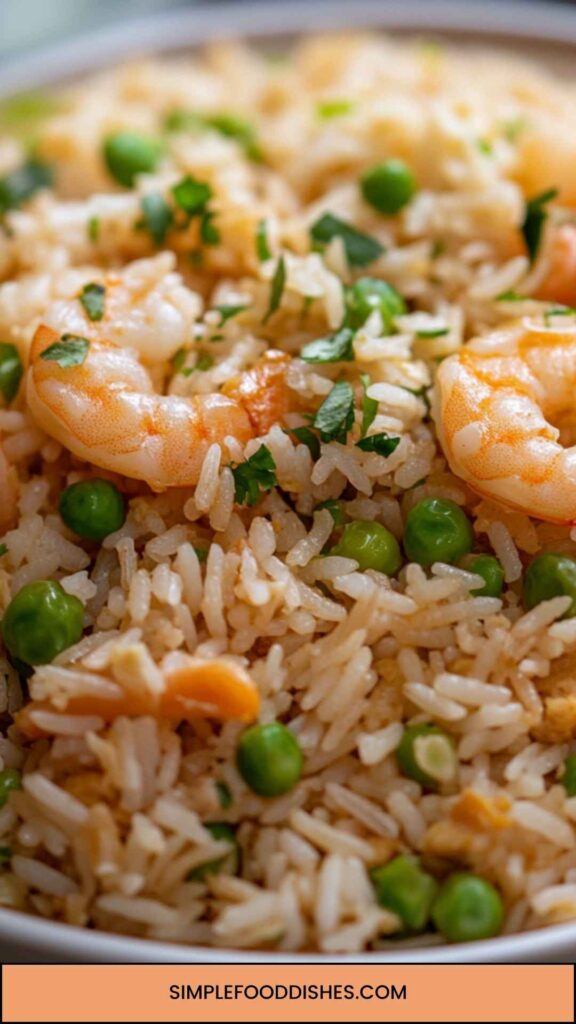
- Seafood Delight: Use shrimp instead of chicken. Shrimp cook quickly and develop a sweet flavor that pairs well with the sauces.
- Spicy Fried Rice: Add a dash of sriracha or chili paste to the sauce mix for a kick that will warm your taste buds.
- Extra Veggies: Toss in mushrooms, snap peas, or zucchini based on the seasonal veggies you have on hand.
- Curry Fried Rice: Stir in some curry powder for a unique twist. It will provide vibrant color and an entirely new flavor profile.
- Different Sauces: Experimenting with sauce combinations can yield fantastic results. Consider teriyaki or hoisin for a different taste.
Conclusion
Jet Tila Fried Rice is not just a recipe; it’s a celebration of flavors and efficiency in the kitchen. I cherish dishes that leave room for creativity and experimentation while staying grounded in tradition. Every bite tells a story of the ingredients working in harmony, and I hope you enjoy creating your own narrative with this dish.
Next time you’re looking for a quick meal that will impress, reach for this recipe. It’s my go-to, and I believe it will become a favorite of yours too. Happy cooking!
You’ll also like the following recipes!

Jet Tila Fried Rice Recipe – Simple Food Dishes
Description
Let’s get into why this Jet Tila Fried Rice is a favorite of mine. It is not just about taste; it’s practical too. It’s the kind of dish that can use up leftovers, saving time and reducing waste. Plus, it’s incredibly satisfying. Who doesn’t love a hearty bowl of fried rice that bursts with flavor?
I've always been a fan of quick meals that do not compromise on taste. I’ll tell you, this recipe makes use of ingredients that you likely have in your pantry or fridge. Frying rice is an art form in itself, yet with the right techniques and a few key ingredients, you can whip up something incredible.
Ingredients
Fried Rice:
Chicken & Marinade:
Instructions
Step 1: Prepare the Chicken Marinade
-
First, let’s take that chicken. I slice it into thin strips and toss it in a bowl with cornstarch, baking soda, a pinch of salt, and vegetable oil. Adding rice wine vinegar provides a touch of sophistication, and the sesame oil brings a delicious aroma. Let this sit for about 15 minutes. This helps tenderize the chicken, making it juicy and flavorful.
Step 2: Heat the Oil and Fry the Chicken
-
Next, in a large pan or wok, heat about a tablespoon of oil over high heat. Once it’s hot, add your marinated chicken in a single layer. This ensures it sears nicely. It only takes a couple of minutes until it's cooked through and golden. Don’t overcrowd the pan; you want that sizzling sound. Once done, remove the chicken and set it aside.
Step 3: Sauté the Garlic
-
Now, in the same pan, toss in another tablespoon of oil if needed. Add your roughly chopped garlic. This is where the magic happens. Sauté it for about 30 seconds or until fragrant. Keep an eye on it; you don’t want it to burn!
Step 4: Scramble the Eggs
-
Here's a fun little trick! Push the garlic to the side of the pan, making space in the center. Pour in your lightly beaten eggs. Let them sit for a few seconds before scrambling them. Once they start to set but are still slightly runny, mix them with the garlic.
Step 5: Add in the Rice and Sauces
-
Now for the star of the show—the rice! Break up any clumps and add the day-old rice to the pan. Stir it around to combine with the eggs and garlic. Pour in the soy sauce and oyster sauce, then sprinkle the granulated sugar and white pepper. This is where the dish transforms into something phenomenal.
Step 6: Combine Everything
-
Finally, stir the cooked chicken back in. Toss everything together until fully combined, ensuring the rice is evenly coated in the sauces. Sprinkle chopped green onions over the top. Let it cook for an additional minute or so. This gives the rice a little more time to absorb all those incredible flavors.
Nutrition Facts
Servings 2
- Amount Per Serving
- Calories 2344kcal
- % Daily Value *
- Total Fat 59.3g92%
- Saturated Fat 12.5g63%
- Trans Fat 0.2g
- Cholesterol 526mg176%
- Sodium 1446mg61%
- Total Carbohydrate 303g101%
- Dietary Fiber 16g64%
- Sugars 11g
- Protein 142g284%
* Percent Daily Values are based on a 2,000 calorie diet. Your daily value may be higher or lower depending on your calorie needs.
Note
- Day-Old Rice: Using rice that’s been cooked and cooled helps avoid clumping. Day-old rice has the right texture for fried rice.
- Cooking Oil: Any neutral oil works; I often use canola or vegetable oil. If you want an extra layer of flavor, consider using peanut oil.
- Soy Sauce: Light soy sauce is less salty than dark soy sauce. Adjust according to your taste preference.
- Oyster Sauce: This ingredient introduces sweetness and depth. However, if you're vegetarian or vegan, feel free to use mushroom sauce.
- White Pepper versus Black Pepper: White pepper has a distinct taste, offering a subtle heat that's commonly found in Asian cuisine.
- Green Onions: Their crispness adds freshness and a lovely color contrast to the dish. You could also garnish with sesame seeds for visual flair and taste.


