When it comes to dining, balance is key. Paneer fried rice is a delightful dish that stands well on its own, but there are many pairs that elevate its enjoyment. Consider serving it with a side of tangy cucumber raita or a refreshing mixed salad.
A few dollops of spicy mango chutney can add a zest that complements the rice beautifully. For a protein boost, grilled chicken or tofu skewers work wonders. And don’t forget about a nice drink! A chilled glass of lemonade or iced tea would be the perfect sip to round off your meal.
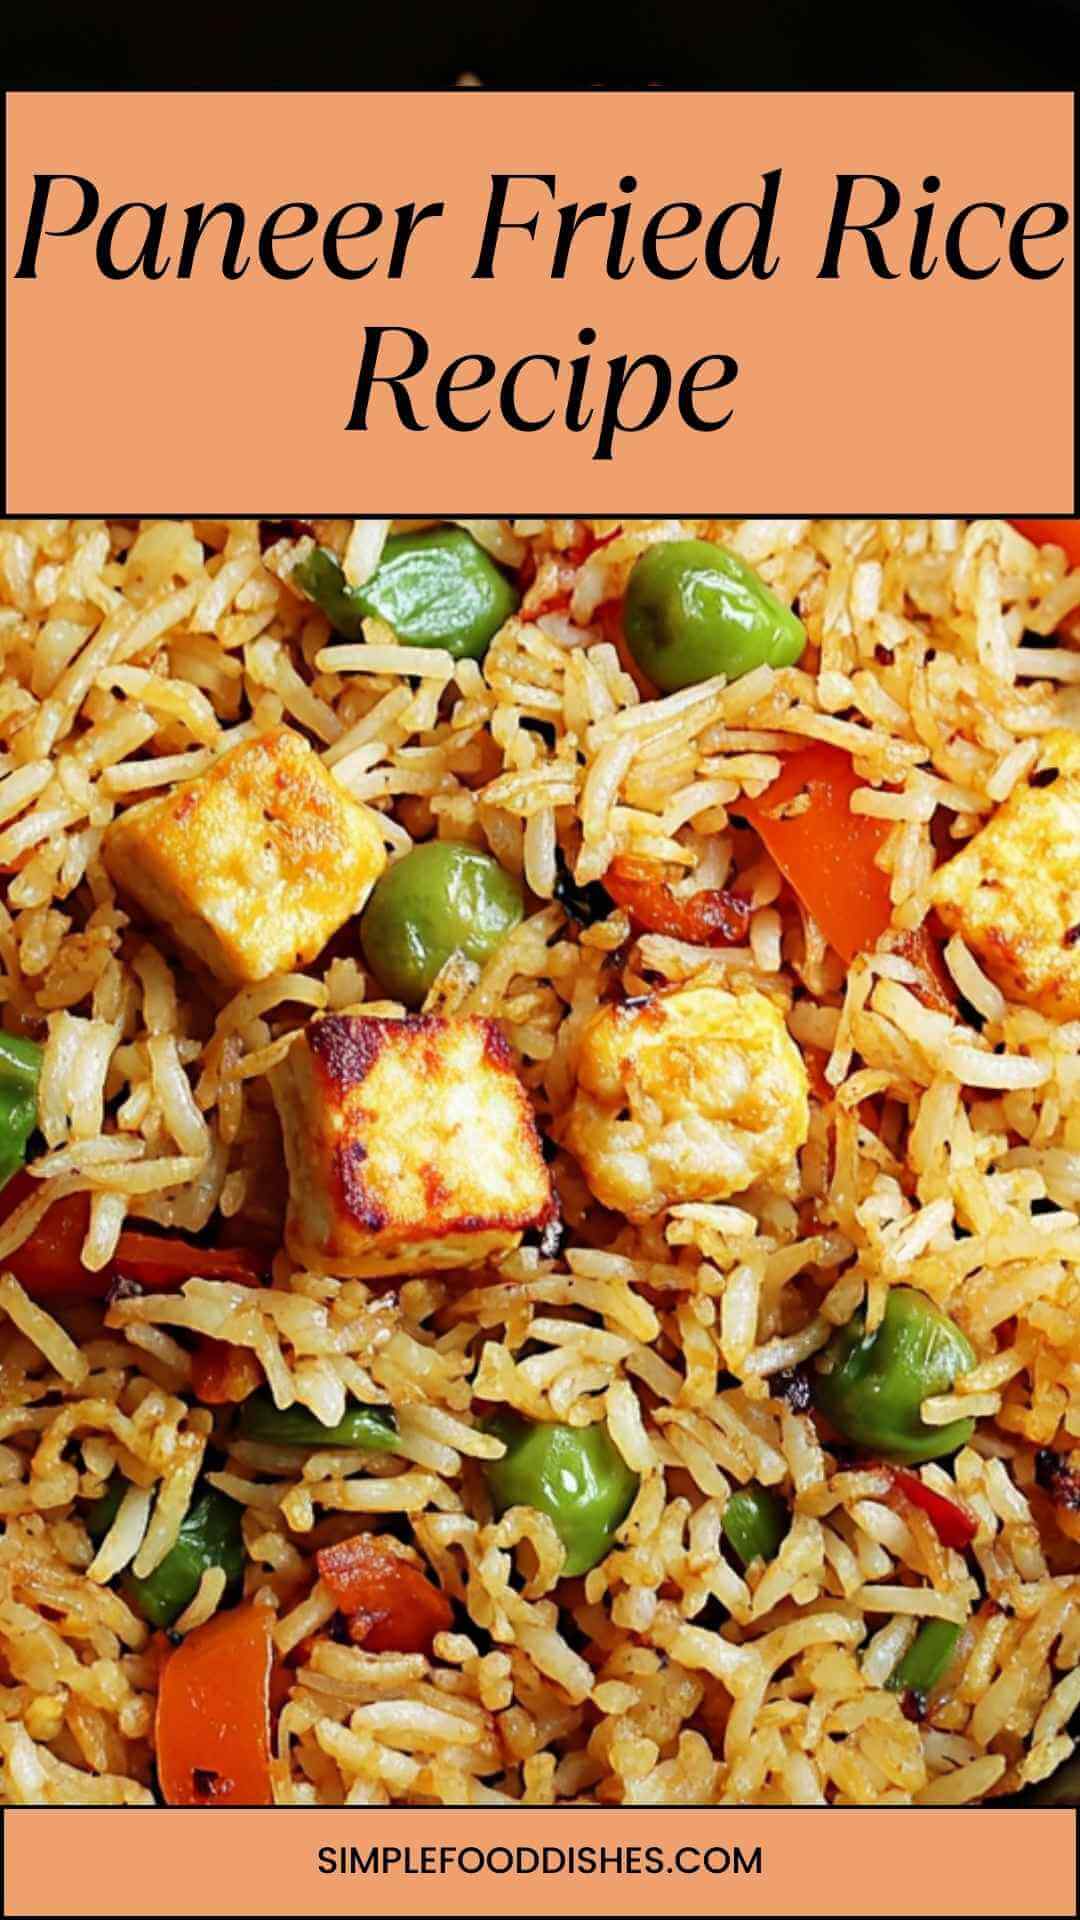
What is Paneer Fried Rice?
Paneer fried rice is a delicious fusion dish that marries Indian flavors with the classic comfort of fried rice. It typically combines cooked rice with cubes of soft paneer cheese, spices, and fresh vegetables. This dish is a celebration of textures and tastes.
Imagine tender rice, crunchy vegetables, and the creamy richness of paneer all in one bite. It’s vegetarian-friendly, filling, and satisfies even the pickiest of eaters.
What is the Flavor Profile of This Dish?
The flavor of paneer fried rice is a delightful blend. It begins with a savory foundation, thanks to soy sauce that adds umami depth. The spices, including chili powder and garam masala, bring warmth and a bit of heat.
Meanwhile, the ginger-garlic paste introduces a fragrant layer, while fresh vegetables provide a crisp, refreshing contrast. Each forkful is a harmonious mix of salty, spicy, and creamy—perfection on a plate!
What Makes This Recipe Different from Other Paneer Fried Rice?
What sets my recipe apart is the emphasis on fresh ingredients and the balance of spices. Many store-bought versions can be heavy and lack depth. Here, I use a mix of spices that enhance the flavor without overpowering it.
The use of ginger-garlic paste creates a fragrant background, infusing the dish with an aromatic kick. Plus, the addition of yogurt adds a tangy creaminess that isn’t commonly found in traditional recipes.
Ingredients You’ll Need
Here’s the shopping list for whipping up this mouthwatering dish:
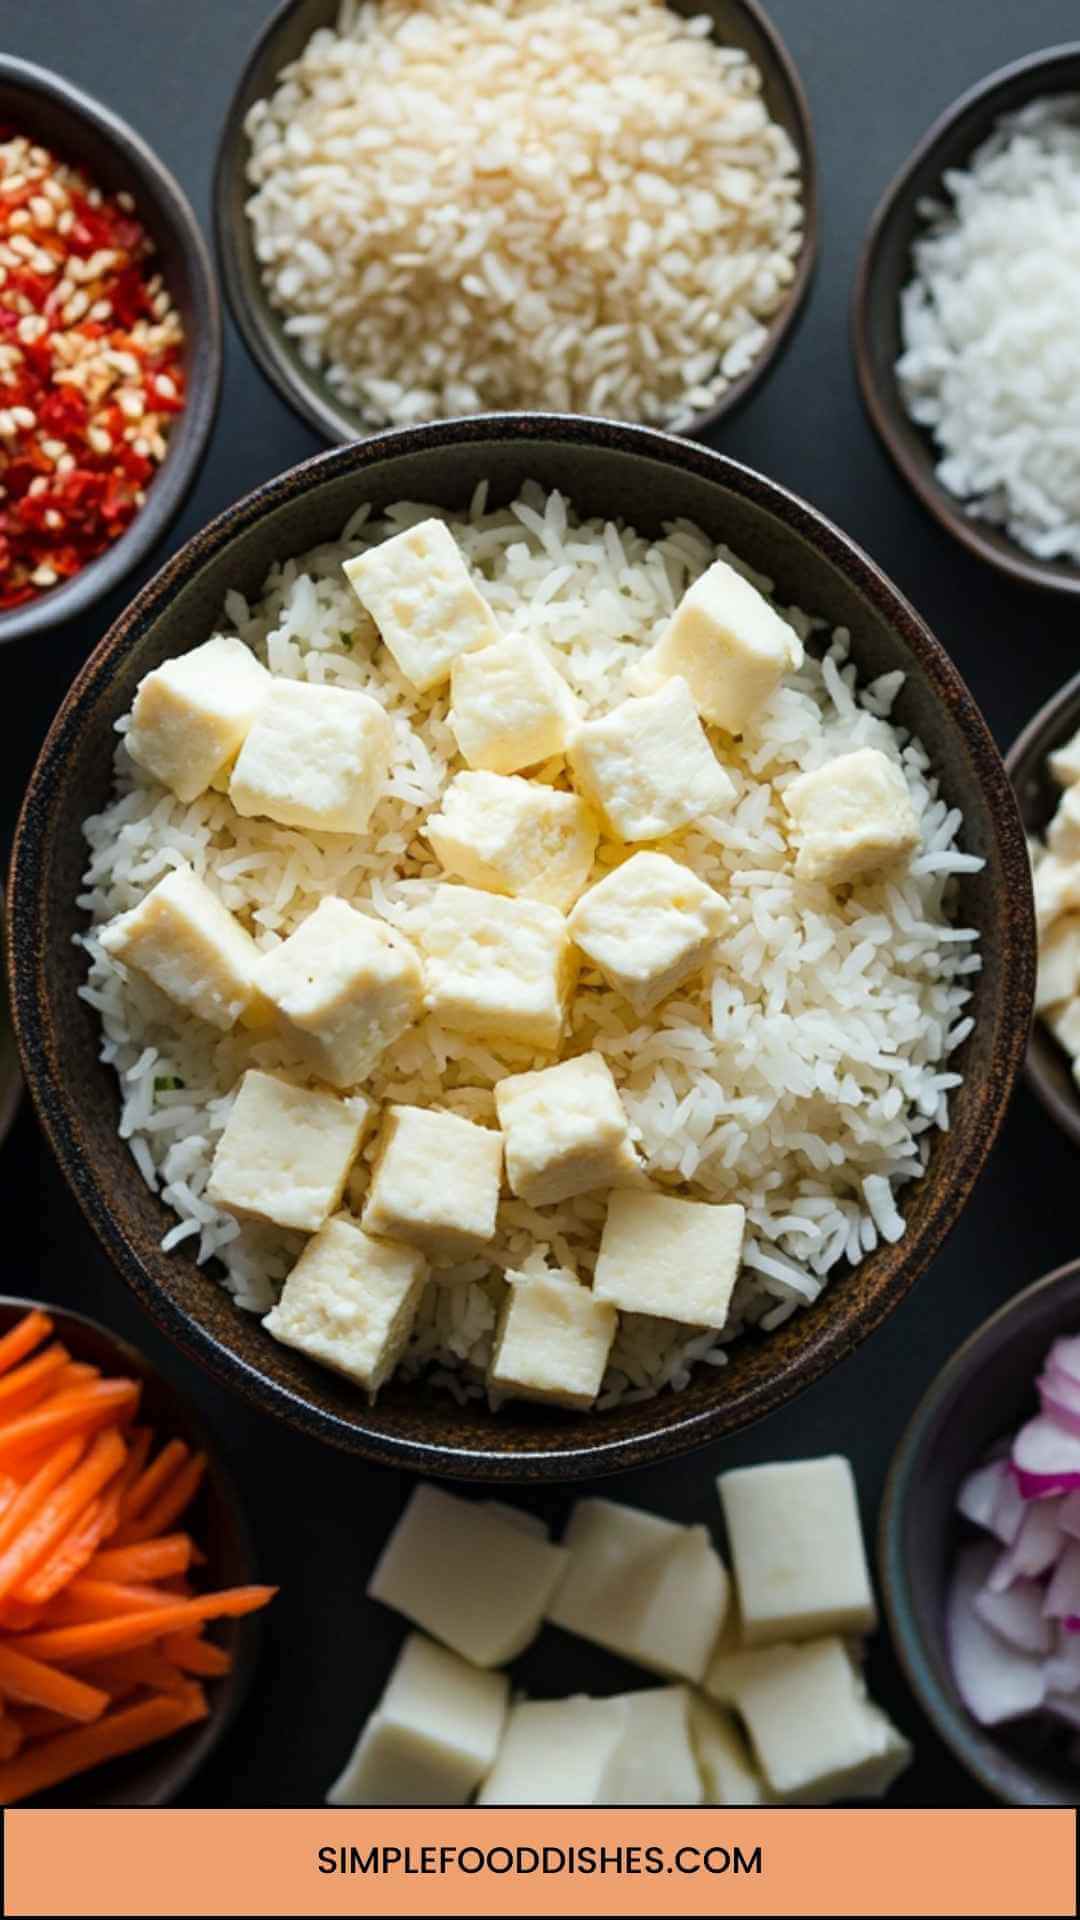
- 1 cup uncooked rice (or 2 to 2½ cups cooked rice)
- 2 tablespoons oil (divided)
- 1 to 1½ tablespoons soy sauce
- ¼ teaspoon salt (adjust to taste)
- ½ teaspoon chili powder
- ¼ to ½ teaspoon garam masala
- ⅛ teaspoon ground turmeric
- ½ teaspoon ginger-garlic paste
- ¼ to ½ teaspoon black pepper (to taste)
- 2 cloves garlic, minced
- 1 green chili, chopped
- ¾ to 1 cup paneer (cold, cubed)
- 2 to 3 tablespoons thick yogurt (Greek style)
- ¼ to ½ cup chopped spring onions (separate the whites and greens)
- ½ cup finely diced carrot
- ¼ to ½ cup chopped bell peppers (choose colors like red, yellow, or green)
- 1 tablespoon toasted sesame seeds
- 1 teaspoon lemon juice
Step by Step Directions
Let’s dive into the preparations. Each step is easy and straightforward. I know you’ll nail it!
Step 1: Cook the Rice
Begin by cooking the rice according to package instructions. If you’re short on time, leftover rice works wonderfully. Aim for a grain that isn’t mushy; you want each grain to hold its shape.
Step 2: Prepare the Ingredients
While the rice cooks, chop the vegetables. Dice the carrots and bell peppers, mince the garlic, and cube the paneer. The more colorful your veggies, the more appealing your dish will be!
Step 3: Sauté the Aromatics
In a skillet, heated over medium-high heat, add one tablespoon of oil. Once hot, toss in the minced garlic and chopped green chili. Sauté for about 30 seconds until fragrant. Keep an eye on it—burnt garlic is not your friend!
Step 4: Cook the Vegetables
Next, add in the carrots and bell peppers to your skillet. Stir-fry for around 2–3 minutes until they soften slightly but still retain some crunch.
Step 5: Fry the Paneer
Throw in the cubed paneer and the remaining tablespoon of oil. Gently fry everything together. After a few minutes, sprinkle the spices: chili powder, garam masala, turmeric, and black pepper. Mix well, ensuring every piece of paneer is coated.
Step 6: Combine Rice, Sauce, and Vegetables
Once the paneer is slightly golden, add the cooked rice and soy sauce. Stir gently, ensuring to incorporate all the ingredients without breaking the rice grains.
Step 7: Add Yogurt and Spring Onions
Off the heat, mix in your yogurt and half of the chopped spring onions. The yogurt adds a lovely creaminess that balances the spices.
Step 8: Garnish and Serve
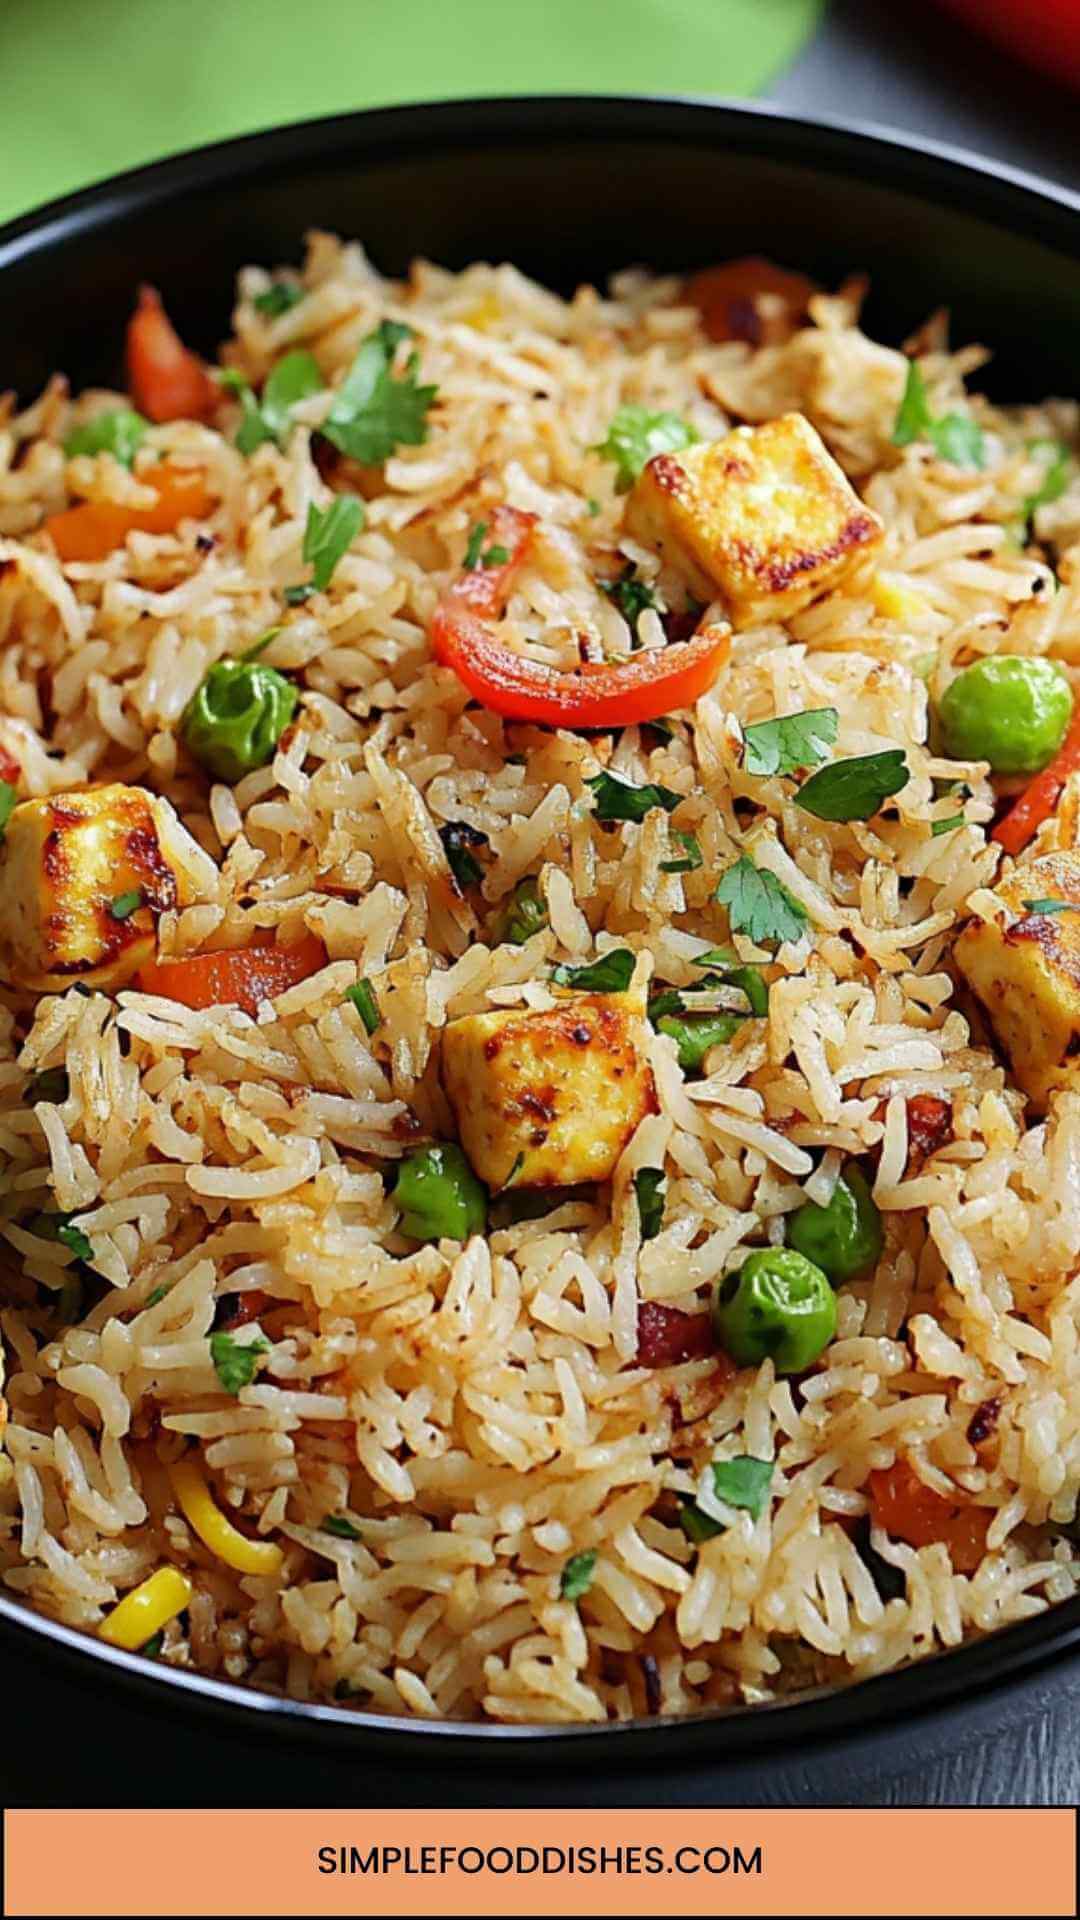
To finish, sprinkle the toasted sesame seeds and remaining spring onions on top. A squeeze of lemon juice brightens the flavors. Serve warm and enjoy your creation!
Tips on Making Paneer Fried Rice
Here are my top five tips for perfecting your paneer fried rice:
- Use Leftover Rice: Cold rice works best for fried rice. It won’t clump together when you fry it.
- Customize the Veggies: Feel free to add or replace vegetables depending on what you have. Zucchini or peas can also be great additions.
- Spice It Up: Adjust the heat level based on your taste. Want it hotter? Add more green chili or a dash of chili flakes.
- Make It Creamy: Consider adding more yogurt if you prefer a creamier texture.
- Don’t Skip the Lemon: The squeeze of lemon just before serving brightens everything up. It’s an essential touch!
How Can I Store This Paneer Fried Rice?
If you’re lucky enough to have leftovers, store your paneer fried rice in an airtight container. It will keep well in the fridge for about 3–4 days. Just reheat it in a skillet or microwave before enjoying it again.
You can also freeze it for up to a month. Cool it completely before transferring it to a freezer-safe container, but remember, the texture may slightly change upon thawing.
Substitute Options for the Ingredients
Sometimes, life throws curveballs, and you may find yourself short on certain ingredients. Here are some alternatives:
- Rice: Quinoa or cauliflower rice can be used instead for a lower-carb version.
- Paneer: If you can’t find paneer, tofu is an excellent substitute. It picks up flavors well and offers a similar texture.
- Vegetables: You may use any leftover veggies you have, such as broccoli or snap peas. Just adjust cooking times accordingly.
- Soy Sauce: If you’re watching your sodium intake, consider using low-sodium soy sauce or a homemade alternative made with tamari.
Conclusion
After spinning through the flavors and textures of paneer fried rice, I hope you see it as more than just a meal. It’s an experience—one that buzzes with color and comfort. Whether you’re serving it at a family gathering or whipping it up for a cozy weeknight dinner, it’s sure to please.
Don’t just take my word for it; bring your own kitchen adventures to life with this dish. Cook it, savor it, and share it. Happy cooking!
You’ll also like the following recipes!
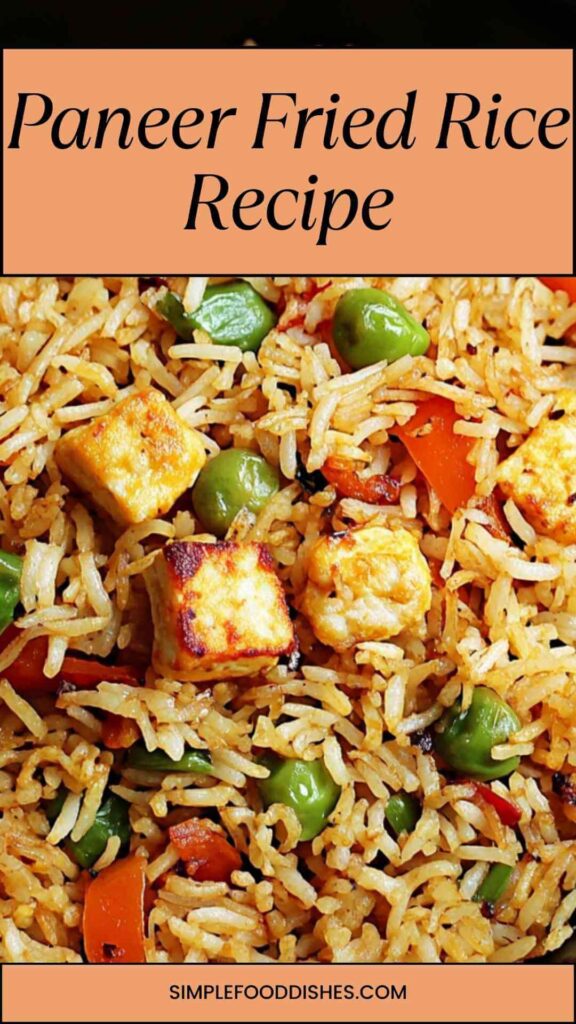
Paneer Fried Rice Recipe – Simple Food Dishes
Description
Let’s take a culinary journey together, shall we? It’s a Saturday afternoon, and the sun is peeking through the clouds. I find myself craving something comforting yet vibrant. Enter paneer fried rice.
This dish has become a staple in my kitchen, combining the nutritional benefits of paneer with the wholesome goodness of rice, all while bursting with rich flavors. In this blog post, I'll share everything you need to know about paneer fried rice, from its flavor profile to preparation tips.
Ingredients
Instructions
Step 1: Cook the Rice
-
Begin by cooking the rice according to package instructions. If you’re short on time, leftover rice works wonderfully. Aim for a grain that isn’t mushy; you want each grain to hold its shape.
Step 2: Prepare the Ingredients
-
While the rice cooks, chop the vegetables. Dice the carrots and bell peppers, mince the garlic, and cube the paneer. The more colorful your veggies, the more appealing your dish will be!
Step 3: Sauté the Aromatics
-
In a skillet, heated over medium-high heat, add one tablespoon of oil. Once hot, toss in the minced garlic and chopped green chili. Sauté for about 30 seconds until fragrant. Keep an eye on it—burnt garlic is not your friend!
Step 4: Cook the Vegetables
-
Next, add in the carrots and bell peppers to your skillet. Stir-fry for around 2–3 minutes until they soften slightly but still retain some crunch.
Step 5: Fry the Paneer
-
Throw in the cubed paneer and the remaining tablespoon of oil. Gently fry everything together. After a few minutes, sprinkle the spices: chili powder, garam masala, turmeric, and black pepper. Mix well, ensuring every piece of paneer is coated.
Step 6: Combine Rice, Sauce, and Vegetables
-
Once the paneer is slightly golden, add the cooked rice and soy sauce. Stir gently, ensuring to incorporate all the ingredients without breaking the rice grains.
Step 7: Add Yogurt and Spring Onions
-
Off the heat, mix in your yogurt and half of the chopped spring onions. The yogurt adds a lovely creaminess that balances the spices.
Step 8: Garnish and Serve
-
To finish, sprinkle the toasted sesame seeds and remaining spring onions on top. A squeeze of lemon juice brightens the flavors. Serve warm and enjoy your creation!
Nutrition Facts
Servings 2
- Amount Per Serving
- Calories 771kcal
- % Daily Value *
- Total Fat 41.9g65%
- Saturated Fat 10.3g52%
- Trans Fat 0.1g
- Cholesterol 119mg40%
- Sodium 734mg31%
- Total Carbohydrate 64g22%
- Dietary Fiber 15g60%
- Sugars 30g
- Protein 53g106%
* Percent Daily Values are based on a 2,000 calorie diet. Your daily value may be higher or lower depending on your calorie needs.
Note
- Use Leftover Rice: Cold rice works best for fried rice. It won’t clump together when you fry it.
- Customize the Veggies: Feel free to add or replace vegetables depending on what you have. Zucchini or peas can also be great additions.
- Spice It Up: Adjust the heat level based on your taste. Want it hotter? Add more green chili or a dash of chili flakes.
- Make It Creamy: Consider adding more yogurt if you prefer a creamier texture.
- Don’t Skip the Lemon: The squeeze of lemon just before serving brightens everything up. It’s an essential touch!


