Before diving into the delicious details of Simple Dutch Apple Pie, let’s talk about what to enjoy with this fantastic dessert. Imagine a warm slice of pie, its crust perfectly golden and flaky, accompanied by a scoop of vanilla ice cream.
The rich creaminess of the ice cream contrasts beautifully with the soft, spiced apples. If you want to add a little twist, consider pairing this pie with a dollop of whipped cream or even a splash of heavy cream, which adds richness.
For beverages, a hot cup of spiced apple cider can amplify those cozy flavors. Alternatively, a refreshing vanilla-infused iced tea can provide a lovely balance on a warm day. Oh, and don’t forget coffee! A strong brew truly complements the sweet and tart notes of the apples.
What is Simple Dutch Apple Pie?
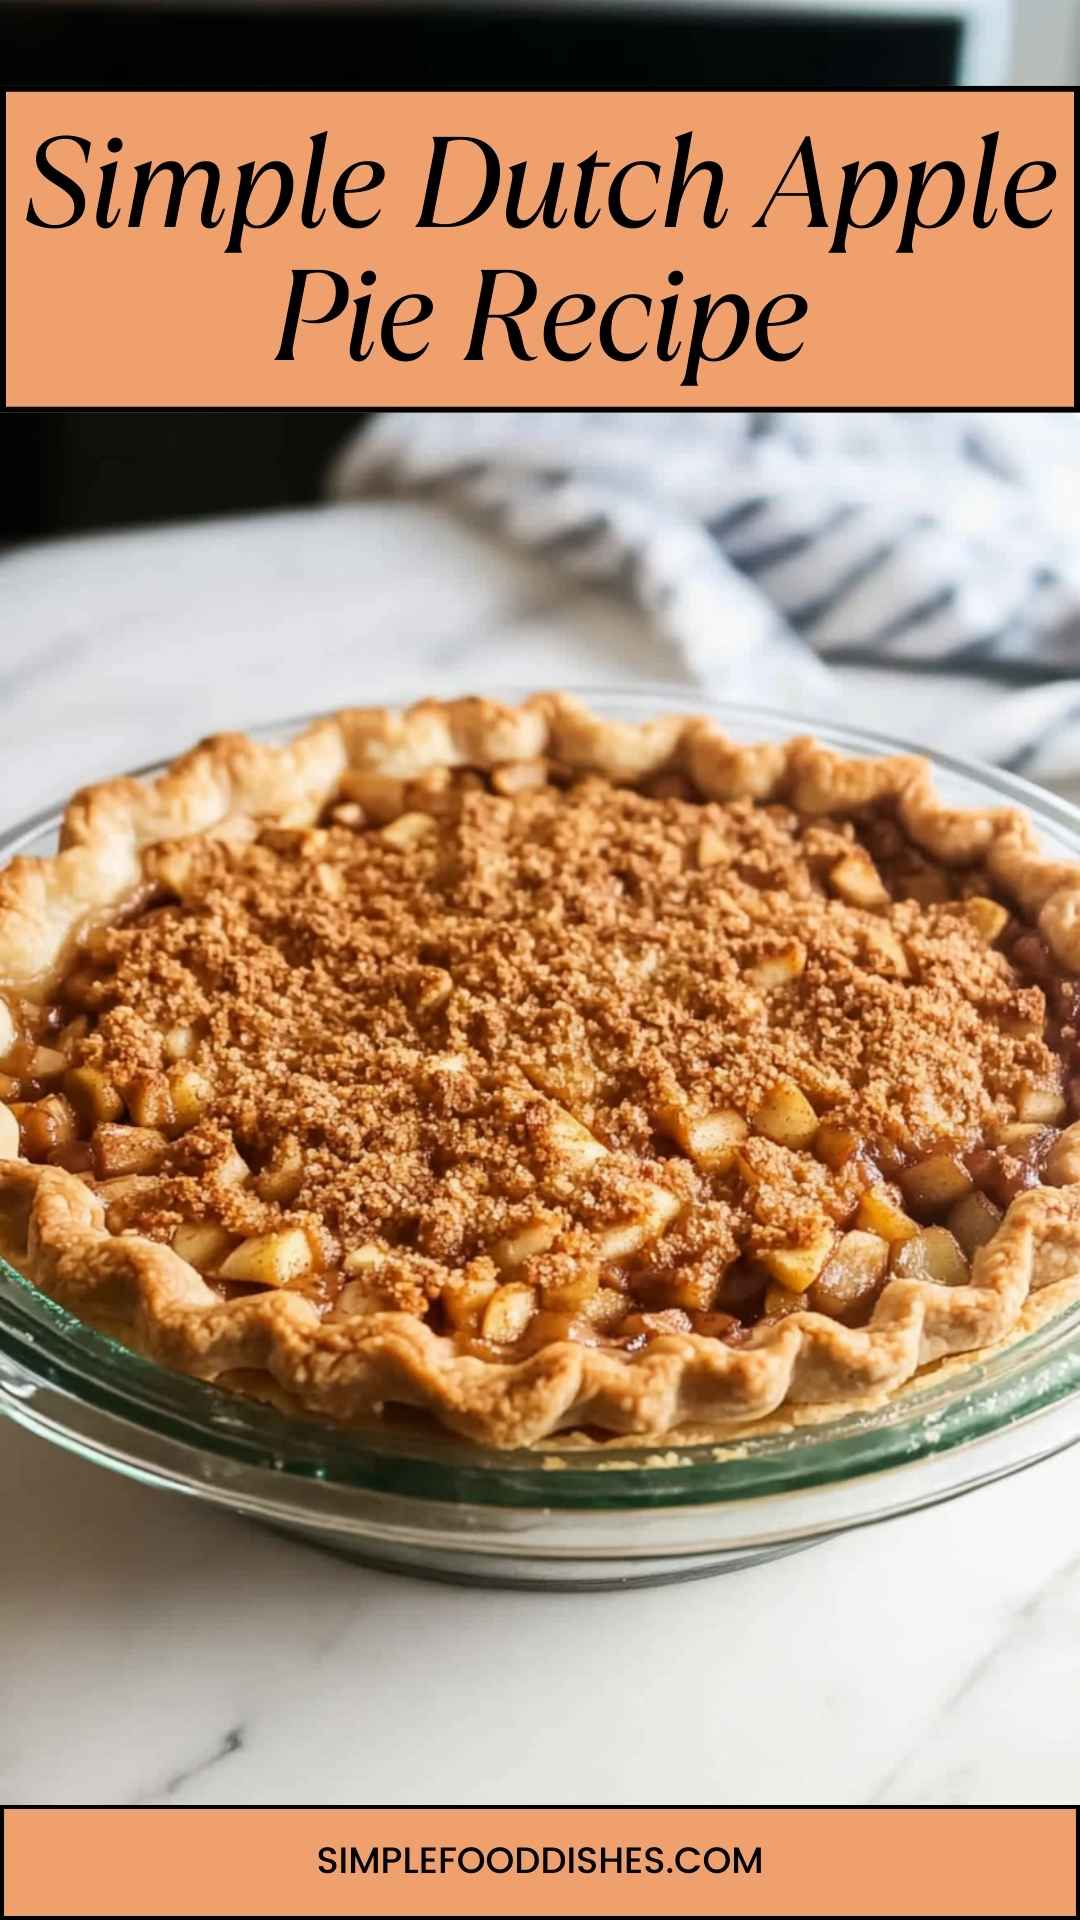
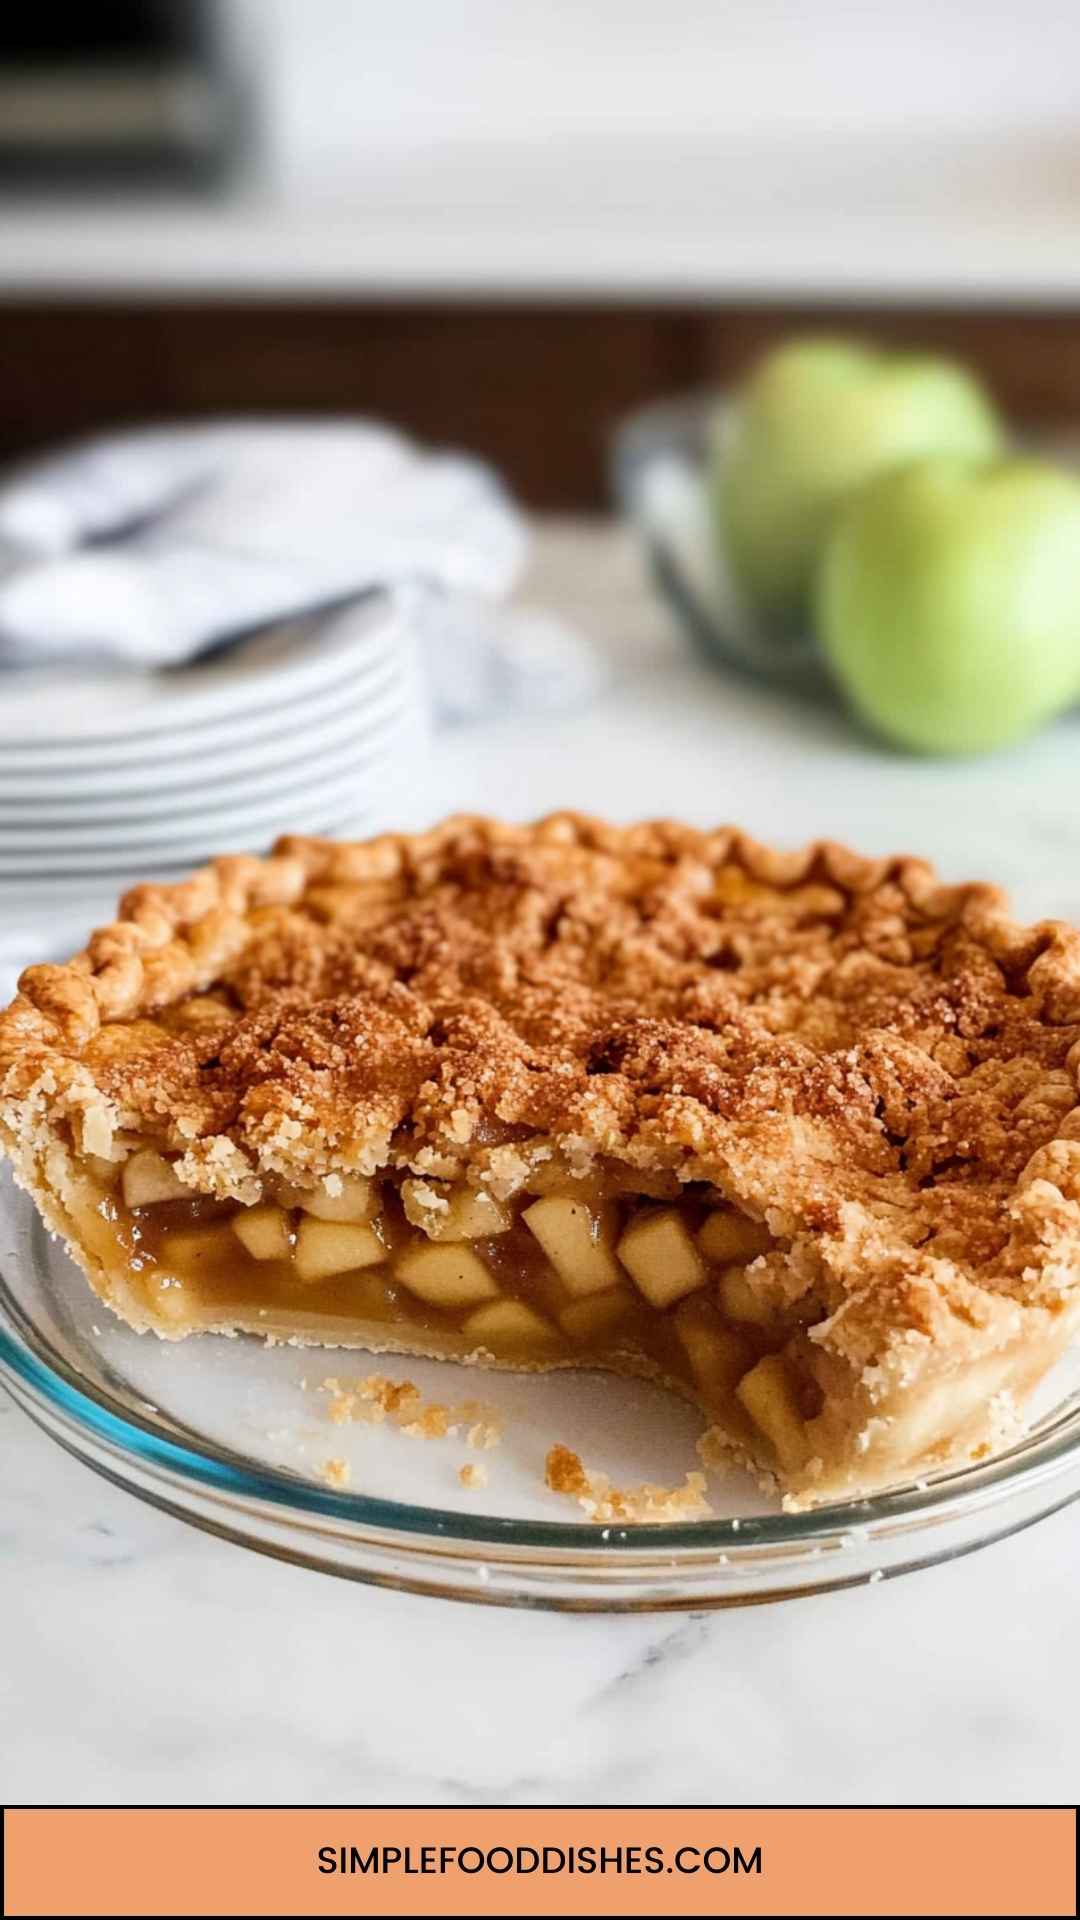
Simple Dutch Apple Pie is a simplified yet delicious take on a classic dessert. Unlike the labor-intensive traditional apple pie, this version focuses on ease without sacrificing taste. It features a tender pastry crust filled with juicy, spiced apples and a crumbly topping. The result? A pie that’s comforting, inviting, and oh-so easy to make.
What Makes This Recipe Different from Other Dutch Apple Pies?
At first glance, you may think, “Isn’t all Dutch Apple Pie the same?” Not quite! Many recipes out there include extra steps or complicated ingredients. In contrast, this Simple Dutch Apple Pie focuses on fewer components and straightforward techniques.
The authentic taste shines through from the combination of spices, the crisp apples, and the buttery topping.
Plus, this recipe allows for plenty of flexibility. You can tweak the spices or even use different apple varieties based on what you have available. Simplicity doesn’t mean a lack of flavor; it means you can achieve delicious results with just a bit of preparation.
How Does It Taste Like?
Imagine taking a bite of this pie. The sweetness of the apples hits first, complemented by a hint of tang from the lemon juice. Then, the warm spices – cinnamon, ginger, and nutmeg – emerge, creating a dance of flavor on your tongue. The topping is slightly crunchy, providing a beautiful contrast to the tender apple filling.
Honestly, it captures that comfort vibe of home-cooked goodness. It’s not overly sweet, making it enjoyable any time of day, whether for breakfast, dessert, or a special treat.
Ingredients You’ll Need to Make This Dish
Here’s a simple breakdown of what you’ll need:
Crust:
- 1 unbaked 9-inch pastry shell
Pie Filling:
- 1 tablespoon fresh lemon juice
- ¼ cup white granulated sugar
- ½ teaspoon ground ginger
- ¼ cup packed light brown sugar
- 1 teaspoon cinnamon powder
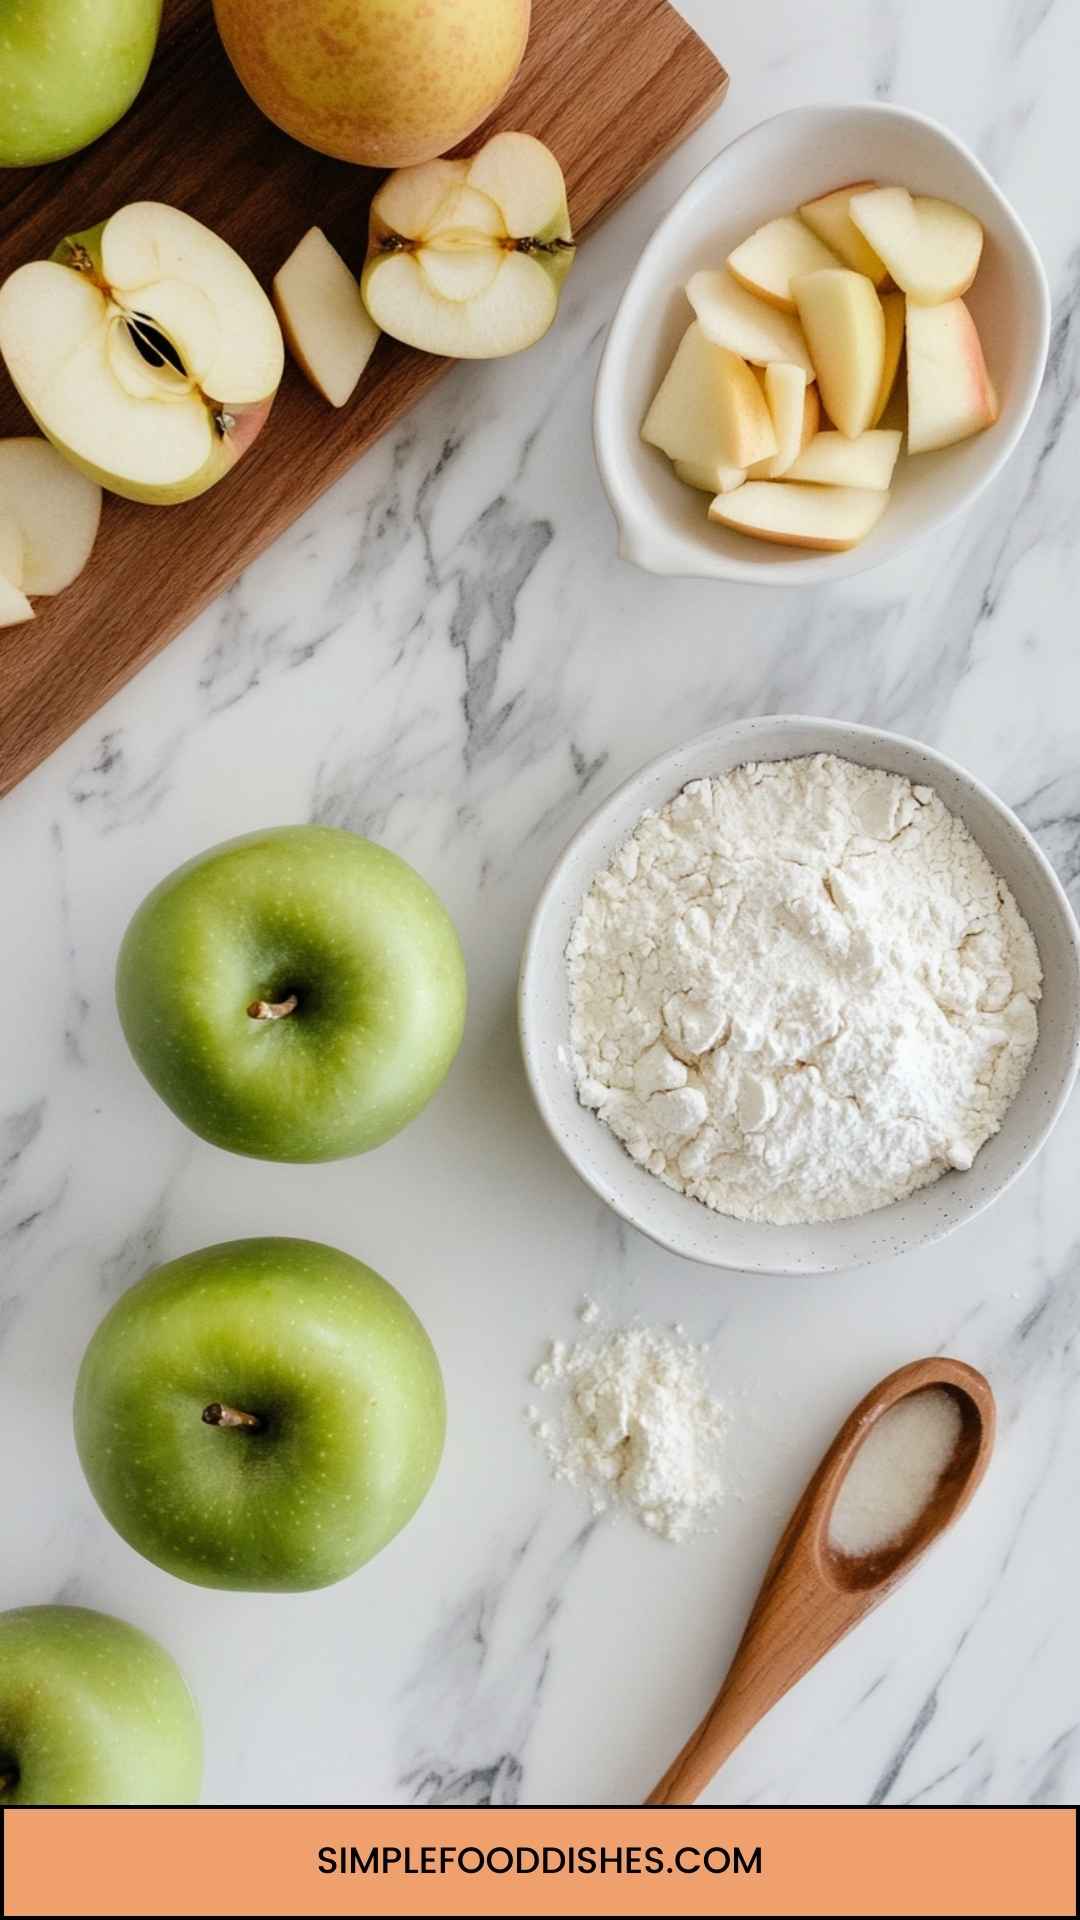
- 7 cups peeled, thinly sliced Granny Smith apples
- 1 teaspoon vanilla extract
- ¼ teaspoon sea salt
- A small pinch of freshly grated nutmeg
- 3 tablespoons all-purpose flour
Dutch Apple Pie Topping:
- ½ cup softened salted butter
- 1 cup plain flour
- ½ cup golden brown sugar, loosely packed
- ½ cup white sugar
- 1 teaspoon cinnamon powder
Step by Step Instructions
Let’s jump into making this mouthwatering dish with easy steps.
Step 1: Prepare the Crust
Start by preheating your oven to 425°F (220°C). Next, grab your unbaked pie shell and place it in a 9-inch pie pan. If homemade, feel free to use your favorite recipe. If not, store-bought works wonders too!
Step 2: Prepare the Apples
Peel and thinly slice the Granny Smith apples. Aim for uniformity to ensure they cook evenly. Once the apples are prepped, toss them in a large mixing bowl with lemon juice, both sugars, ginger, cinnamon, sea salt, nutmeg, and flour.
Mix everything well until the apples are nicely coated.
Step 3: Fill the Pie
Pour the apple mixture into your prepared pie shell. Make sure it’s piled high; the apples will cook down. Spread it evenly to ensure every slice has that tasty filling.
Step 4: Make the Topping
In another bowl, combine softened butter, flour, sugars, and cinnamon. Use a fork or your hands to mix them together until the mixture resembles coarse crumbs. This will create that delightful topping.
Step 5: Top the Pie
Sprinkle the topping evenly over the apple filling. Don’t worry about covering it entirely; some gaps add a rustic charm!
Step 6: Bake the Pie
Place the pie on a baking sheet (to catch any drips) and bake for about 45 minutes or until the topping is golden brown and apples are bubbly. Keep an eye on it; if the topping brown too fast, cover it with foil.
Step 7: Cool and Serve
Once baked, let the pie cool for at least 30 minutes to allow the filling to set. Slice, serve, and watch smiles appear as your guests take a bite!
Tips & Tricks on Making Simple Dutch Apple Pie
- Choose the Right Apples: Go for tart apples like Granny Smith, which balance the sweetness beautifully.
- Don’t Overmix the Topping: Mixing until just combined yields a crumblier, better-textured topping.
- Use Fresh Spices: Freshly grated nutmeg and high-quality cinnamon can elevate flavors significantly.
- Add a Splash of Water: If the filling feels dry, add a tablespoon of water when mixing the apples for extra moisture.
- Let it Cool: Allowing the pie to cool before slicing helps everything set, making for a cleaner slice.
How Do I Store This Dish?
Store your Dutch Apple Pie in an airtight container or tightly wrapped with plastic wrap. It can last at room temperature for up to two days. For longer storage, refrigerate it for up to a week. If you wish to preserve it further, consider freezing slices.
Just ensure they are well-wrapped to prevent freezer burn; they can last for up to three months!
What Other Substitutes Can You Use in Simple Dutch Apple Pie?
If you’re looking to personalize your pie, here are some alternatives to consider:
- Brown Sugar for White Sugar: This adds a deeper flavor with hints of molasses. Just swap it 1:1.
- Honey or Maple Syrup in Place of Sugar: Use about ⅓ less than the sugar amount. Infusing your pie with natural sweetness can create marvelous results.
- Gluten-Free Flour: If you’re on a gluten-free diet, swap regular flour with a gluten-free mix for the pie crust and topping.
- Different Apple Varieties:
Besides Granny Smith, feel free to experiment with Honeycrisp, Jonagold or Braeburn apples for different flavor profiles. - Adding Dried Fruits: Mix in a handful of raisins or cranberries to the apple filling for added texture and sweetness.
Conclusion
There you have it: Simple Dutch Apple Pie, your new go-to dessert. This pie is more than just a sweet treat; it carries memories, flavors, and possibilities. Whether hosting a gathering or enjoying a peaceful evening at home, this recipe will deliver comfort to your kitchen.
So, gather your ingredients and make this delightful pie. I assure you, each slice will bring joy, warmth, and maybe even a little nostalgia. Happy baking!
You’ll also like the following recipes!
- Easy Mini No Bake Key Lime Pie Copycat Recipe
- How to Make Homemade Baileys Irish Cream
- Best No Bake Oreo Dessert Recipe

Simple Dutch Apple Pie Recipe – Simple Food Dishes
Description
Ah, Dutch Apple Pie! This dessert embodies the warmth of home and the simplicity of delicious cooking. I remember the first time I tasted this pie. It was at a local fair, with the aroma wafting through the air as artists displayed their crafts.
The first bite was a revelation. It had the sweetness of apples combined with a delightful spice, all wrapped in a beautifully flaky crust. I was hooked.
In this post, I'm excited to share a Simple Dutch Apple Pie recipe. Trust me, it’s a game-changer. This pie stands out not just for its flavor, but for its ease of preparation. With a handful of ingredients, you can create a dessert that feels gourmet without tearing your hair out in the kitchen.
Ingredients
Crust:
Pie Filling:
Dutch Apple Pie Topping:
Instructions
Step 1: Prepare the Crust
-
Start by preheating your oven to 425°F (220°C). Next, grab your unbaked pie shell and place it in a 9-inch pie pan. If homemade, feel free to use your favorite recipe. If not, store-bought works wonders too!
Step 2: Prepare the Apples
-
Peel and thinly slice the Granny Smith apples. Aim for uniformity to ensure they cook evenly. Once the apples are prepped, toss them in a large mixing bowl with lemon juice, both sugars, ginger, cinnamon, sea salt, nutmeg, and flour.
Mix everything well until the apples are nicely coated.
Step 3: Fill the Pie
-
Pour the apple mixture into your prepared pie shell. Make sure it’s piled high; the apples will cook down. Spread it evenly to ensure every slice has that tasty filling.
Step 4: Make the Topping
-
In another bowl, combine softened butter, flour, sugars, and cinnamon. Use a fork or your hands to mix them together until the mixture resembles coarse crumbs. This will create that delightful topping.
Step 5: Top the Pie
-
Sprinkle the topping evenly over the apple filling. Don’t worry about covering it entirely; some gaps add a rustic charm!
Step 6: Bake the Pie
-
Place the pie on a baking sheet (to catch any drips) and bake for about 45 minutes or until the topping is golden brown and apples are bubbly. Keep an eye on it; if the topping brown too fast, cover it with foil.
Step 7: Cool and Serve
-
Once baked, let the pie cool for at least 30 minutes to allow the filling to set. Slice, serve, and watch smiles appear as your guests take a bite!
Nutrition Facts
Servings 8
- Amount Per Serving
- Calories 421kcal
- % Daily Value *
- Total Fat 23.9g37%
- Saturated Fat 9.7g49%
- Cholesterol 34mg12%
- Sodium 323mg14%
- Total Carbohydrate 48g16%
- Dietary Fiber 5g20%
- Sugars 18g
- Protein 5g10%
* Percent Daily Values are based on a 2,000 calorie diet. Your daily value may be higher or lower depending on your calorie needs.
Note
- Choose the Right Apples: Go for tart apples like Granny Smith, which balance the sweetness beautifully.
- Don’t Overmix the Topping: Mixing until just combined yields a crumblier, better-textured topping.
- Use Fresh Spices: Freshly grated nutmeg and high-quality cinnamon can elevate flavors significantly.
- Add a Splash of Water: If the filling feels dry, add a tablespoon of water when mixing the apples for extra moisture.
- Let it Cool: Allowing the pie to cool before slicing helps everything set, making for a cleaner slice.


