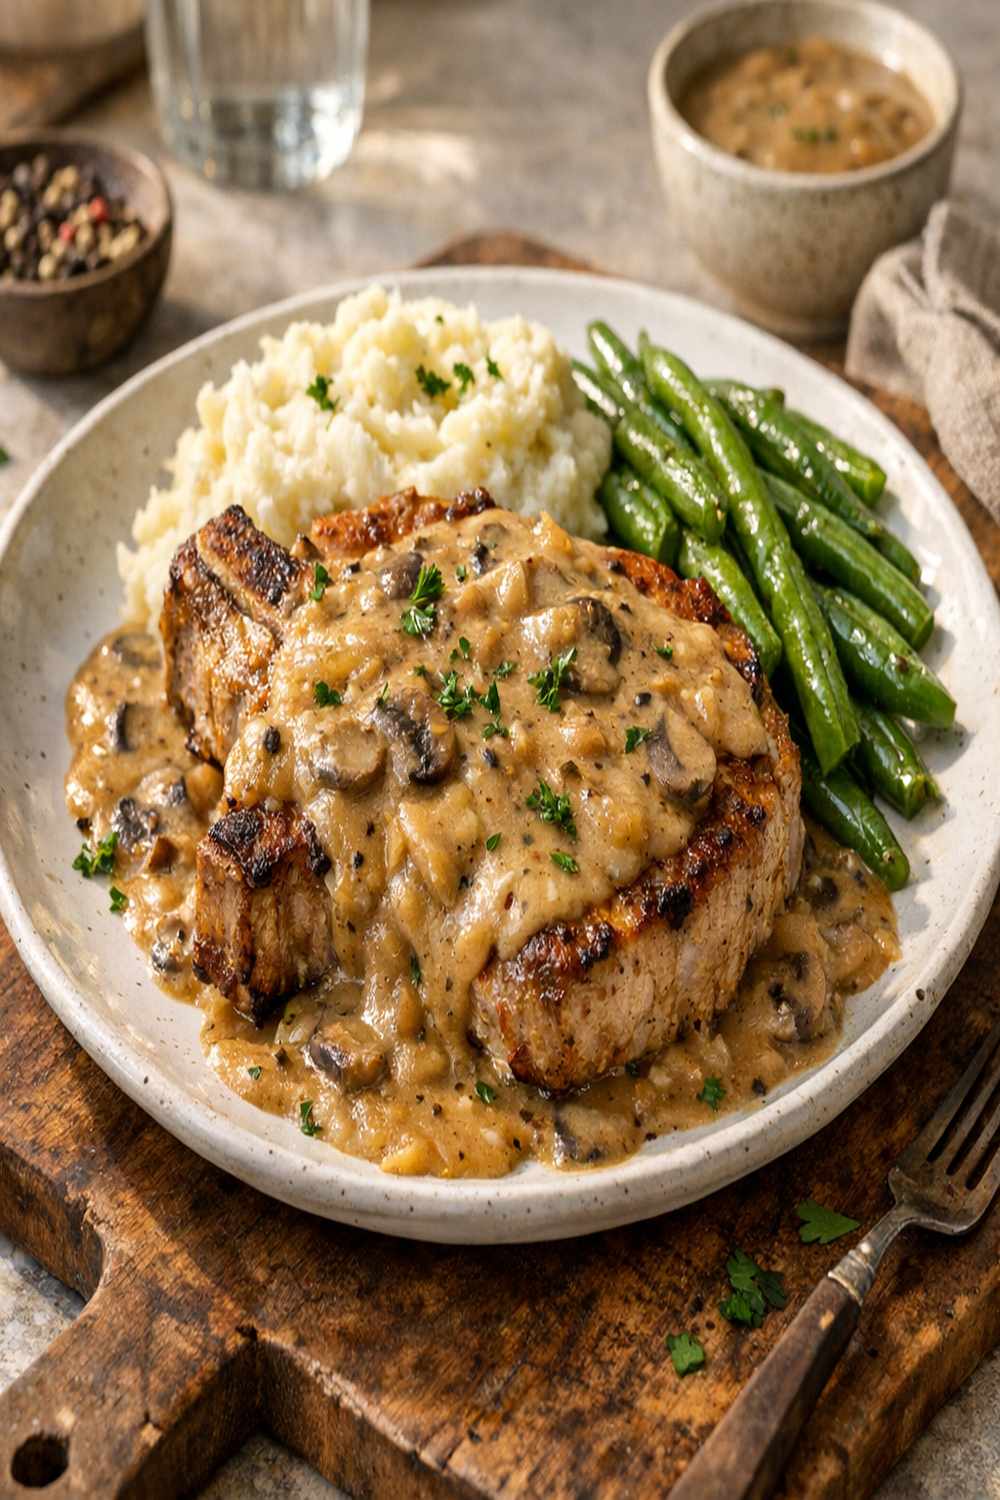

Ingredients
Method
Step 1: Prepare Your Ingredients and Preheat Your Oven
- Start by preheating your oven to 350°F. This is NOT arbitrary—350°F is the sweet spot for gentle, even cooking that allows collagen conversion without toughening the exterior. While your oven heats, gather all your ingredients at room temperature. This is called "mise en place" in professional kitchens, and it prevents scrambling and ensures nothing burns while you're searching for ingredients. Remove your pork chops from the refrigerator about 10 minutes early; room-temperature meat cooks more evenly because heat penetrates to the center faster without the exterior overcooking.
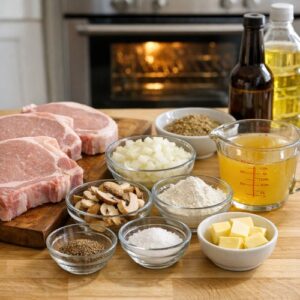
Step 2: Sear the Pork Chops to Build Flavor
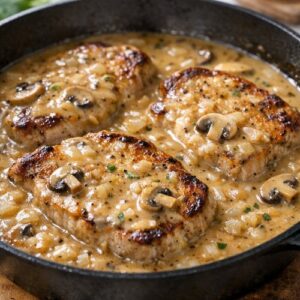
- Place a large oven-safe skillet over medium-high heat and add your oil. Wait about 2 minutes—the oil should shimmer and move easily across the pan. This means it's reached approximately 375-400°F, which is HOT ENOUGH for the Maillard reaction but not so hot that it smokes (smoke point damage breaks down beneficial oils). Pat your pork chops completely dry with paper towels—moisture prevents browning because it creates steam, which blocks the direct heat contact needed for that flavorful crust. Place chops in the skillet without moving them for 4-5 minutes per side. DON'T PEEK. Constant flipping interrupts the browning process. You should hear an immediate sizzle; if not, the pan isn't hot enough. Aim for a deep golden-brown crust on both sides—this is your flavor foundation.
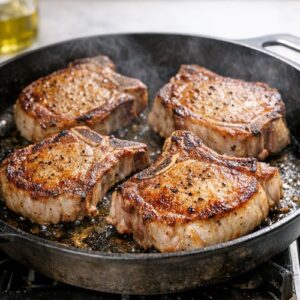
Step 3: Transfer to Baking Dish and Prepare the Sauce
- Lightly grease a 13-by-9-inch baking dish with high-heat oil or cooking spray. Transfer your seared pork chops into the dish, arranging them in a single layer without crowding. While chops rest, prepare your sauce base. In a medium mixing bowl, whisk together your undiluted condensed soup, water, Worcestershire sauce, salt, pepper, and garlic powder. The key here is that you're NOT cooking this mixture—cold mixing allows you to control the emulsification (the binding of water and fat) more effectively than heat-whisking would. Your sauce should be smooth with no lumps. If lumps exist, gently press them against the bowl with the back of a spoon or strain through a fine-mesh sieve.
Step 4: Combine and Cover for Moist-Heat Cooking
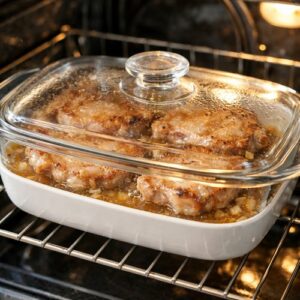
- Pour your prepared sauce directly over the seared pork chops, ensuring each chop is at least partially submerged. The sauce should come about halfway up the sides of each chop—this creates a humid baking environment where moisture stays trapped, preventing evaporation that would dry out the meat. Cover your baking dish TIGHTLY with aluminum foil, ensuring no steam escapes. This is CRITICAL: if your foil isn't sealed properly, moisture evaporates and you'll end up with dry pork. I recommend crimping the edges firmly around the dish rim.
Step 5: Bake Until Meat Juices Run Clear
- Place your covered dish in the preheated 350°F oven for 60 minutes. This timing is based on standard pork chop thickness (approximately 1/2-inch); thicker chops need 70-75 minutes. DO NOT OPEN THE OVEN DOOR before 55 minutes—each time you open it, you release 15-20°F of heat, which extends cooking time and can cause uneven cooking. At the 55-minute mark, carefully remove the foil (watch for steam burns!) and check for doneness. Insert a meat thermometer into the thickest part of the largest chop WITHOUT TOUCHING BONE. Safe internal temperature for pork is 145°F according to USDA guidelines. When you pierce the meat, juices should run clear with NO pink. If not ready, recover with foil and continue for 5-minute intervals.
Step 6: Rest and Serve
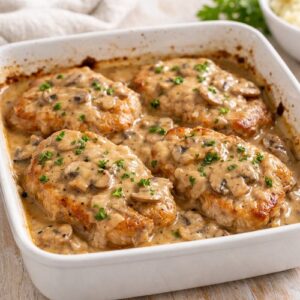
- Remove from the oven and let rest uncovered for 5 minutes. This resting period allows muscle fibers that contracted during cooking to relax and reabsorb juices, keeping the meat tender and moist. The sauce will also set slightly, becoming more cohesive. Spoon sauce generously over each chop when serving. The residual heat will keep everything warm while you plate.
Notes
- Use bone-in chops, never boneless - The bone conducts heat more evenly to the center, AND it releases collagen and minerals that naturally thicken and enrich the gravy. Boneless chops cook unevenly and produce thinner, less flavorful sauce
- Don't skip the searing step - I know it's tempting to go straight to the oven, but those 10 minutes of browning create hundreds of flavor compounds through the Maillard reaction. Your gravy will taste significantly deeper and more complex because of this step
- Undiluted soup concentrate is essential - Many people thin the soup too much with water. Use it UNDILUTED (straight from the can), which concentrates starches and fats that create silky emulsification. The water I've included already accounts for proper consistency
- Always use a meat thermometer for pork - Guessing based on color or texture is unreliable and often leads to either undercooked (food safety risk) or overdone (dry) results. A digital instant-read thermometer costs $15-20 and is the single best investment you can make for consistent results
- Reserve sauce for reheating - If storing leftovers, the sauce actually thickens more as it cools due to fat solidification. When reheating, add 2-3 tablespoons water and stir gently over low heat or in a covered oven-safe dish at 325°F for 15 minutes