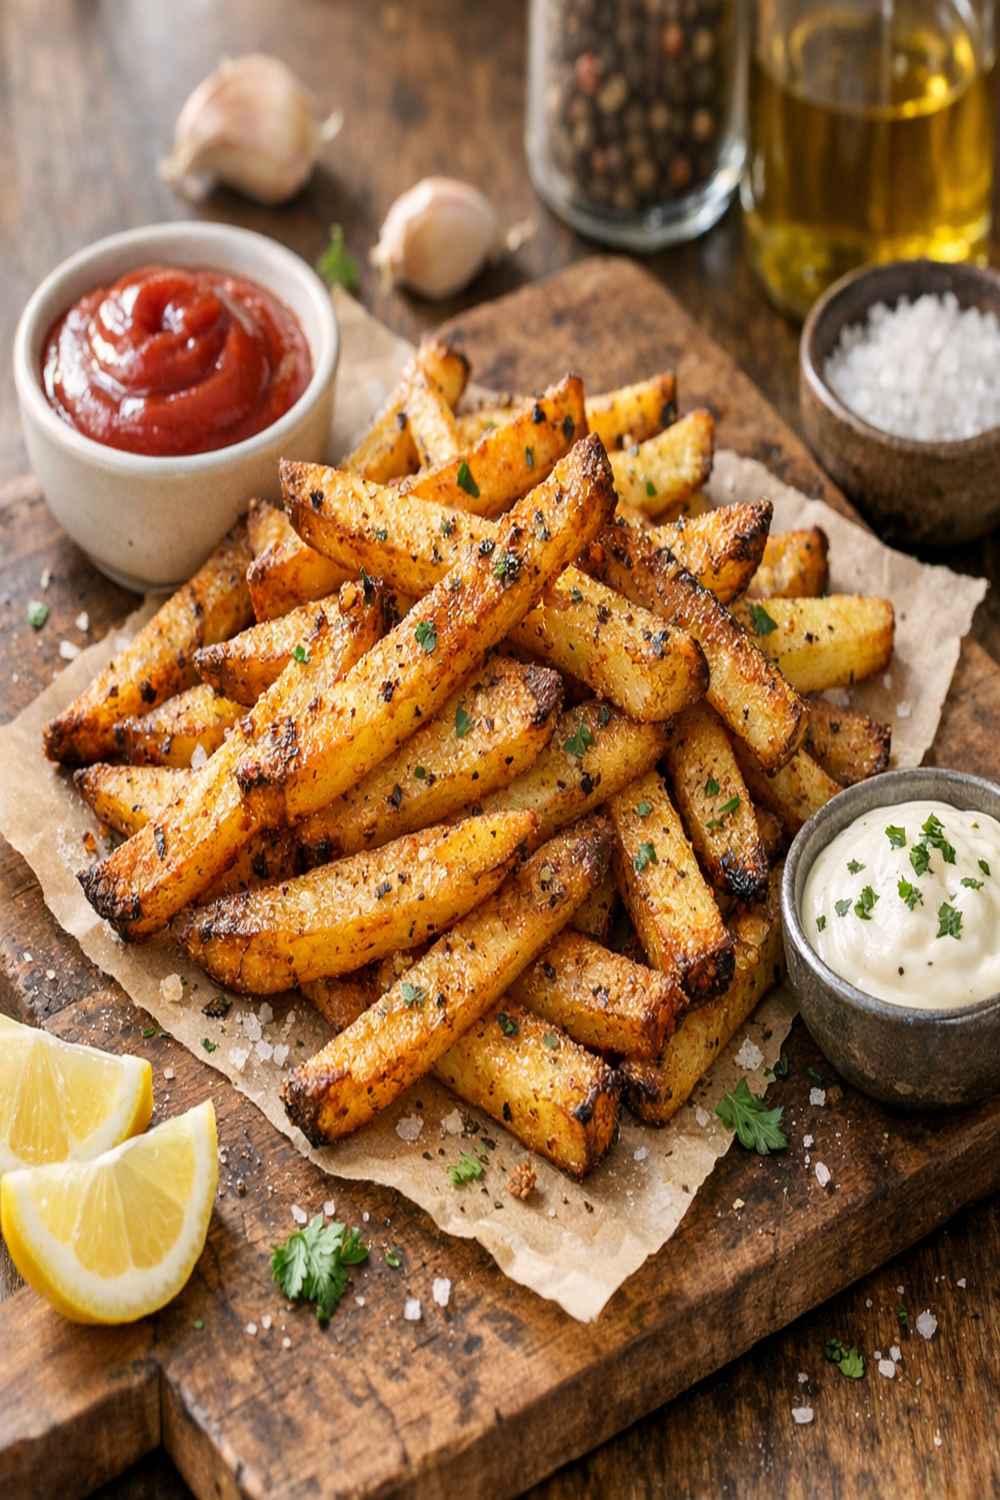

Ingredients
Method
Step 1: Start With the Right Potato Selection
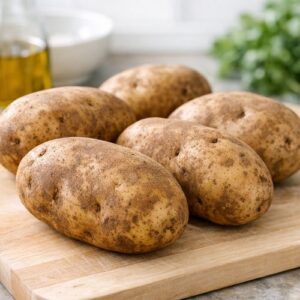
- Before you even touch water, you need russet potatoes, not red potatoes or fingerlings. This is crucial for technique mastery. Russets have higher starch content, which is what creates crispness. Red potatoes have waxy coatings that prevent moisture from escaping efficiently. This is your first technical decision point—selecting the ingredient based on its PROPERTIES, not its name. When you start making decisions like this, you're thinking like a chef. Choose potatoes that are roughly the same size. This teaches an essential lesson: uniform sizing = uniform cooking. A large potato and a small potato will finish at completely different times, and you'll end up with some burnt and some soggy. Professional kitchens obsess over this detail.
Step 2: Wash and Cut With Intention
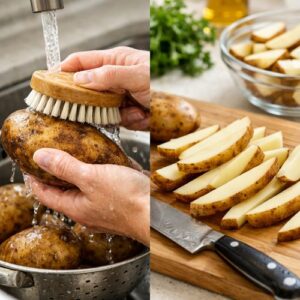
- Rinse your potatoes thoroughly under cold water, scrubbing gently with a vegetable brush. KEEP THE SKINS ON—this teaches you how structure matters in cooking. The skin holds the potato together during the soaking and cooking process. Now cut them into fries about ¼-inch thick and roughly 3-4 inches long. The consistency matters tremendously here. Thinner pieces cook faster and get CRISPIER; thicker pieces stay more tender inside. For a masterclass in technique, aim for uniform ¼-inch thickness throughout. Here's the teaching moment: observe how the cut surface looks. That white starch is EXACTLY what's going to brown and create flavor. You're literally looking at the ingredient that will transform with heat. This visual observation builds intuition.
Step 3: The Soak - Understanding Water's Role
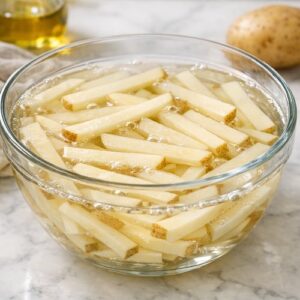
- Place your cut potatoes in a bowl and cover them completely with cold water. Let them soak for at least 30 minutes—I often do 45 minutes because I want to teach you why TIME MATTERS in technique mastery. What's happening here is absolutely critical to understand: you're removing surface starch. When potatoes are cut, they expose starch that can create a gluey coating. Cold water rinses away this surface starch, allowing moisture to escape more evenly during cooking. This is not optional busy-work—this is the foundation of the entire technique. The soak teaches you patience and demonstrates that sometimes the preparatory steps are MORE important than the cooking itself. Change the water halfway through if you can; this accelerates the process and shows you how actively managing your ingredients yields better results.
Step 4: The Dry - The Most Critical Step for Crispness
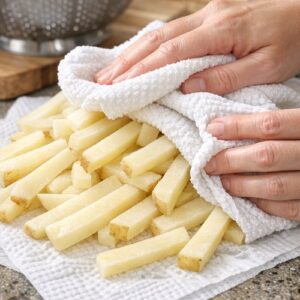
- After soaking, drain your potatoes thoroughly. Here comes the part where most home cooks fail: you need to dry them COMPLETELY. I'm talking obsessively dry. Pat each fry individually with a clean kitchen towel or paper towels. Moisture is the enemy of crispness. Any water clinging to the surface will create steam during cooking, and steam prevents browning. This step teaches you a fundamental principle: the better your mise en place (preparation), the better your cooking. Professional kitchens spend enormous time on this unglamorous step because they understand that cooking is only as good as your prep. Don't rush this. Spend five minutes drying. It's the difference between okay fries and EXTRAORDINARY fries. SAFETY WARNING: Never skip this step thinking you'll just cook them longer. Wet potatoes will steam instead of roast, and you'll end up with oil splatters and soggy results. Dry potatoes = safe cooking and crispy results.
Step 5: Season and Oil - Understanding Fat's Role in Browning
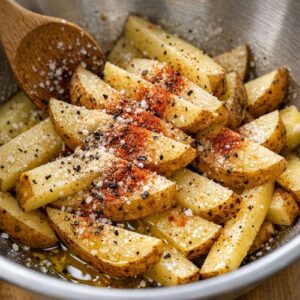
- In a large bowl, combine your dried potatoes with 3 tablespoons of olive oil and your seasonings (kosher salt, pepper, garlic powder, paprika, and fresh herbs). Toss thoroughly until every single fry is coated. This teaches you about emulsification and oil distribution. The oil needs to coat the surface evenly because oil is what facilitates the Maillard reaction. Without adequate fat contact, browning won't happen properly. Notice how the oil makes the seasonings cling to the potatoes. This is physical chemistry in action. The salt doesn't just add flavor—it starts drawing out additional moisture from the surface, which will help create crisping. The fat seals in flavor while promoting browning. Every component serves a PURPOSE. Seasoning NOW rather than after cooking teaches you timing. Adding salt after cooking just sits on the surface; adding it before cooking allows it to penetrate and draw out moisture. This single lesson applies to every savory dish you'll ever make.
Step 6: Preheat and Arrange - Creating the Right Cooking Environment
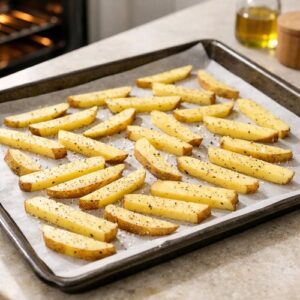
- Preheat your oven to 375°F. Line a large sheet pan with parchment paper—this teaches you about heat distribution and browning. The parchment prevents sticking without adding extra oil, and it allows air to circulate more evenly than a bare pan would. The 375°F temperature is deliberately MODERATE. This is the dehydration phase where you want gentle, even moisture removal without burning. Spread your potatoes in a SINGLE LAYER. This is non-negotiable for technique mastery. A single layer means every fry gets exposed to heat. Crowded pans create steam pockets where fries end up boiled rather than roasted. Professional kitchens use multiple sheet pans rather than crowding one. This teaches you that sometimes using more equipment yields better results because you understand the physics of heat circulation. SAFETY WARNING: Use heavy-duty parchment paper rated for 420°F+. Cheap parchment can smoke at higher temperatures. Always verify your parchment's temperature rating before using it.
Step 7: The First Bake - Low and Slow for Moisture Removal
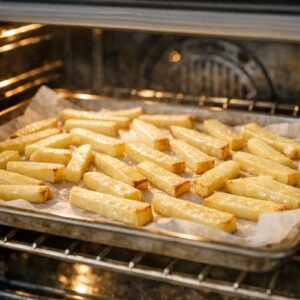
- Bake at 375°F for exactly 20 minutes. DO NOT OPEN THE OVEN during this time—every time you open it, you release heat and extend cooking time unpredictably. This teaches discipline. You're not checking for doneness yet; you're allowing steady, even dehydration. Trust the process. At 20 minutes, you'll notice the potatoes have started to soften and lose their raw appearance. They won't be browned yet, and that's PERFECT. The exterior might even look slightly wrinkled or shriveled—that's moisture leaving. This is your visual indicator that dehydration is happening. Learning to read these visual cues builds intuition that transcends this single recipe.
Step 8: The Temperature Boost - High Heat for the Maillard Reaction
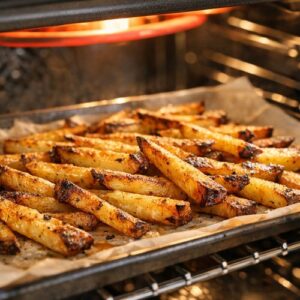
- After 20 minutes, increase your oven temperature to 425°F. This temperature jump is when the magic happens. The lower initial temperature removed moisture slowly; now the high heat creates the conditions for browning. You're transitioning from dehydration to Maillard reaction. This two-stage cooking teaches you that technique isn't always about constant conditions—sometimes temperature changes are PART of the strategy. Return the pan to the oven and bake for another 20-25 minutes, until the fries are golden brown and crispy. Around the 15-minute mark, give the pan a gentle shake or quick toss with tongs—you don't need to flip each fry, just ensure they're not sticking and they're browning evenly. This gentle movement teaches you active cooking: checking in, adjusting, observing. SAFETY WARNING: At 425°F, oil is extremely hot. Use caution when opening the oven. The pan and tray will be VERY HOT. Use heavy oven mitts and never lean over the hot pan.
Step 9: The Finish - Fresh Salt and Immediate Service
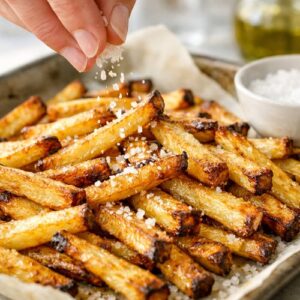
- When the fries are golden brown and crispy—and I mean truly CRISPY, with some slightly darker edges—remove them from the oven. Immediately, while they're still steaming, sprinkle with fresh fleur de sel or coarse sea salt. This teaches you timing in seasoning. Hot food opens up and absorbs salt better; adding salt to hot food creates better flavor penetration than salting cold food. The contrast between fresh herbs used in cooking and a final sprinkle of tender fresh herbs teaches you about how timing changes the textural role of the same ingredient. Cooked herbs meld and soften; fresh herbs add brightness and texture. Professional plating uses these timing distinctions constantly. Serve IMMEDIATELY. This is crucial and teaches the final lesson: some dishes are time-sensitive. The moment fries cool, they start losing crispness. Understanding which dishes demand immediate service and which can be made ahead is fundamental technique knowledge.
Notes
- Mistake: Soggy, Limp Fries Instead of Crispy Ones - this almost always means either insufficient drying after the soak or overcrowding the pan. SOLUTION: Spend more time drying with towels and use two sheet pans instead of one. Never compromise on the single-layer arrangement.
- Mistake: Burnt Exterior with Raw Interior - this means your oven temperature was too high from the start or you didn't do the two-temperature approach. SOLUTION: Trust the 375°F start and the temperature boost. Don't skip the low-and-slow initial phase.
- Mistake: No Golden-Brown Color, Just Pale and Soft - this means your oven didn't reach the Maillard-reaction temperature, or you didn't complete the second baking phase. SOLUTION: Verify your oven temperature with an oven thermometer (ovens are often inaccurate) and give the second phase the full 20-25 minutes. Don't pull them early.
- Mistake: Uneven Cooking With Some Fries Crispy and Others Soggy - this is almost always about fry size inconsistency or positioning. SOLUTION: Cut more carefully to uniform thickness and rotate the pan halfway through the second bake phase so they cook evenly.
- Mistake: Oil Splattering or Smoking in the Oven - this means either too much oil or the parchment paper isn't rated for the higher temperature. SOLUTION: Measure oil carefully (3 tablespoons for this volume is correct) and verify your parchment paper is rated for 425°F+.