Ingredients
Method
Step 1: Gather Your Tools
- Before anything else, make sure you have a double boiler or a heat-safe bowl over simmering water. This will help melt the cheese without burning it. Also, grab a whisk, measuring cups, and a blender for a smooth finish.
Step 2: Dissolve the Gelatin
- In a small bowl, combine the warm water and gelatin. Let it sit for a couple of minutes until it becomes nice and gooey. This gelatin acts as a binder, giving our cheese that classic consistency.
Step 3: Combine Ingredients
- In your double boiler, mix the Colby cheese, whole milk, milk powder, salt, paprika, and black pepper. Stir continuously over low heat. The goal here is to melt everything smoothly. Patience is key.
Step 4: Add the Gelatin Mixture
- Once your cheese mixture is totally melted and creamy, add in the gelatin. Stir it in well to make sure it blends uniformly. This will help set the cheese as it cools.
Step 5: Blend for Smoothness
- Transfer the melted cheese mixture to your blender. Blend for about a minute until the texture is silky smooth. This step is crucial for that perfect mouthfeel.
Step 6: Pour and Set
- Pour the blended cheese into a mold or an airtight container. Allow it to cool at room temperature before placing it in the refrigerator. Let it chill for at least four hours, or overnight if you can resist.
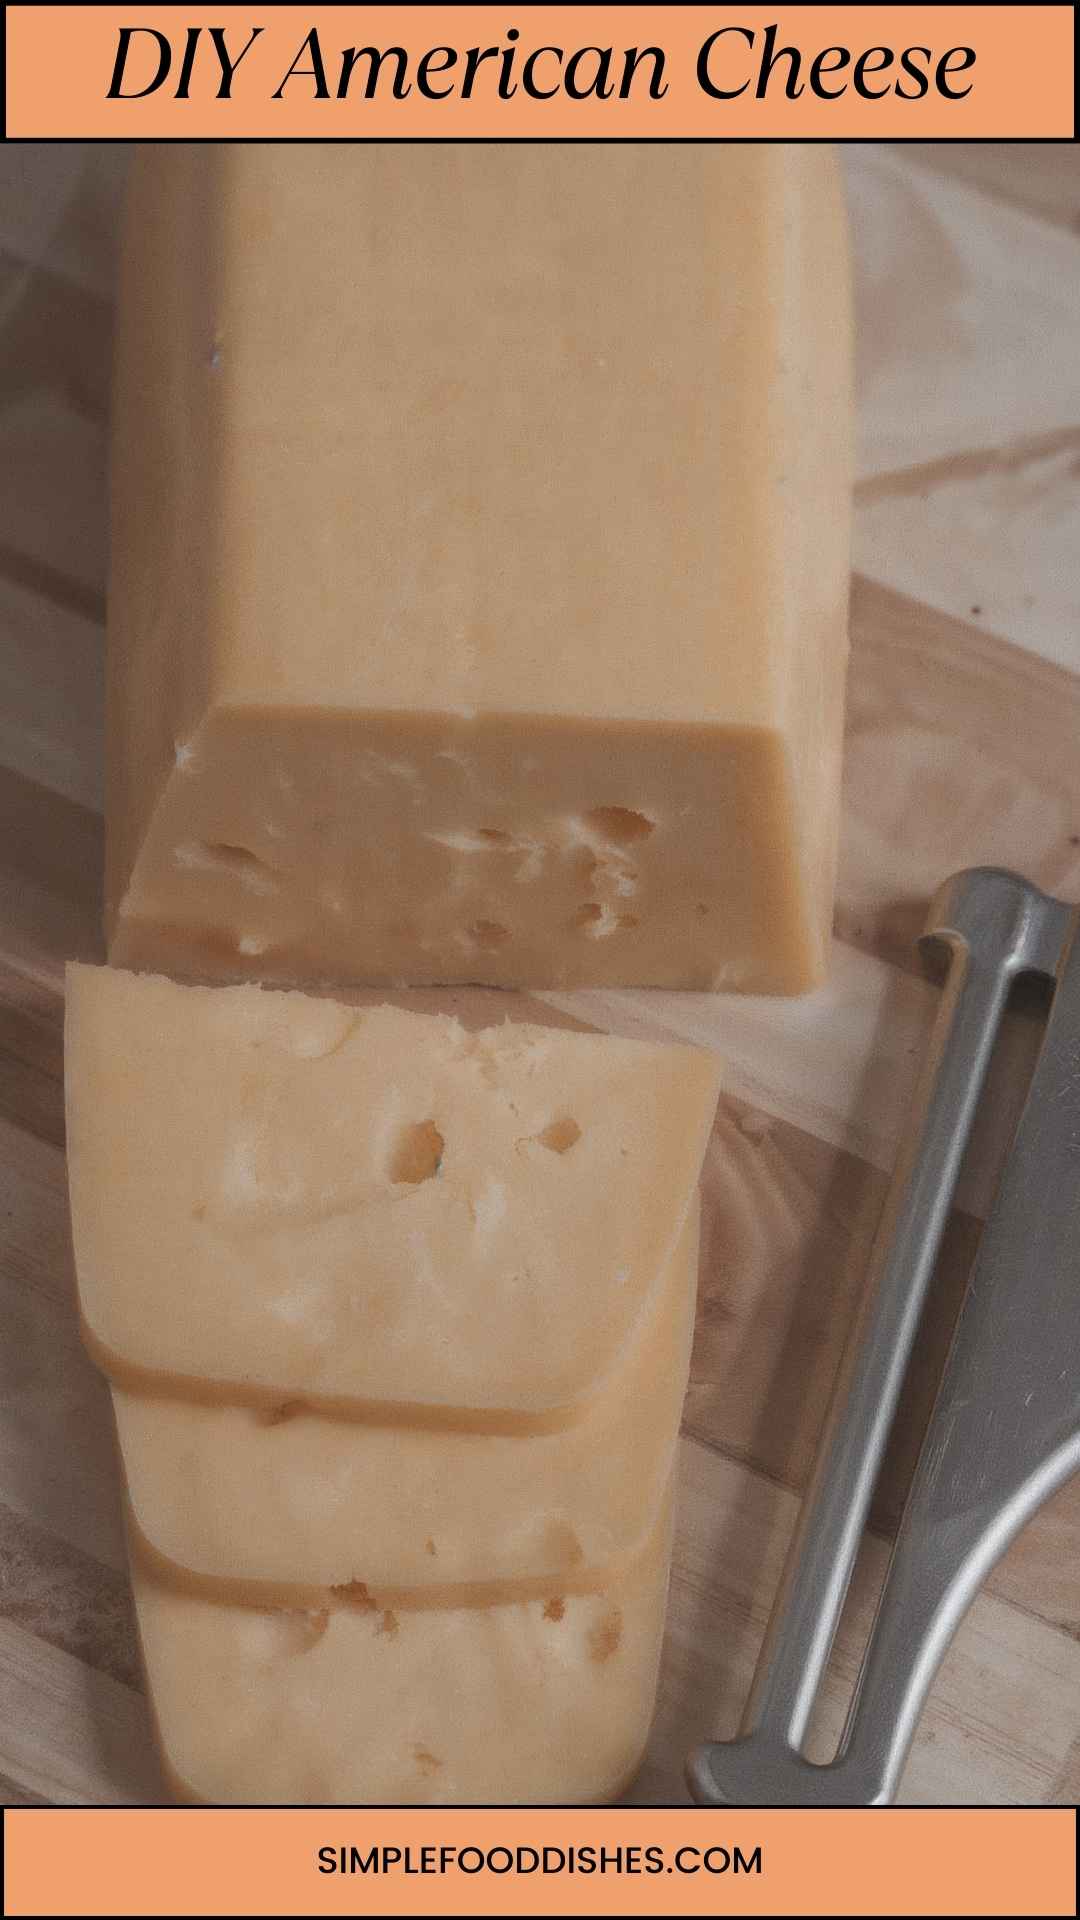
Step 7: Enjoy Your Creation
- Once set, remove your DIY American cheese from the mold. Slice it, grate it, or melt it—whatever suits your culinary adventure. Enjoy the delightful cheese you made with your own hands!
Notes
- Use a Food Processor: If you don’t have a blender, a food processor works great for achieving that smooth consistency.
- Experiment with Cheeses: While Colby is classic, mixing in cheddar can kick the flavor up a notch.
- Add Herbs: Fresh or dried herbs can bring a fresh twist to your cheese. Think basil or chives for added zest.
- Keep It Warm: Maintain low heat while melting your cheese. Hot, quick temperatures can lead to a grainy texture.
- Silicone Molds: If you’re using a mold, silicone is your best friend. It prevents sticking and makes removal easier.