Ingredients
Method
Step 1: Prepare the Peanut Butter Mixture
- In a large bowl, combine the softened butter (make sure it's at room temperature) and the peanut butter. Use a spatula or mixer to blend these together until creamy and smooth. Then, mix in the sifted powdered sugar, vanilla extract, sea salt, and how about the special touch... ground cinnamon! Stir until well combined. This mixture will become your delightful filling.
Step 2: Form the Egg Shapes
- Using your hands (it’s okay to get a little messy), grab a spoonful of the peanut butter mixture. Roll it into an egg shape; you can aim for about two inches long. The result should be smooth and uniform. Place these on a baking sheet lined with parchment paper. Before you know it, you’ll have an array of peanut butter eggs ready for dipping!
Step 3: Chill the Eggs
- Pop the tray in the freezer for about 30 minutes. This step is key! Chilling them helps the chocolate coating adhere better and keeps the eggs from losing their shape during the dipping process.
Step 4: Prepare the Chocolate Coating
- While the eggs are chilling, it’s time to melt your chocolate along with the vegetable oil. Place the chopped chocolate into a microwave-safe bowl and melt it in short 30-second bursts. Stir between each interval until the chocolate is completely smooth. Alternatively, you can use a double boiler to melt the chocolate if you prefer that method.
Step 5: Coat the Peanut Butter Eggs
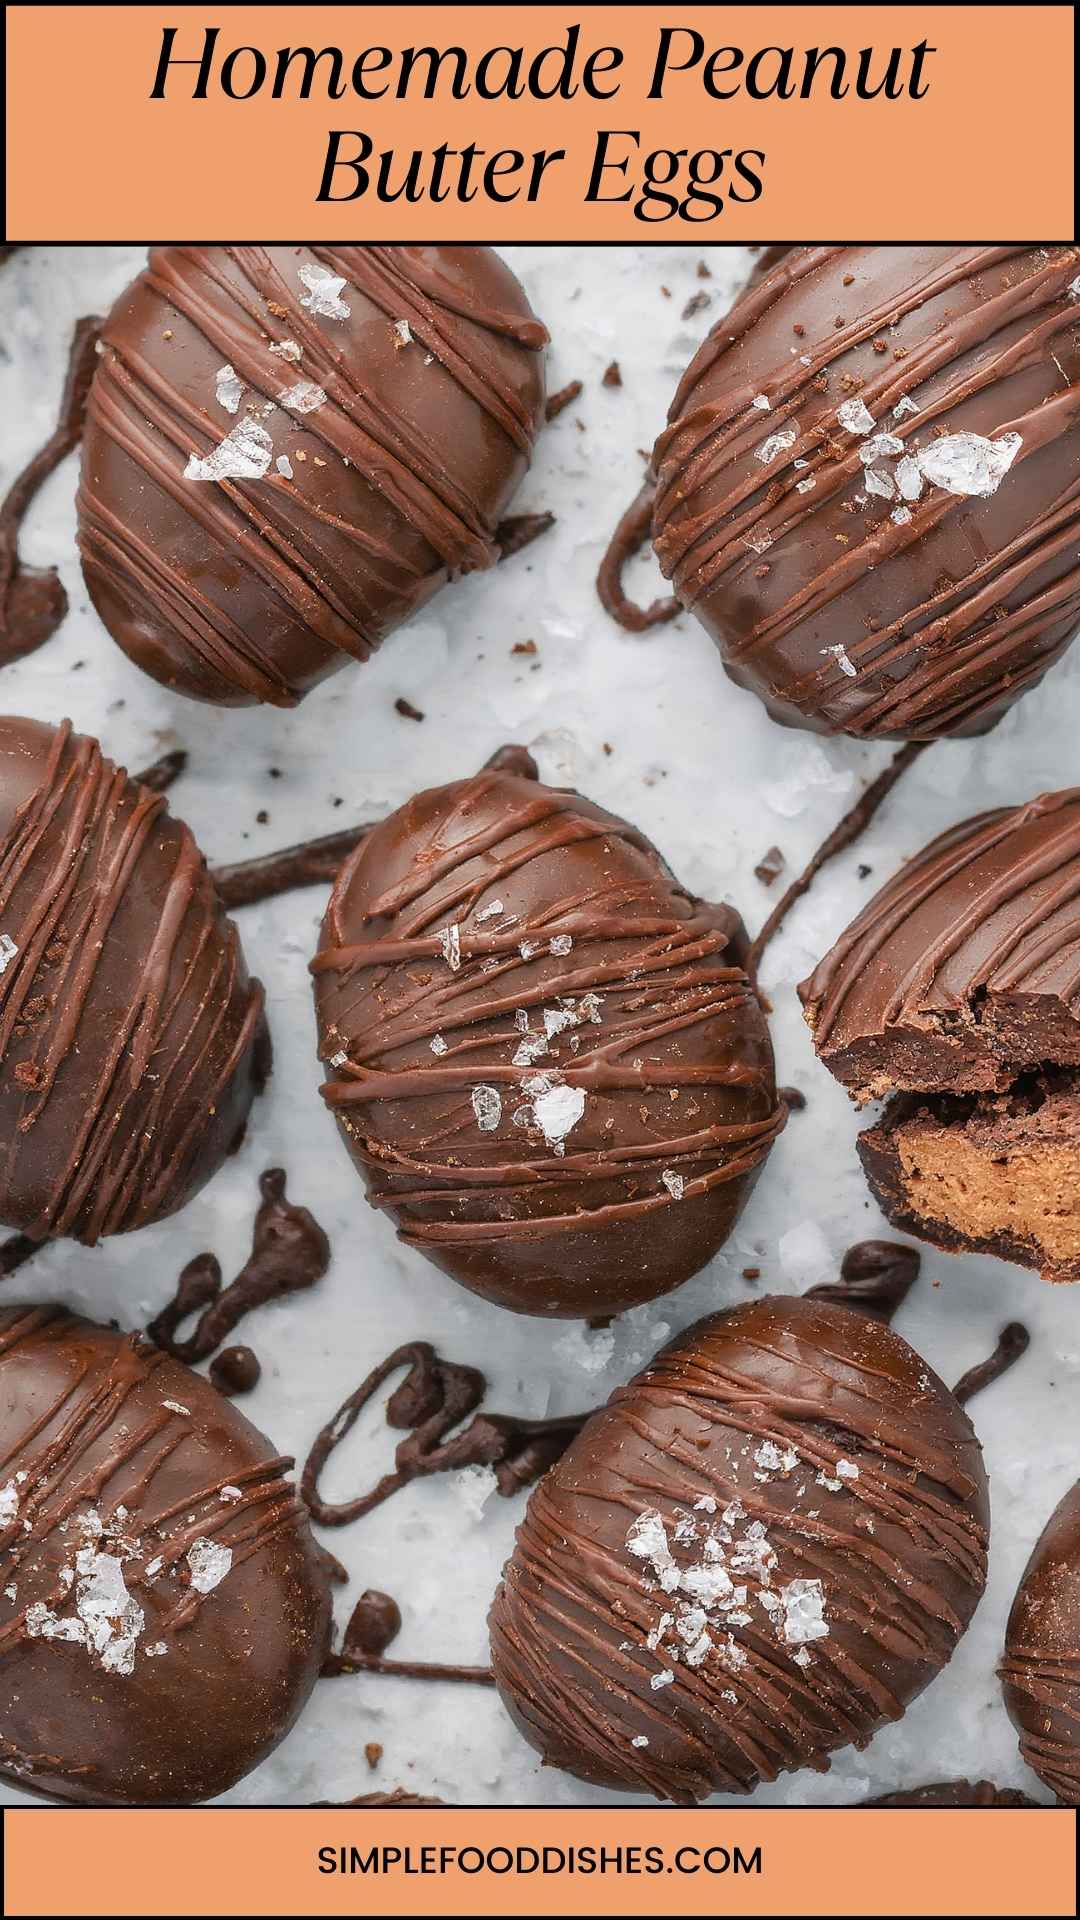
- Once the eggs are firm, take them out of the freezer. Using a fork or a toothpick, dip each egg into the melted chocolate, allowing any excess to drip off. Return them to the parchment-lined baking sheet. Don’t forget to sprinkle a little coarse or flaky sea salt on top before the chocolate sets for an extra flavor punch!
Step 6: Let Them Set
- You can place the coated eggs back in the fridge to let the chocolate set fully, which usually takes about 30 minutes. Once they are set, they are ready to be devoured!
Notes
- Select Quality Chocolate: The chocolate is an essential factor. Always choose good quality chocolate for melting. It makes a big difference in taste.
- Use Softened Butter: Ensure your butter is at room temperature for easy mixing. Cold butter can make the mixture lumpy.
- Sift Your Sugar: Sifting the powdered sugar eliminates lumps and results in a smoother filling.
- Add Extra Flavor: If you like a deeper flavor, try using dark chocolate or even flavored chocolates for coating.
- Experiment with Fillings: Think about adding crushed nuts or even mini chocolate chips into the peanut butter mixture for added texture.