
Ingredients
Method
Step 1: Butterfly and Season Your Chicken Strategically
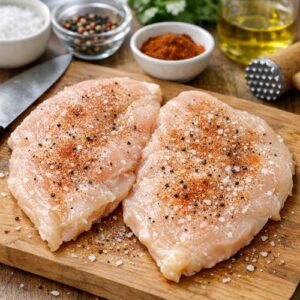
- Here's where most people mess up: they either cook thick, uneven breasts that are raw in the middle and overdone on the edges, OR they pound them until they're paper-thin and dry out instantly. Instead, place each chicken breast on a cutting board and carefully slice lengthwise, creating two thinner cutlets from each breast. You now have four pieces instead of two, and they're approximately ½-inch thick—the PERFECT thickness for this method. Critical detail: Use a sharp knife and let gravity do the work. Don't hack at it like you're angry at the chicken. This keeps the meat's structure intact. Now season generously on both sides with salt, pepper, and the garlic powder. Don't be shy—proper seasoning at this stage means flavorful chicken throughout.
Step 2: Heat Your Pan Correctly
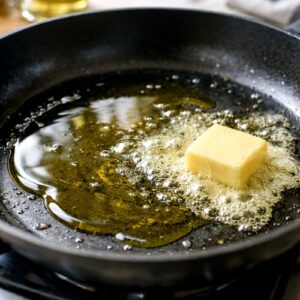
- This is CRUCIAL and where patience pays off. Add both the olive oil and 1 tablespoon of butter to your skillet over medium-high heat. Let it heat for 2-3 minutes—you want the butter foaming and the oil shimmering, not smoking. If you skip this step and throw cold chicken into a lukewarm pan, you'll get steamed chicken instead of seared chicken. Big difference. Temperature check: A drop of water should sizzle and evaporate immediately, not sit there like a sad puddle.
Step 3: Sear for the Golden Crust
- Place each chicken piece in the hot pan without moving it. Let it sit untouched for 4-5 minutes. This is where browning happens—the Maillard reaction creates those deep, savory flavors that make your mouth water. You'll see the edges turn golden and the meat will release naturally from the pan when it's ready. Flip once, and sear the other side for another 4-5 minutes until the second side is golden. The chicken isn't fully cooked yet—it's around 145-150°F internally. That's OKAY. Transfer to a clean plate and set aside. Do NOT skip this searing step. This is literally the difference between restaurant-quality chicken and sad, pale poached chicken.
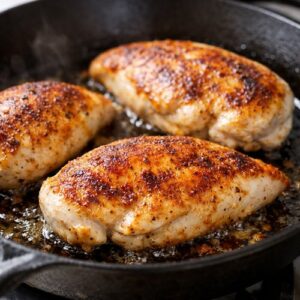
Step 4: Build Your Roux Base
- Reduce the heat to medium. Add the remaining 2 tablespoons of butter to the hot pan. Once it melts (about 30 seconds), immediately add the flour, whisking constantly for about 1 minute. You're looking for a smooth, paste-like consistency. This is your roux—the foundation of silky, lump-free gravy. Temperature matters here: If your heat is too high, you'll get a grainy, broken roux. Too low, and it won't cook through properly. Medium heat is the sweet spot.
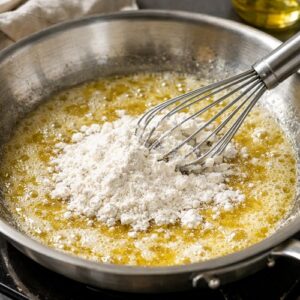
Step 5: Create the Silky Gravy
- Here's where the magic happens. Slowly pour the chicken broth into the roux while whisking constantly. I'm talking slow—give yourself a full minute to incorporate the liquid. This gradual incorporation prevents lumps from forming and creates an emulsion where the flour and broth bond seamlessly. SAFETY WARNING: The pan is HOT and the liquid will steam. Keep your face and hands back, and always whisk away from your body. Keep whisking until the gravy is completely smooth. You might see a few tiny lumps at first—don't panic. Keep whisking for another 30 seconds and they'll disappear. The mixture should look like thin pancake batter.
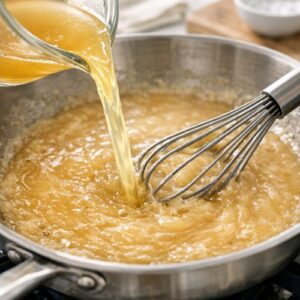
Step 6: Season the Gravy
- Stir in the Italian seasoning and onion powder. These dried herbs bloom in the heat and distribute evenly—way better than fresh herbs here because they won't break down and create weird texture issues. Let this bubble gently for about 1 minute so the flavors develop.
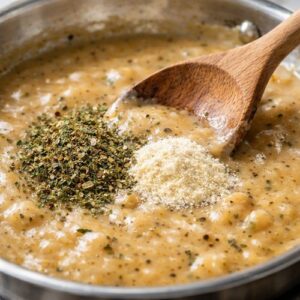
Step 7: Cook Chicken Through While Building Sauce Consistency
- Place the seared chicken (and ANY juices that collected on the plate—don't waste that flavor!) back into the skillet with the gravy. You want gentle movement here—medium to medium-low heat with the sauce just barely bubbling at the edges. NOT a rolling boil. Cook for another 4-5 minutes, turning the chicken pieces once halfway through, until they reach 165°F internally (use an instant-read thermometer—no guessing). The gravy will thicken as it simmers and coats the chicken beautifully. CRITICAL SAFETY NOTE: Chicken MUST reach 165°F to be safe. There are no exceptions or shortcuts here. Undercooked chicken carries serious foodborne illness risk. Check the thickest part of each piece. If the gravy thickens before the chicken is cooked through, reduce the heat further. If the chicken is cooked but the gravy is still thin, turn up the heat slightly for a minute or two to concentrate it—but watch carefully so it doesn't over-reduce.
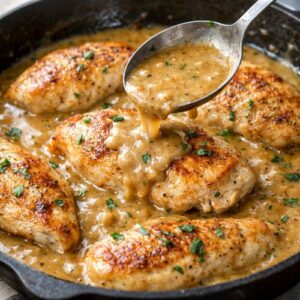
Step 8: Finish and Serve Immediately
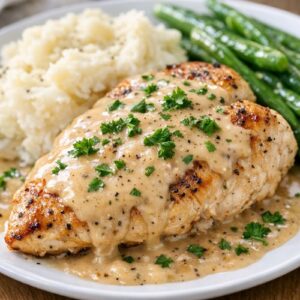
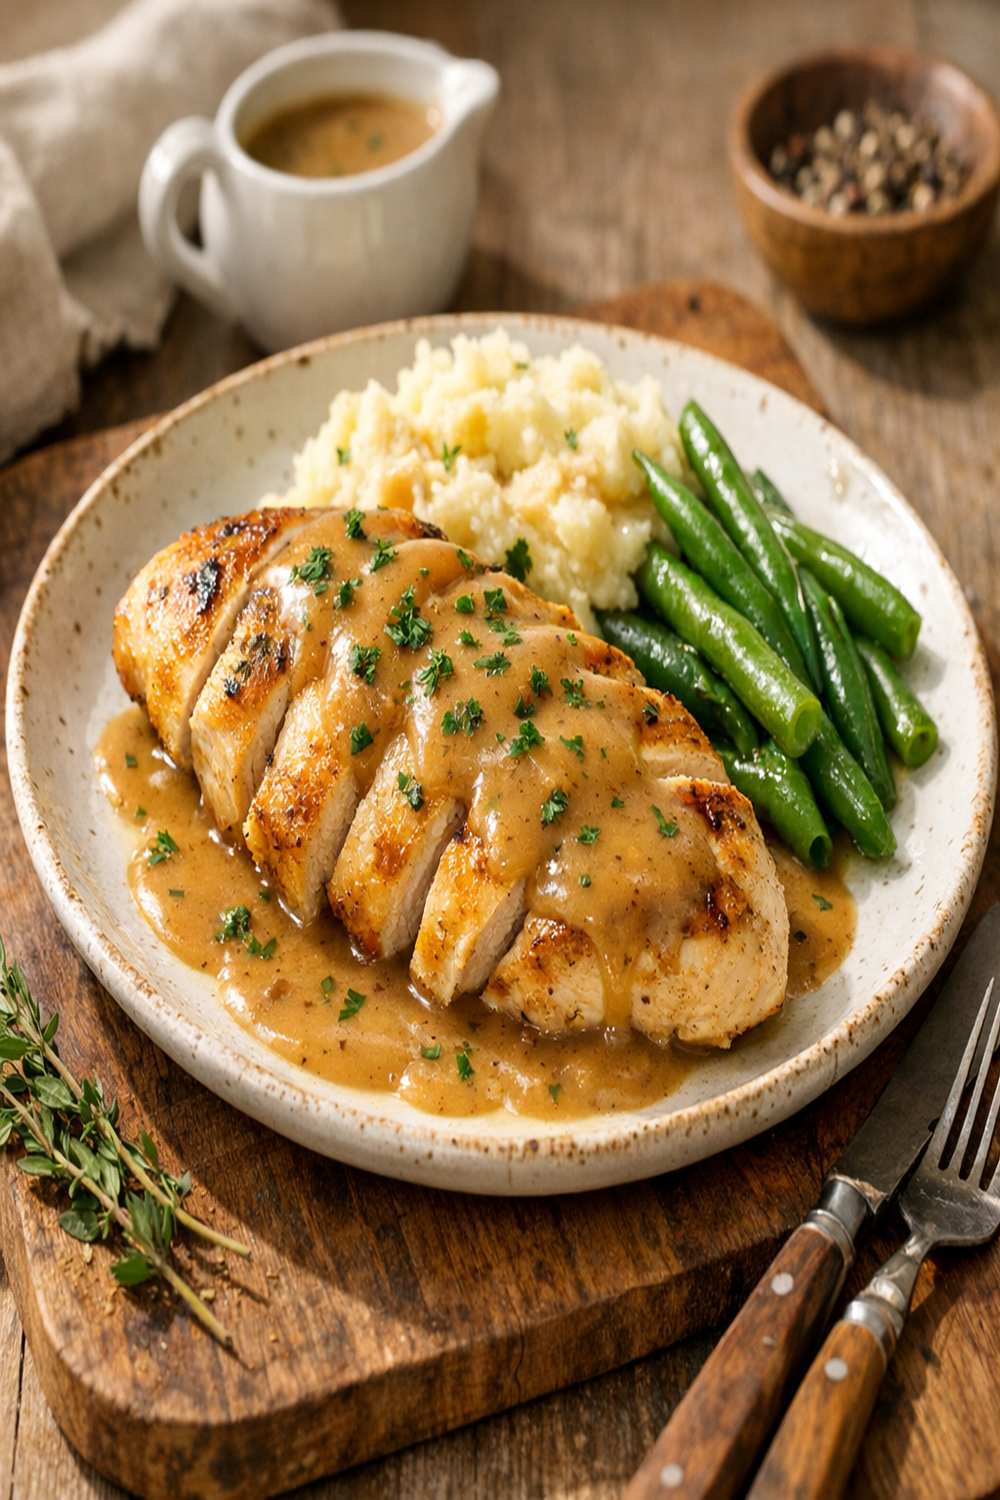
- Taste your gravy and adjust seasoning with salt and pepper as needed. Top with fresh parsley if you have it—the brightness cuts through the richness and makes this look like something from a cookbook. Serve immediately while everything is hot and the chicken is at peak tenderness.