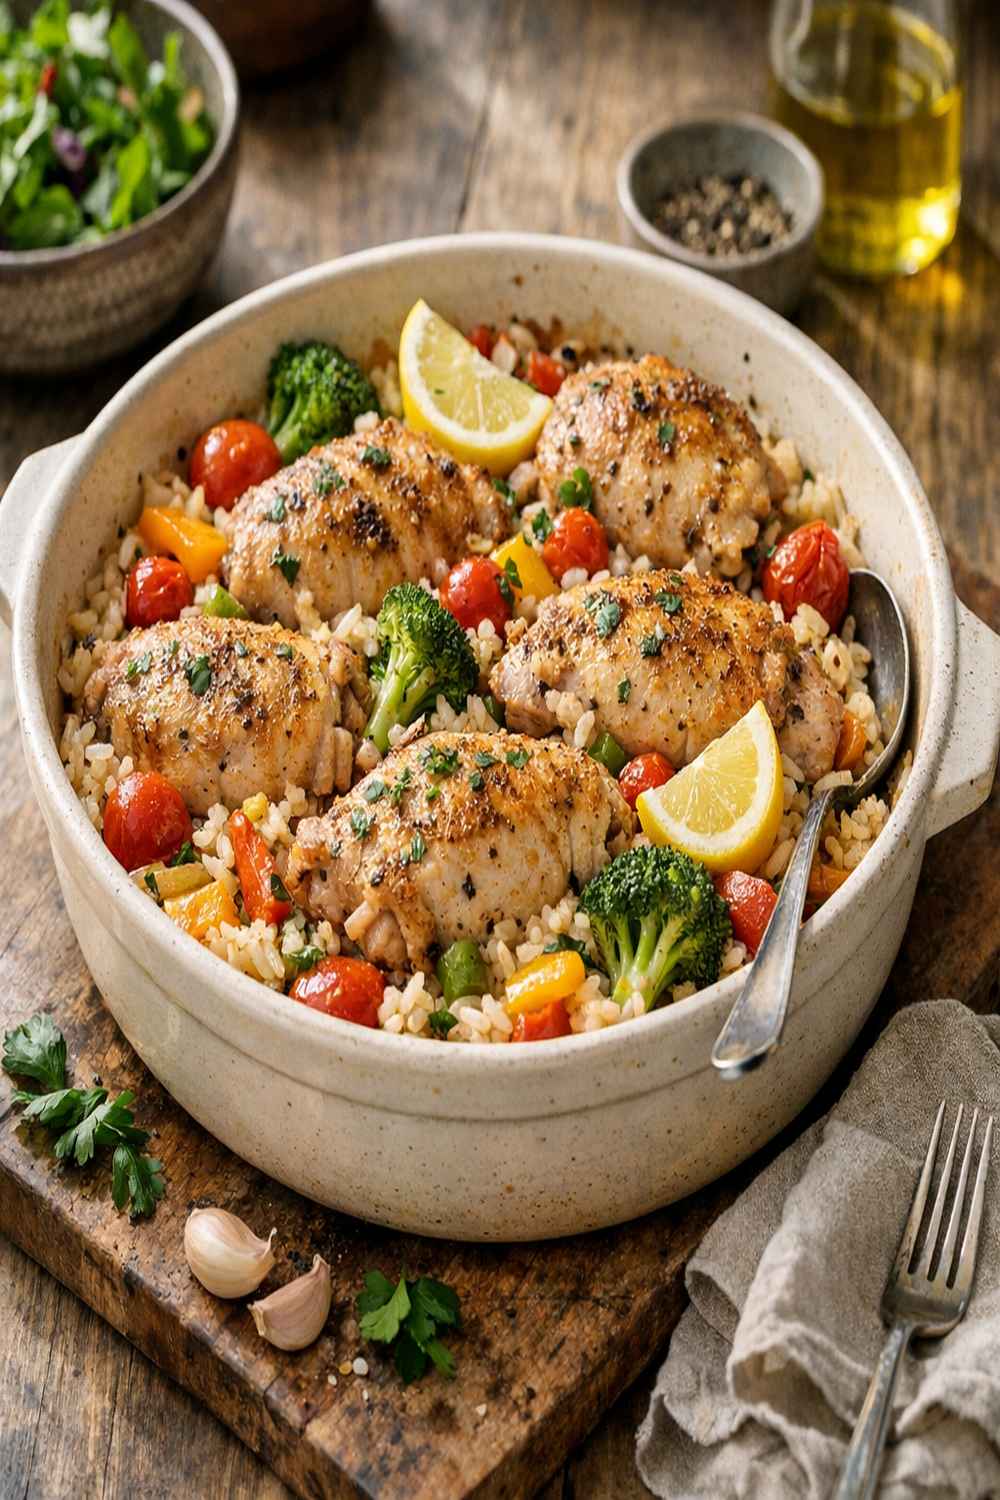

Ingredients
Method
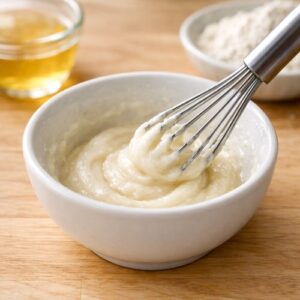
Step 1: Create Your Slurry (The Secret Thickening Agent)
- In a small bowl, whisk together 1 tablespoon all-purpose flour with 1 tablespoon of your chicken stock until you have a smooth paste. This is your insurance policy—it'll thicken your sauce without lumps or cornstarch. Set it aside on your counter. This technique comes directly from French mother sauces, adapted by Eastern European cooks who understood that a beurre manié (flour mixed with fat) or slurry creates silky sauces. We're using stock instead of butter here, which keeps it lighter while maintaining that luxurious texture.
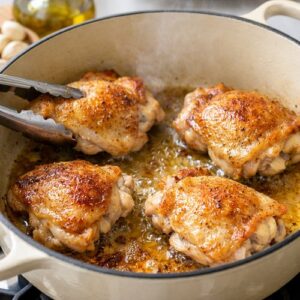
Step 2: Sear the Chicken (Building Your Flavor Foundation)
- This is where EVERYTHING starts. Heat a large Dutch oven or deep-bottomed skillet over medium-high heat. Add 1½ tablespoons of olive oil and let it get shimmering—you want it HOT, not just warm. Add your chicken pieces (make sure they're patted dry with paper towels, moisture is the ENEMY of browning) and immediately season with ¼ teaspoon kosher salt and ¼ teaspoon black pepper. DON'T TOUCH THE CHICKEN. This is critical. Let it sit undisturbed for about 3 minutes. You're building what's called a Maillard reaction—essentially, you're creating hundreds of new flavor compounds through a chemical reaction between proteins and sugars. After 3 minutes, flip each piece and cook another 2 minutes until the chicken is golden brown and cooked through (it should reach 165°F internally if you're using a thermometer, which I ALWAYS recommend for food safety). Remove the chicken to a clean plate. Don't worry if it's not fully cooked—you're going to finish it in the sauce. The goal here is COLOR and FLAVOR, not fully cooking the chicken through.
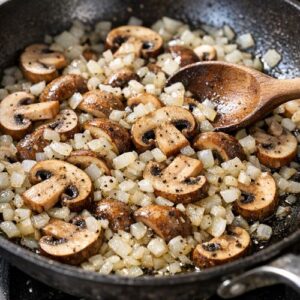
Step 3: Build the Aromatic Base (Eastern European Soul)
- Add the remaining 1½ tablespoons olive oil to the same pan. Now add your sliced cremini mushrooms and chopped onion. Season with the remaining ½ teaspoon black pepper, ½ teaspoon smoked paprika, ¼ teaspoon dried thyme, ¼ teaspoon oregano, and ⅛ teaspoon red pepper flakes. Cook this mixture for about 6 to 7 minutes, stirring occasionally, until the mushrooms have released their moisture and started to brown around the edges—they should look slightly golden and caramelized. Here's what's happening scientifically: mushrooms are about 90% water. When you heat them, that water releases, creating steam. As the water evaporates (around 5 to 6 minutes), the natural sugars in the mushrooms concentrate and start to caramelize. This is THE moment where umami flavor compounds develop. The herbs are toasting simultaneously, releasing their essential oils. Don't rush this step—it's only 7 minutes, but it's the difference between a good sauce and a GREAT sauce.
Step 4: Bloom the Garlic (The Aromatic Bridge)
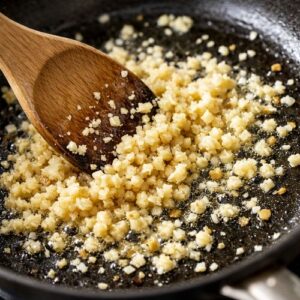
- Add your minced garlic to the pan and cook for exactly 30 seconds, stirring constantly. WATCH CAREFULLY—garlic burns quickly, and burned garlic tastes bitter and will ruin your sauce. You're not trying to cook the garlic; you're trying to wake up its aromatics. That 30 seconds is where raw garlic transforms into something sweet and mellow.
Step 5: Deglaze With Wine (Where Magic Happens)
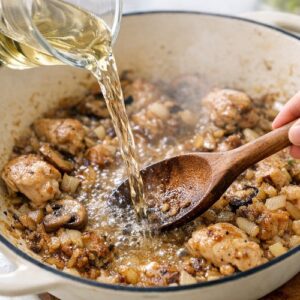
- Pour in your ½ cup dry white wine. Immediately, take a wooden spoon and scrape the bottom of the pan, working to release all those beautiful browned bits (the fond). This is THE most important technique in this entire recipe. Those browned bits are pure, concentrated flavor—they contain proteins, caramelized sugars, and umami compounds that will anchor your entire sauce. Let the wine reduce for about 2 minutes, until it's reduced by roughly half. You'll see the liquid decrease, the alcohol will cook off (don't worry, there will be no alcohol taste remaining), and what remains is wine that's intensely flavored and concentrated. This is standard French deglazing technique, which Eastern European cooks adapted and perfected over centuries.
Step 6: Add Stock and Bring to Simmer (Building Volume)
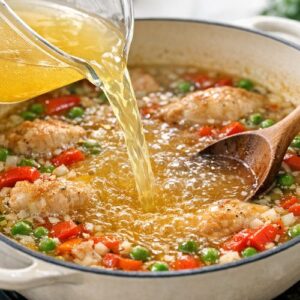
- Stir in the remaining 2½ cups chicken stock and bring everything to a simmer. Once you see gentle bubbles, add the remaining ¾ teaspoon kosher salt and your 6 ounces uncooked egg noodles. Stir everything together and cook uncovered for about 8 minutes, stirring every 2 minutes or so to prevent the noodles from sticking to the bottom (if they stick, you'll get a burnt flavor that won't go away). The noodles will absorb liquid and cook as you simmer. Taste at the 8-minute mark—the noodles should be tender but still have a slight resistance when you bite them (that's called al dente, and it means they'll maintain texture rather than turning mushy).
Step 7: Thicken Your Sauce (The Slurry Moment)
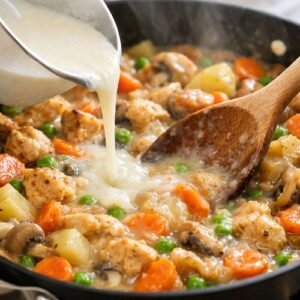
- Pour in your flour-stock mixture and stir well. Cook for 1 minute while stirring constantly. You'll see the sauce visibly thicken—the starch from the flour absorbs liquid and creates that luxurious, silky texture. This is where your slurry earns its place. The sauce should coat the back of a spoon and look rich and creamy (even though it's not cream-heavy—it's technique creating texture).
Step 8: Finish With Chicken and Sour Cream (The Final Assembly)
- Turn off the heat. This is CRITICAL—you never want to add sour cream to a boiling liquid, as the heat can cause it to curdle and break. Add your cooked chicken back into the pot, along with 3 to 4 tablespoons sour cream and 1 teaspoon whole-grain mustard. Stir gently until everything is combined and the chicken is heated through. Taste your creation. Does it need more salt? More pepper? Trust your palate. This is where seasoning becomes personal, because everyone's preference differs slightly. I typically find it needs a tiny pinch more salt and a grinding of fresh pepper, but YOUR taste buds are the final authority.
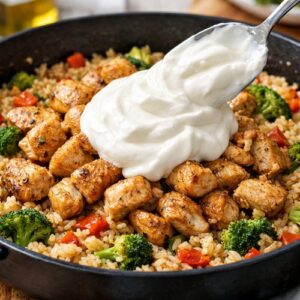
Step 9: Garnish and Serve (The Moment of Joy)
- Divide into bowls and top each serving with fresh chopped parsley and a crack of black pepper. The parsley isn't just decoration—it brings brightness and a peppery finish that balances the richness of the sauce. Serve immediately while it's hot.