
Ingredients
Method
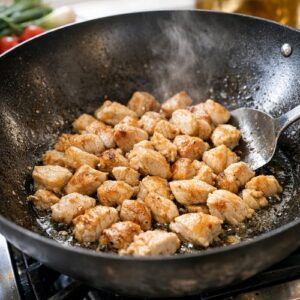
Step 1: Get Your Pan Screaming Hot and Cook the Chicken
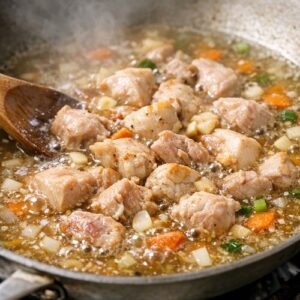
- Pour that sesame oil or olive oil into a large wok or skillet with high sides—and I MEAN a large one. You need room to work. Let it heat for about 2 minutes until you hear it sizzle when you flick a water droplet in (careful, that's HOT!). Once you hear that sizzle, you're ready. Add your diced chicken and let it sit undisturbed for 3-4 minutes on one side before flipping. This creates those beautiful golden edges that aren't just pretty—they're FLAVORFUL. Brown it completely until there's absolutely no pink inside, then remove it to a clean plate. If you're using precooked chicken, skip this step entirely. SAFETY WARNING: That pan is EXTREMELY HOT. Keep children and pets away. Never touch the sides without an oven mitt.
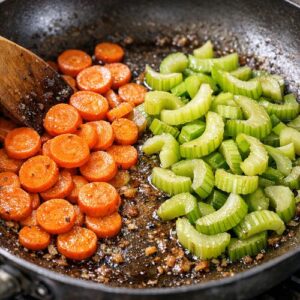
Step 2: Develop Flavor with Your Hard Vegetables
- Don't wash that pan—that flavorful browned residue is GOLD. In that same hot pan, add your sliced carrots and celery. These vegetables need about 6 minutes to soften slightly while staying firm and maintaining that distinct bright color. Stir occasionally so they cook evenly. You want them tender enough to bite easily but firm enough that you can still see individual pieces, not mush.
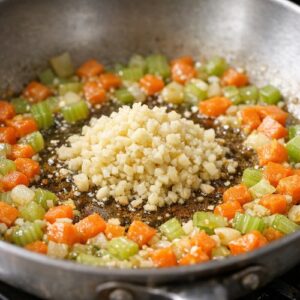
Step 3: Bloom Your Aromatics
- Once the carrots and celery are beginning to soften, add that minced garlic straight into the pan. HERE'S THE TRICK: let it sit for about 30 seconds WITHOUT STIRRING. This "blooms" the garlic, releasing its essential oils and creating that gorgeous fragrant moment. Then stir it in. That 30-second pause transforms raw garlic into something sweet and complex.
Step 4: Add Fresh Vegetables and Maintain Crunch
- Now add your shredded cabbage mix, stirring everything together constantly for about 2-3 minutes. DO NOT WALK AWAY. You want the cabbage to heat through and become slightly soft but still maintain that RAW CRUNCH. This is the difference between a mushy dish and one that has textural interest. Remove EVERYTHING—carrots, celery, cabbage, garlic—from the pan to a separate bowl and set aside.
Step 5: Build the Broth Base (This Is Where Magic Happens)
- Here's where I want you to fall in love with this recipe: in that SAME hot pan (seriously, we're maximizing that pan every single time), add your chicken broth, Worcestershire sauce, soy sauce, and dry soup mix all at once. Stir well so the dry mix dissolves completely. Let this come to a gentle simmer for about 2 minutes. You'll smell incredible things happening—this is the umami base, the foundation that makes everything taste rich and intentional.
Step 6: Cook the Noodles in the Broth
- Break your rice vermicelli noodles slightly so they're easier to manage (you can do this by gently crushing the brick in its package before opening), then add them directly to the hot broth. THIS IS IMPORTANT: do not stir constantly. Let the noodles sit in the liquid and soften. Stir occasionally—every 60-90 seconds—and watch as the liquid gets absorbed. This is the most meditative part of cooking. It happens faster than you'd expect, usually within 4-6 minutes, but you'll KNOW it's happening because the noodles transform from hard strands to tender, delicate ribbons. The liquid won't disappear completely—there should be just a little pooling at the bottom. PRO TIP: If your noodles still feel hard after the liquid is absorbed, add ¼ cup more broth and wait another minute. If they're getting mushy, you've got enough liquid.
Step 7: Bring It All Together
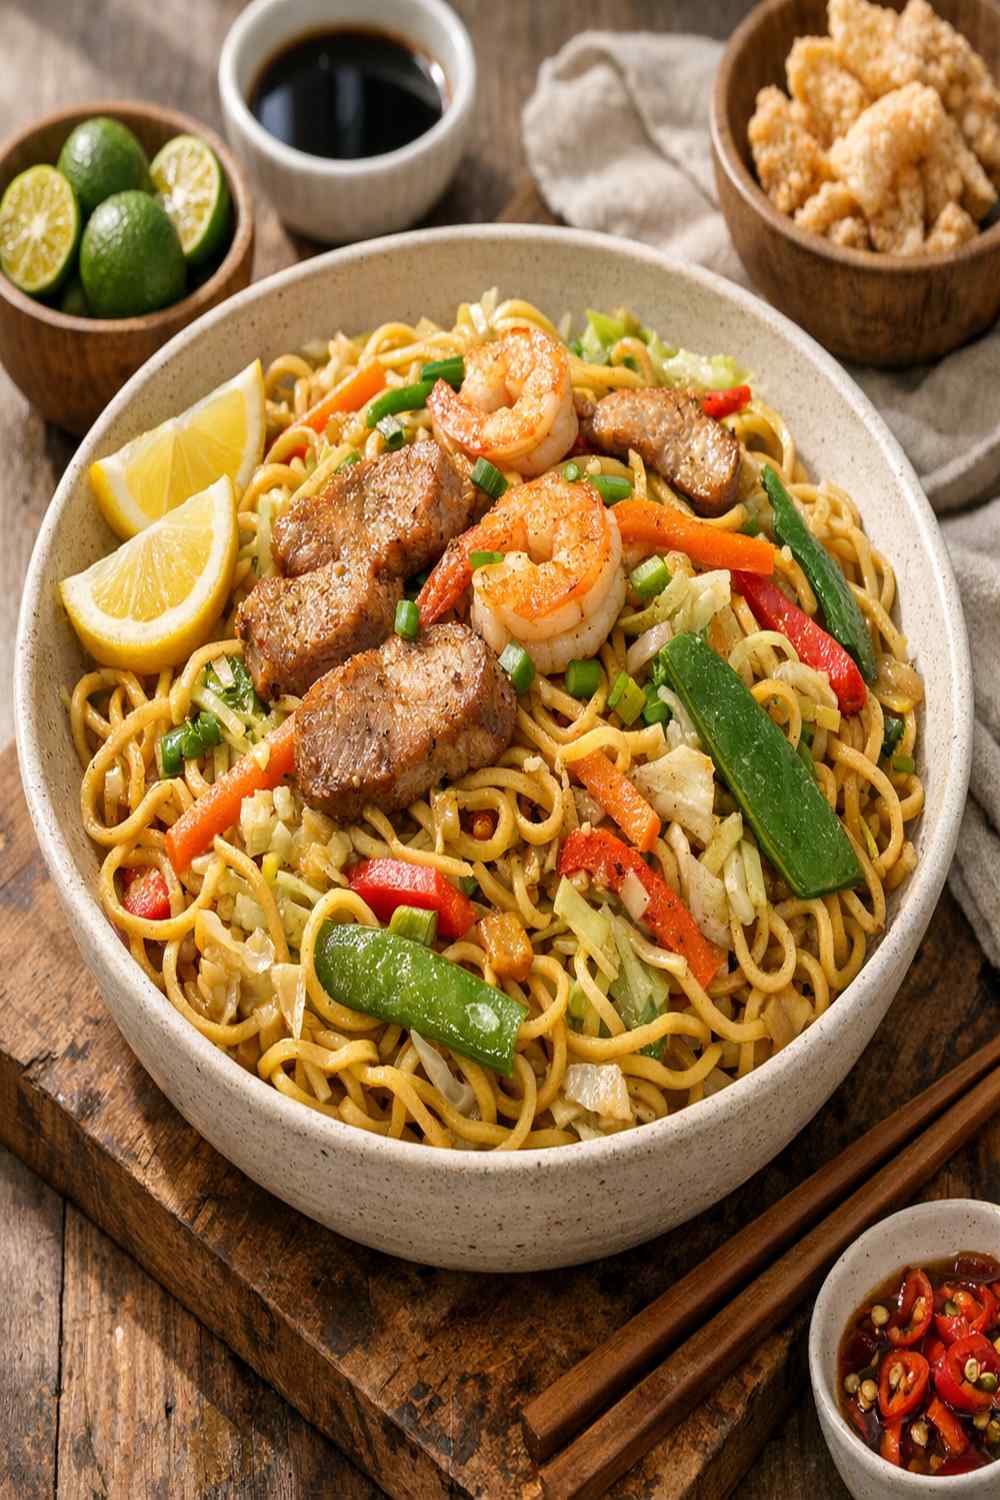
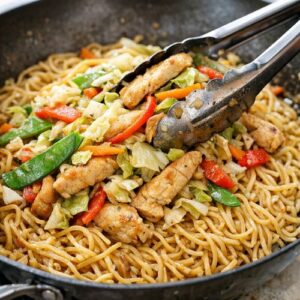
- As soon as the noodles are tender and the liquid is almost completely absorbed, add your cooked vegetables and chicken back into the pan. Use tongs to mix everything together gently—tongs are BETTER than a spatula here because they let you lift and turn the noodles without breaking them. Mix until everything is heated through and the colors are distributed throughout, about 2 minutes. The final dish should look abundant, with distinct pockets of color and protein.
Notes
- Natural light from the side - Never shoot directly overhead with harsh light. Shoot from the side where a window has natural light coming in. This catches the gloss of the broth, highlights the individual noodle strands, and makes the orange carrots absolutely GLOW. If it's nighttime, move your plate near a lamp and shoot from the side.
- Timing is everything - Shoot within 2 minutes of plating. The noodles look best when they're just-cooked tender and still slightly steaming. That steam actually creates a beautiful haze in photos. Wait too long and they start looking matte and tired.
- Show the textural contrast - Angle your camera so viewers can see the difference between the tender noodles, the crisp vegetables, and the protein. A 45-degree angle from the side usually captures this best.
- Props matter less than you think - A simple white or neutral bowl, maybe a small glass of water, simple chopsticks or a fork. This food is BUSY visually, so keep everything else minimal. The dish should be the star.