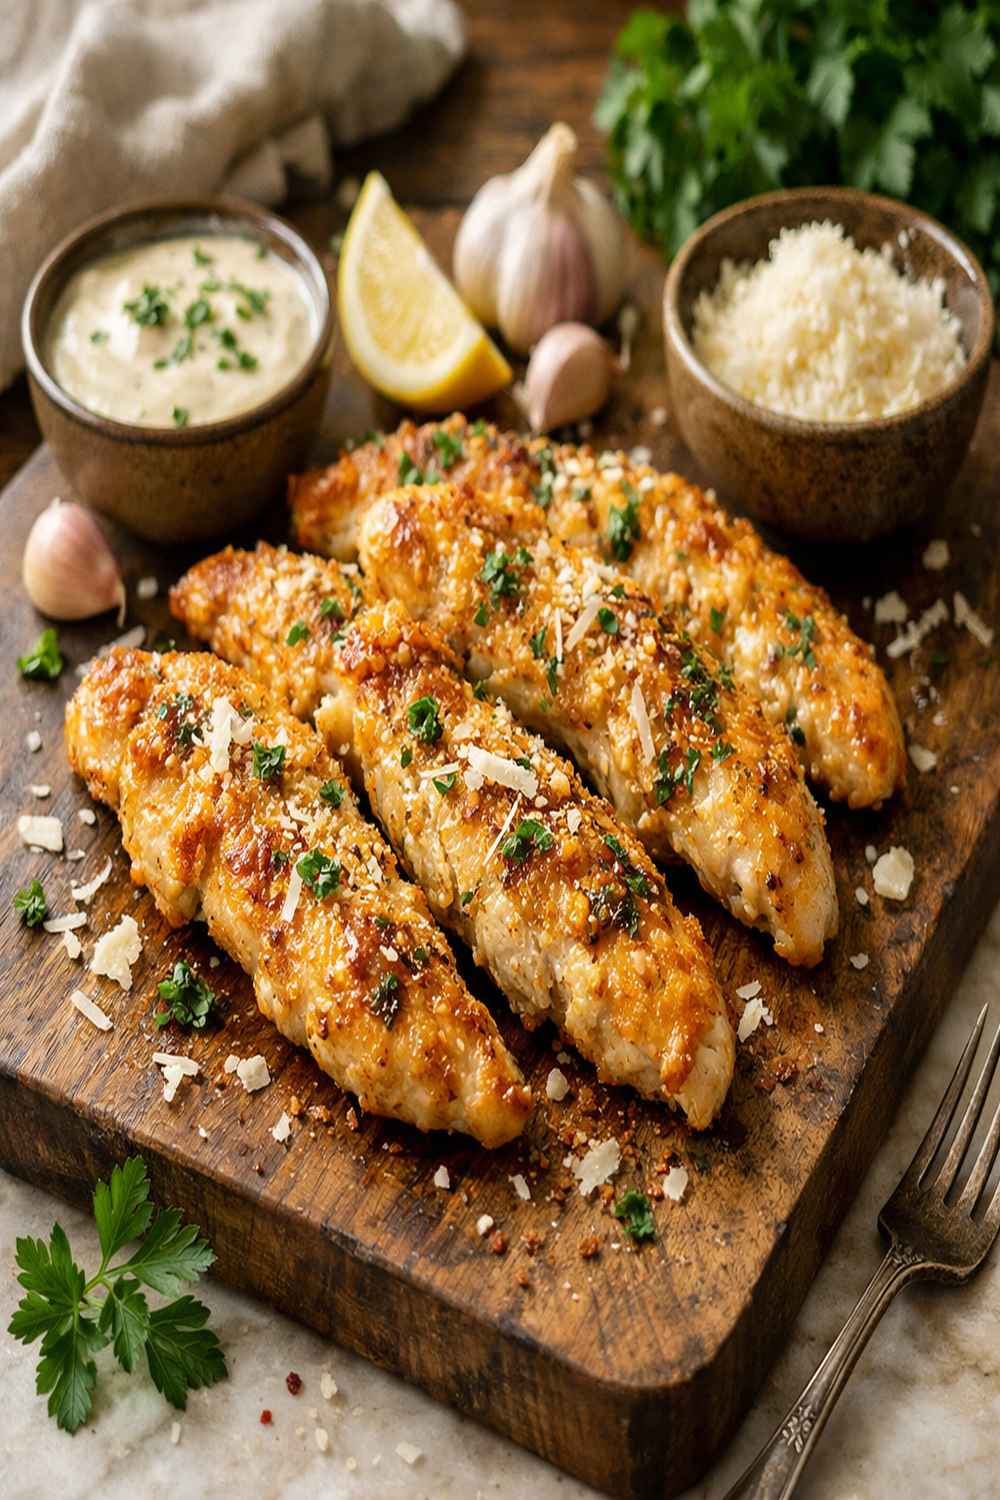

Ingredients
Method
Step 1: Prepare Your Workspace and Preheat the Oven
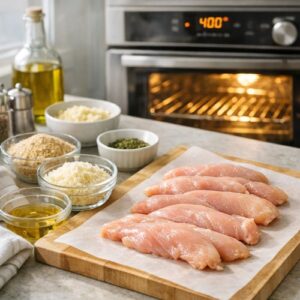
- Start by preheating your oven to 400°F. This temperature is CRITICAL—it's hot enough to develop that golden crust through the Maillard reaction (around 300°F+) but not so scorching that the exterior burns before the interior cooks through. While your oven is heating, line a large baking sheet with parchment paper or spray it with nonstick cooking spray. This step is NON-NEGOTIABLE because the mayo coating can stick to bare metal, making cleanup a nightmare and potentially damaging your tenderloins when you try to remove them.
Step 2: Create Your Flavor Coating
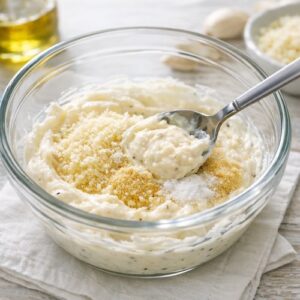
- In a medium mixing bowl, combine 3/4 cup mayonnaise, 1/4 cup (half) of your parmesan cheese, 1 teaspoon garlic powder, and 1/2 teaspoon salt. Stir until COMPLETELY uniform—this ensures every piece of chicken gets equal seasoning. The mayo acts as your emulsifier here, meaning it bonds the solid ingredients together while staying creamy. This coating will cling to the chicken and create a protective seal. If your mixture seems too thick, it won't coat evenly; if it's too thin, the cheese will slide off. You want something that clings—almost like thick peanut butter consistency.
Step 3: Coat the Chicken Evenly
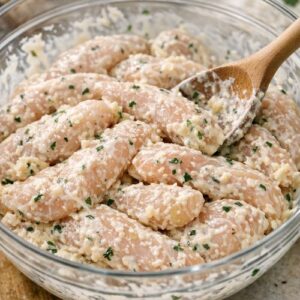
- Add your 2.5 pounds of chicken tenderloins to the bowl and stir gently but thoroughly until EVERY piece is coated with the mayo mixture. This step requires patience—don't just dump and hope. Make sure each tenderloin gets complete coverage on all sides. This coating is your insurance policy against dry chicken. The mayo will emulsify during baking, creating a creamy, flavorful exterior while keeping the interior moist.
Step 4: Arrange on the Baking Sheet
- Spread your coated chicken pieces in a SINGLE LAYER on your prepared baking sheet. This is absolutely crucial for even cooking. If you overcrowd the pan, the pieces won't develop that golden crust—they'll steam instead. There should be at least 1 inch of space between each piece. The hot air needs to circulate completely around each tenderloin for even browning.
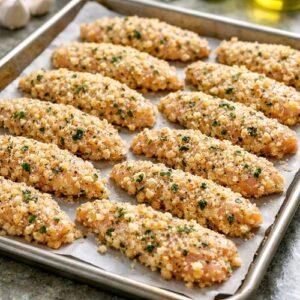
Step 5: Add the Final Cheese Layer
- Sprinkle the remaining 1/2 cup of parmesan cheese evenly over the coated chicken. This is your visible golden crust—this layer is what makes people's eyes light up when they see the finished dish. The cheese will melt slightly and brown, creating textural contrast and concentrated umami flavor. Don't skip this step; it's the difference between "good" and "restaurant quality."
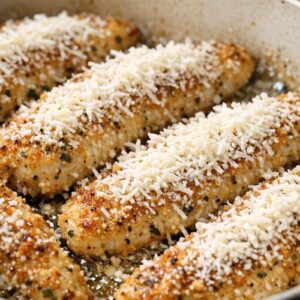
Step 6: Bake to Perfect Doneness
- Place your baking sheet in the preheated 400°F oven for 15-25 minutes. The timing depends on the thickness of your tenderloins and your oven's accuracy. Here's my professional trick: START checking at 15 minutes using an instant-read meat thermometer. Insert the thermometer into the thickest part of the largest tenderloin without touching bone or the pan. When it reads 160°F, the chicken is safely cooked through. HOWEVER, I recommend removing the pan at 158°F and letting it rest for 3-5 minutes on the counter. This allows carryover cooking to bring it to exactly 160°F while the proteins relax—resulting in MORE MOISTURE retained inside.
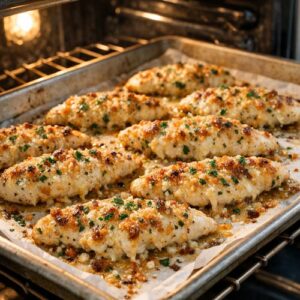
Step 7: Optional Broil for Extra Crust (Advanced Technique)
- If you want a darker, crispier cheese crust, switch your oven to BROIL for the final 2-3 minutes. WATCH THIS LIKE A HAWK—I mean literally keep your eyes on it. Broiler intensity varies wildly between ovens, and the parmesan can go from golden to burnt in 90 seconds. If you're new to this recipe, skip this step on your first attempt. Once you master the base recipe, THEN experiment with broiling.
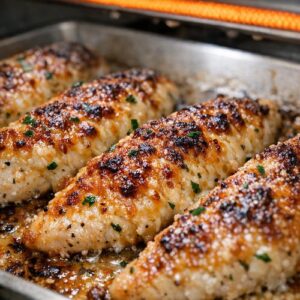
Notes
- Pat your chicken completely dry before coating - any surface moisture will prevent the mayo coating from adhering properly and creates steam instead of browning. Use paper towels and press gently.
- Use room temperature mayo - cold mayo straight from the fridge is too thick to coat evenly. Let it sit on the counter for 10 minutes before mixing. Room temperature mayo spreads smoothly and clings to the chicken better.
- Invest in an instant-read meat thermometer - this is THE most important tool for foolproof chicken every single time. I recommend one with a thin probe so you get accurate readings without creating large holes in the meat. Temperature is never a guess—it's measurable and reliable.
- Don't crowd your baking sheet - I know it's tempting to fit everything on one pan, but overcrowding prevents air circulation and creates steaming instead of roasting. Use two pans if needed.
- Let cooked chicken rest for 3-5 minutes before serving - this is when the carryover cooking happens and the proteins relax, keeping juices locked inside. Cutting immediately releases all that moisture onto the plate instead of into your chicken.