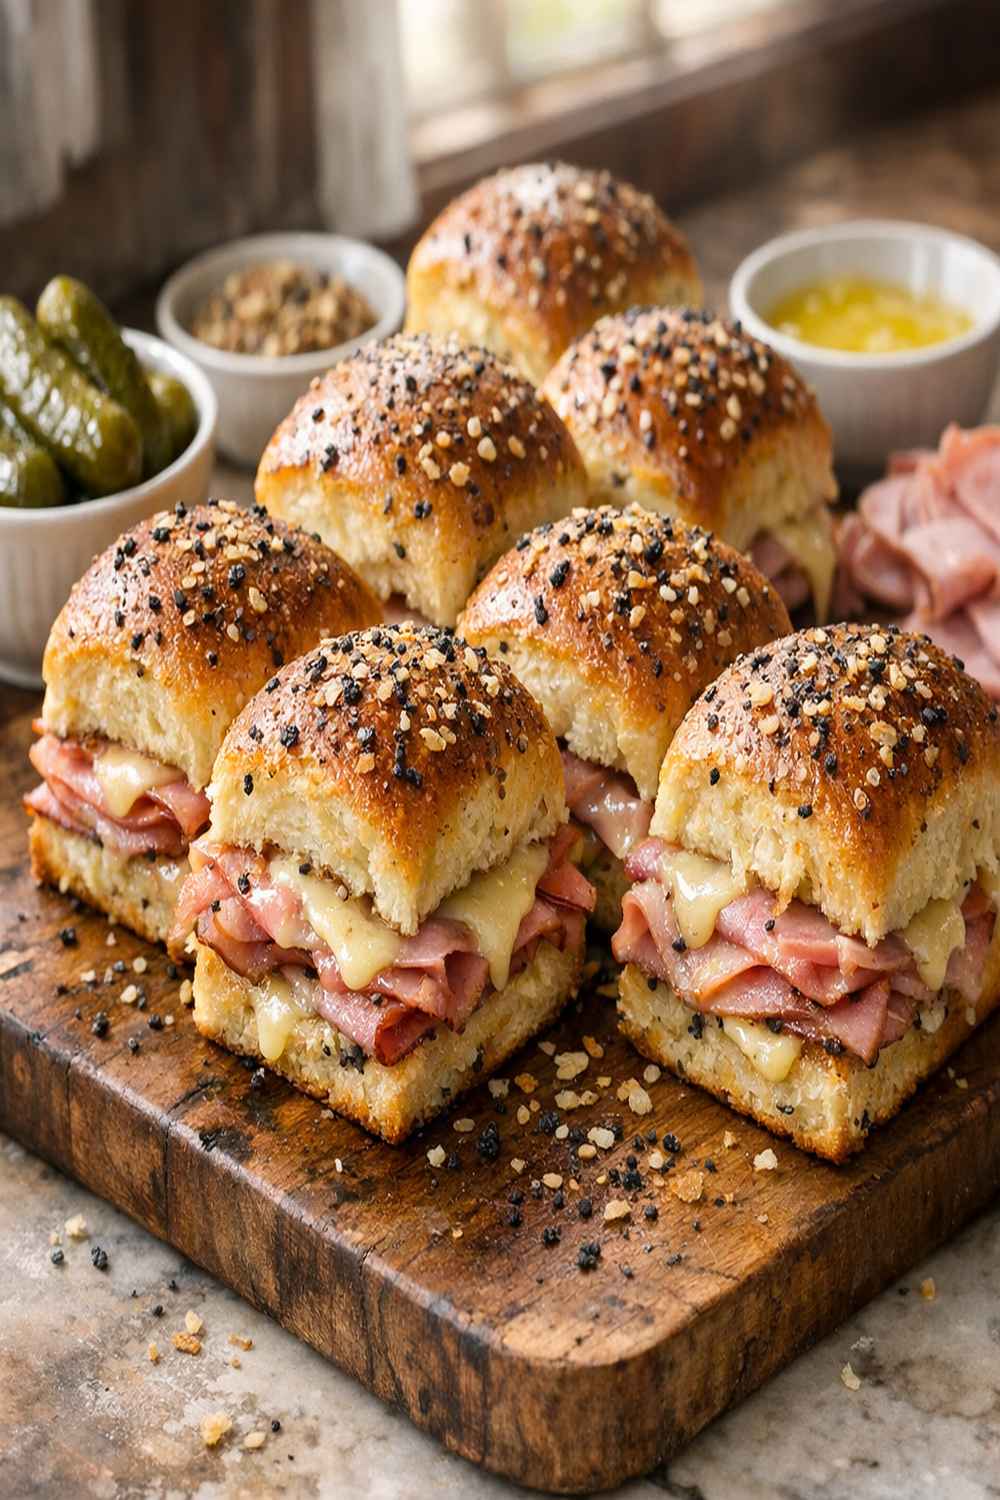

Ingredients
Method
Step 1: Prepare Your Baking Dish and Preheat the Oven
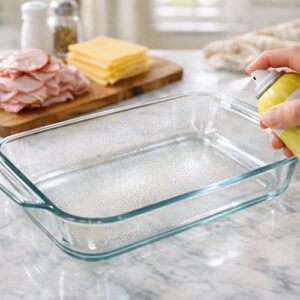
- Preheat your oven to 350°F and lightly spray a 9x13-inch baking dish with cooking spray. This prevents sticking and makes cleanup easier. If you're using glass, it'll heat slightly slower than metal, which is actually helpful here because it prevents over-browning the bottom. Set your prepared dish aside on the counter while you work on the sauce. Safety note: Keep your oven rack in the middle position so heat circulates evenly. This matters more than you'd think—a rack too low risks burning the bottom, while a rack too high can brown the tops unevenly.
Step 2: Create the Signature Butter Sauce
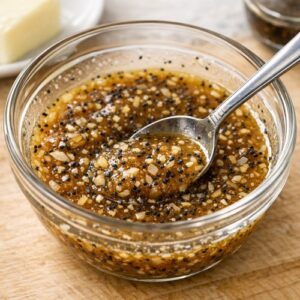
- In a small bowl, combine your melted butter with brown sugar, Dijon mustard, Worcestershire sauce, poppy seeds, and dried minced onion. Stir thoroughly for about 1 minute until the brown sugar dissolves completely and everything is evenly distributed. This sauce is everything—it's the difference between "okay sliders" and "holy cow, what IS this?" Pro tip from my kitchen: If you're making this 30 minutes ahead, the sauce will thicken slightly as it cools, which is fine. Just give it a gentle stir before applying. If it's too thick, microwave for 10 seconds to return it to pourable consistency.
Step 3: Slice and Arrange the Rolls
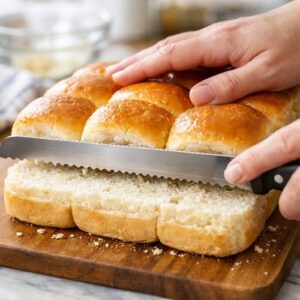
- Take your Hawaiian rolls (or dinner rolls) and carefully slice them horizontally using a serrated knife. I recommend a gentle sawing motion rather than pressing down—this keeps the rolls from compressing. Arrange the bottom halves in your prepared baking dish in a single layer. They should fit snugly but not be forced. Don't stress about perfection here; they'll settle as they bake.
Step 4: Layer with Ham
- Now comes the assembly. Layer half of your sliced deli ham directly over the roll bottoms. You're not trying to create individual sandwiches here—think of this more like you're building one cohesive appetizer that you'll cut into portions. Arrange the ham so it covers the rolls relatively evenly, but don't obsess over perfect coverage. Tip: If your deli ham is especially thin, you might need slightly more than half the pound for this layer. If it's thicker slices, you'll use less. Judge by visual coverage rather than weight.
Step 5: Add the Swiss Cheese Layer
- Layer all of your Swiss cheese next. Arrange slices in slightly overlapping rows—this ensures every bite has cheese. This is your protein and calcium boost, so don't skimp. Fresh-sliced Swiss melts beautifully and creates those gorgeous golden spots as it bakes. Expert nutritional insight: Swiss cheese contains B12 and calcium, which many New Yorkers don't get enough of. The ham adds protein (about 8g per slider), making this a nutritionally complete appetizer, not just an indulgence.
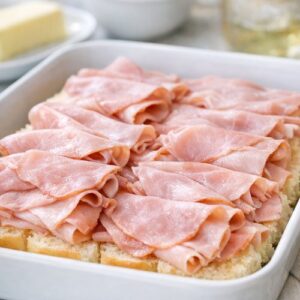
Step 6: Top with Remaining Ham and Roll Tops
- Layer the remaining ham over the cheese, then top with the roll tops. This creates a beautiful ham-cheese-ham sandwich structure. Press gently so everything sits flush.
Step 7: Apply the Sauce and First Bake
- Pour the entire butter mixture evenly over the assembled sliders. Use a spoon or pastry brush to distribute it thoroughly—pay special attention to the edges where things can dry out. Some sauce will seep down into the seams, and that's exactly what you want. Cover the entire baking dish tightly with aluminum foil. CRITICAL SAFETY WARNING: Make sure the foil doesn't touch your oven coils if you're using an electric oven with exposed elements. This is a fire hazard. Bake covered for 15 minutes. During this time, steam builds up under the foil, which gently heats the sliders through and softens the rolls. Your kitchen will smell absolutely divine.
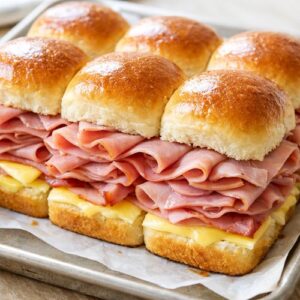
Step 8: Remove Foil and Final Bake
- Carefully remove the foil (watch for steam—it's hot!), and return the sliders to the oven uncovered for an additional 10 minutes. This final baking period allows the tops to brown slightly, the butter to caramelize, and any excess moisture to evaporate. You're looking for a light golden-brown color on the roll tops. Troubleshooting: If the tops look pale after 10 minutes, give them another 2-3 minutes. Every oven varies. Conversely, if they're browning too quickly, it means your oven runs hot—note this for next time.
Step 9: Rest and Serve Immediately
- Remove from the oven and let rest for 2-3 minutes. Using a sharp serrated knife, cut the entire block of sliders into individual portions. This is easier than you'd expect—just follow your natural roll divisions. Serve immediately on a warm platter. The sliders stay perfect for about 15-20 minutes, so time your baking to align with when guests arrive or when you'll be eating.
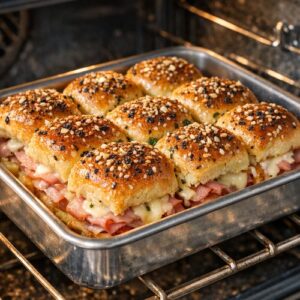
Notes
- Using Pre-Packaged Sliced Cheese Instead of Fresh-Sliced From the Deli Counter - Pre-packaged cheese has additives that prevent melting as smoothly. Fresh-sliced Swiss creates that gorgeous, even melt that makes people swoon. It costs slightly more but makes a REAL difference.
- Skipping the Butter Sauce or Making It Incorrectly - Some people think they can just assemble the sliders and they'll be fine. Without the sauce, they're dry and bland. Make sure the brown sugar dissolves completely so you don't get crunchy bits.
- Overcrowding the Baking Dish or Using Rolls That Are Too Large - If your rolls don't fit snugly, they won't steam together properly and you'll have 12 separate sandwiches instead of one cohesive appetizer. Use the exact size recommended or adjust your baking dish accordingly.
- Not Covering with Foil During the First Bake - This is how the rolls steam and soften. Without foil, they bake dry. Watch for steam when you remove the foil—it's hot!
- Baking Too Long or Too Hot - At 350°F, these take exactly 15 minutes covered and 10 minutes uncovered. Longer baking dries out the rolls. If your oven runs hot (common in older NYC buildings!), start checking at 12 and 8 minutes respectively.